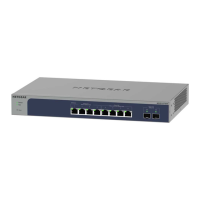
Step 4: Mount or place the switch
You can mount the switch in a standard 19-inch (48.26-centimeter) network equipment
rack with a 19-inch depth or 24-inch depth.
You can place any model on a flat surface.
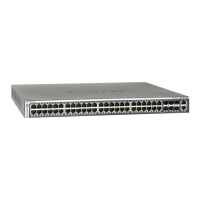
Install a full-width model in a rack
To install a full-width switch in a single rack space, you need the rack-mount kit supplied
with the switch. Depending on the depth of the rack, you can install the switch with
flush-mounting or set-back mounting in a standard 19-inch wide rack.
To install a full-width model in a rack:
1.
Attach the brackets supplied in the mounting kit to the left and right sides of the
switch by inserting the small screws through each bracket and into the mounting
holes in the switch.
•
Flush-mounting example: Use the small brackets with a depth of 2.75 inches
(7 cm) and the small screws.
•
Set-back mounting example: Use the medium-sized brackets with a depth of
4.75 inches (12 cm) and the small screws.
2. Tighten the screws with a No. 2 Phillips screwdriver to secure each bracket to the
switch.
3. Align the mounting holes in the brackets with the holes in the rack, and depending
on the rack, insert the medium-sized or large screws through each bracket and into
the rack.
Hardware Installation Guide54Installation
Fully Managed Switches M4350 Series
 Loading...