English – 17
L2 Phototest / Electric lock This function allows the user to enable output 6 of the terminal board for operation with the
Phototest or with the electric lock. The factory setting of output 6 is with the “phototest”
function enabled (L2 LED off). Alternatively, the output can be programmed on the SPIN
control unit to control an electric lock (LED L2 lit).
L3 Partial open This function allows for selecting a long or short partial opening interval. The default setting
for partial opening is long (roughly 1 m, LED L3 lit). Alternatively, partial opening can be set
to short (roughly 15 cm, LED L3 off).
At the end of the procedure, LEDs L1, L2 and L3 show the status of the functions of the Standard programming mode (Table 9).
Table 9 - Functions of the standard programming mode
LED Function Description
L1 Closing speed This function allows for selecting the motor speed during the closing manoeuvre among 2
levels: “high” and “low”. The default setting is “high” (LED L1 lit). Alternatively, the function
can be disabled to set the “low” speed (LED L1 off).
L2 Opening speed This function allows for selecting the motor speed during the opening manoeuvre among 2
levels: “high” and “low”. The default setting is “high” (LED L2 lit). Alternatively, the function
can be disabled to set the “low” speed (LED L2 off).
L3 Automatic closing This function enables automatic closure of the door after a programmed pause; the default
Pause Time is set to 30 seconds but can be modied to 15 or 60 seconds. The default
setting is “semi-automatic” as Automatic closure is disabled (LED L3 off).
During normal operation of SPIN, LEDs L1, L2 and L3 are lit or off depending on the status of the associated function in the standard program-
ming mode, for example LED L3 is lit if the “Automatic closure” function is enabled.
7.6.2 - Programming the Level 1 functions (ON-OFF)
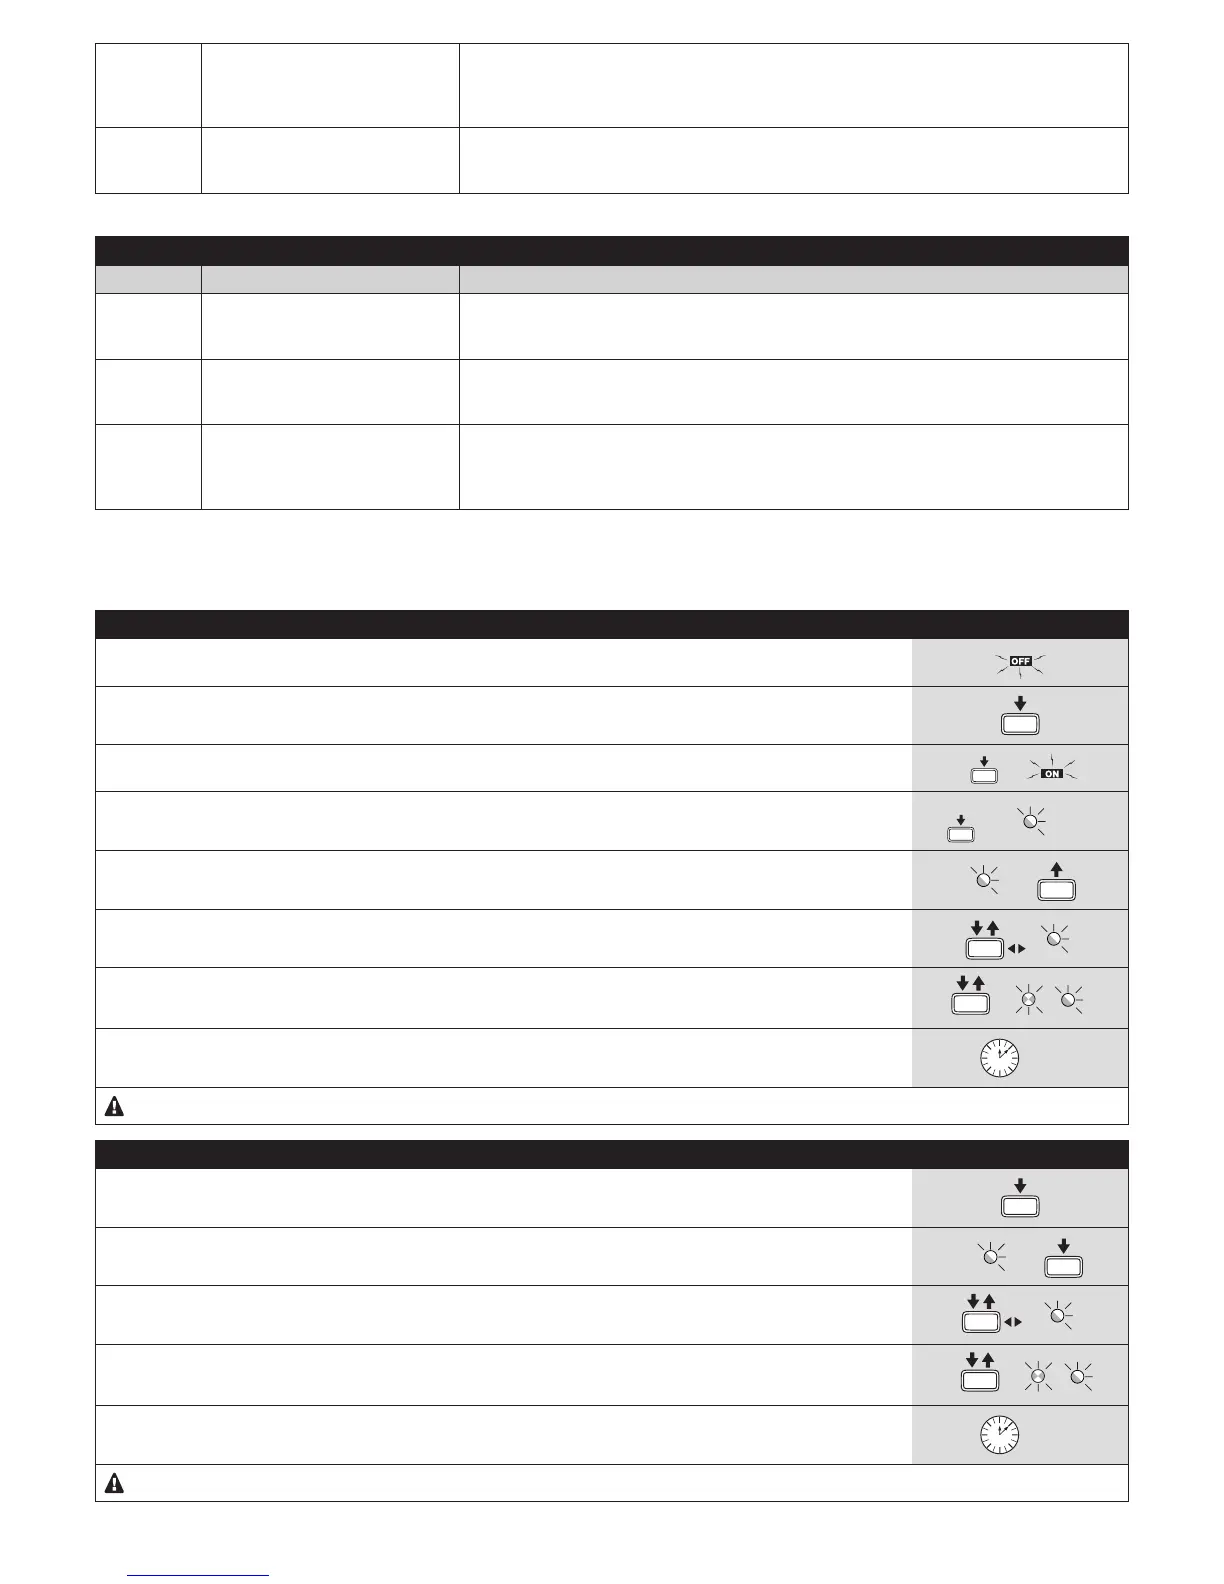
Table 10 - Programming on start-up procedure
01. Disconnect the mains power
02. Hold down the Set key until step 04
SET
03. Restore the power supply
(
08. Wait 10 seconds to exit the programming mode following the expiry of the maximum time limit
10 s
Steps 06 and 07 can be repeated during the programming phase to set other functions to ON or OFF
Table 11 - Standard programming procedure
01. Press and hold the Set key for roughly 3 seconds
SET
02. When LED L1 starts ashing, release the Set key
L1
SET
03.
Press and release the s
/ t keys to shift the ashing LED to the LED of the function to be modied
04.
Press and release the Set button to change the status of the function
(short ashing = OFF; long ashing = ON)

 Loading...