Chapter 3 Individual Operations
131
Individual
Operations
17.2
Using Optical Elements
■ DIC module for the condenser
There are various kinds of DIC modules: [D-C DIC N1 DRY], [D-C DIC N2 DRY] and [D-C DIC NR DRY] to be attached
to the universal condenser, and [D-C DIC N2 OIL] and [D-C DIC NR OIL] to be attached to the DIC condenser. Note
that an inappropriate combination may result in an inability to produce an interference image, or a significant
degradation of contrast. For details, see the table “Combinations for the DIC Slider for the Objective and the DIC
Module for the Condenser” in Chapter 1 “3. Assembly Method - 18 Attach the condenser.” in the
“Assembly/Maintenance” instruction manual.
See also Chapter 9 “9.2 Using the NI-CUD-E Motorized Universal Condenser (Dry)”, “9.3 Using the NI-CUD Universal
Condenser (Dry)”, and “9.4 Using the D-CUO DIC Condenser (Oil)” for details.
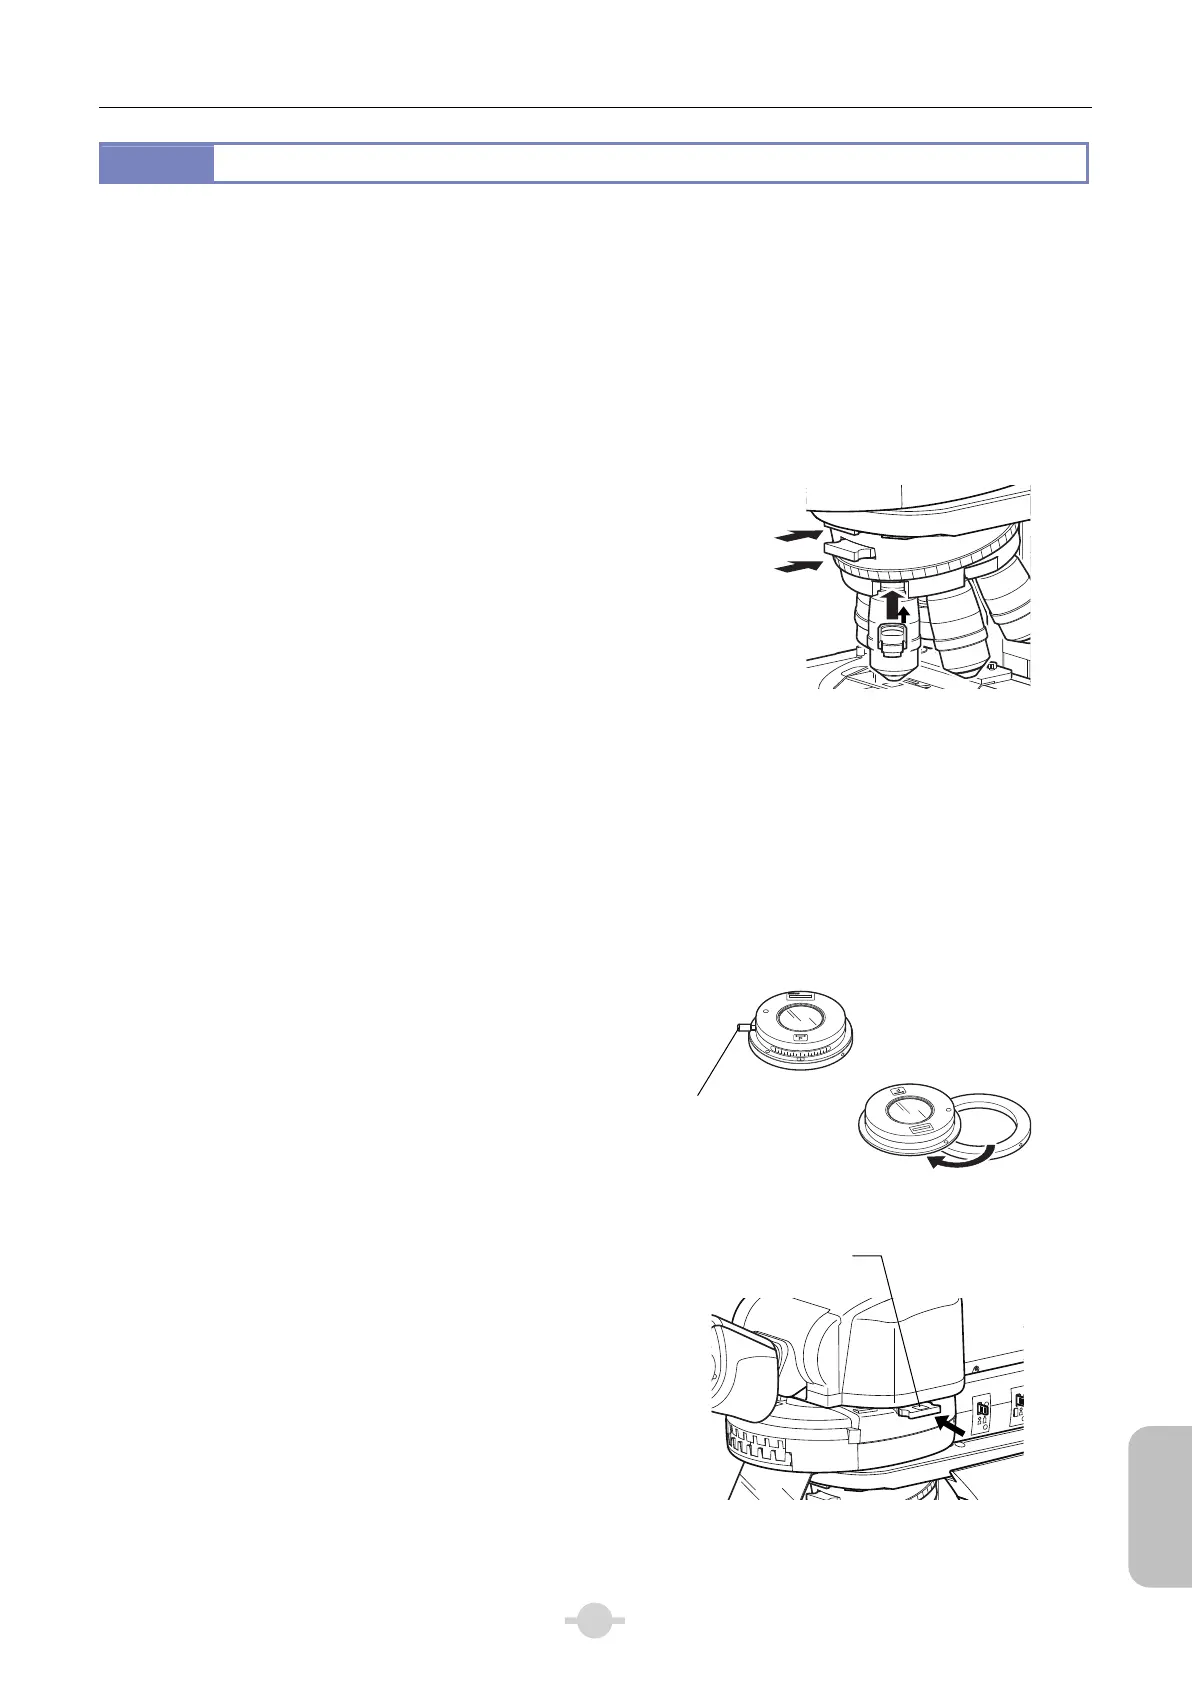
■ DIC slider for the objective
Insert a DIC slider to a slot where the objective of the
nosepiece is set.
Insert it properly to the limit.
■ Analyzer slider
Insert it into an analyzer slot of the nosepiece.
The slider has two click positions. The slider will click once
after insertion into the slot. At this point, the analyzer is not in
the optical path. To bring the analyzer into the optical path,
push the slider further to the second click-stop position.
Insert it properly to the limit.
1
2
A
λ
10x
Inserting/removing the DIC slider, analyzer,
lambda plate
■ Lambda plate
The lambda plate is inserted into a slot on the nosepiece when conducting microscopy utilizing color contrast.
The slider has two click positions. The slider will click once after insertion into the slot. At this point, the lambda plate is
not in the optical path. To bring the analyzer into the optical path, push the slider further to the second click-stop position.
This will change the background to a sensitive color, enabling observation with high color contrast. An interference color
is displayed based on changes in the refraction index and/or thickness of the sample.
■ Polarizer
A rotatable polarizer unit is placed on top of the field lens when
used.
Loosen the polarizer rotation clamp screw, rotate the polarizer
to align the indicator lines, and then secure it in place.
Loosening a polarizer rotation clamp screw and rotating the
polarizer change the background color.
To move the polarizer out of the optical path, rotate and swing
out the top part of the polarizer.
753701
JAPAN
D-DP
Polarizer operation
■ FL/DIC analyzer slider
This is an optical element required when switching the
epi-fluorescence and differential interference contrast
microscopy or using both microscopies concurrently.
Insert it into a slot on the upper lateral right of the
epi-fluorescence cube turret.
The slider has two click positions. The slider will click once
after insertion into the slot. At this point, the analyzer is not in
the optical path. To bring the analyzer into the optical path,
push the slider further to the second click-stop position.
Insert it properly to the limit.
The analyzer slider attached to the nosepiece is not required
when using the FL/DIC analyzer slider.
A
F. S TOP
A. ST
EX. ADJ
2
3
4
5
6
Inserting/removing the FL/DIC analyzer slider
Polarizer rotation
clamp screw
nalyze
slider
Lambda plate
DIC slider
for the objective
(or dummy
slider)
NI-FA FL/DIC
nalyzer Slide
 Loading...