Replacing
the
Top
Cover
When
converting a Pfaff
260
or
360 into
an
Automatic, replace the top cover
on the machine by
the
special top cover which is supplied with the
automatic
embroidery mechanism.
To ensure
that
the
pattern
length regulating
crank
(50561)
enters the regulating
slide
(50368)
smoothly, toke
core
that
the
top
cover
is
replaced perpendicularly
from
above,
and
that
pattern length lever E (Fig.
113)
is
set
between "5"
and
"7".
If
the position
of
pattern
length lever E needs adjustment, loosen the
set
screw
on
the driving
crank
(50558)
and
turn the crank on the stud
of
the
pattern
length regulating crank
(50561
),
as
may
be
required. This adjustment may
also
become
necessary
in
order
to
br
ing the positi
on
of
the pattern length lever
in
line with the numbers
on
its scale.
Checking
the Needle
Position
in
Relation
to
the Needle
Plate
Slot
Disengage
the
automatic
embroidery mechanism by setting lever E
(F
ig. 113)
and
dial C
on
"0". Turn stitch width dial A
to
"0"
and
put
needle position
lever B
in
the
central notch. Turn the
balance
wl\eel
in
order
to
check
whether
the (No.
90)
needle
is
still correctly centered
in
the needle plate slot,
and
whether it will
clear
ei
ther
end
of
the slot when
set
for
its widest bight.
If
the needle
has
to
be recentered
in
the needle
plate
sl
ot
,
proceed
as
instruct-
ed
on
page
69.
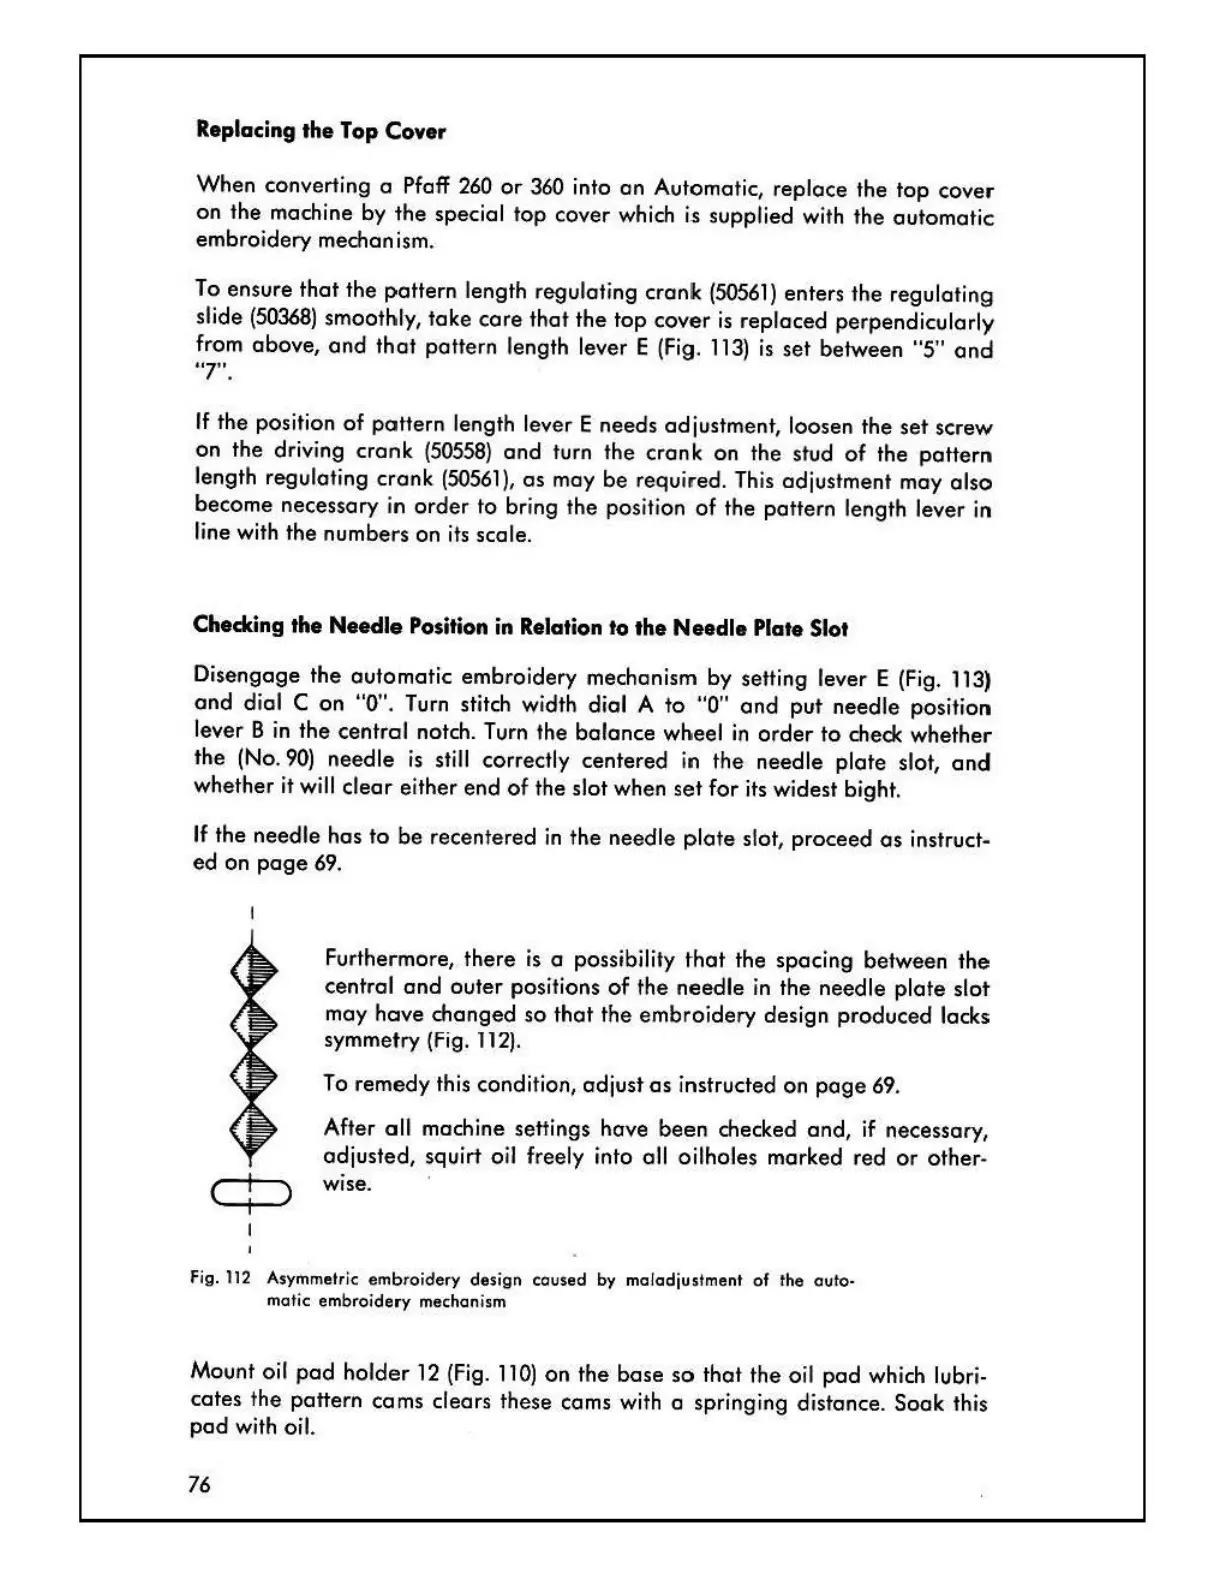
Furthermore,
there
is a possibility
that
the spacing between
the
central
and
outer positions
of
the needle
in
the
needle
plate
slot
may hove
changed
so
that
the
embroidery design produced lacks
symmetry (Fig.
112).
To
remedy this condition,
adjust
as
instructed
on
page
69.
After
all
machine settings have
been
checked
and,
if necessary,
adjusted, squirt oil freely into
all oilholes marked red
or
other-
wtse.
Fig.
112
Asymmetric
embro
idery design caused by malodjustment of the auto·
malic
embro
i
dery
mechanism
Mount oil
pad
holder
12
(Fig.
110)
on
the
base
so
that
the oil
pad
which lubri-
cates
th
e pattern cams clears these cams with a springing distance.
Soak
this
pad
with oil.
76

 Loading...