9.5
BRAKES
9
9923412 - 2012 Sportsman 400/500 and EFI Tractor Service Manual
© Copyright 2011 Polaris Sales Inc.
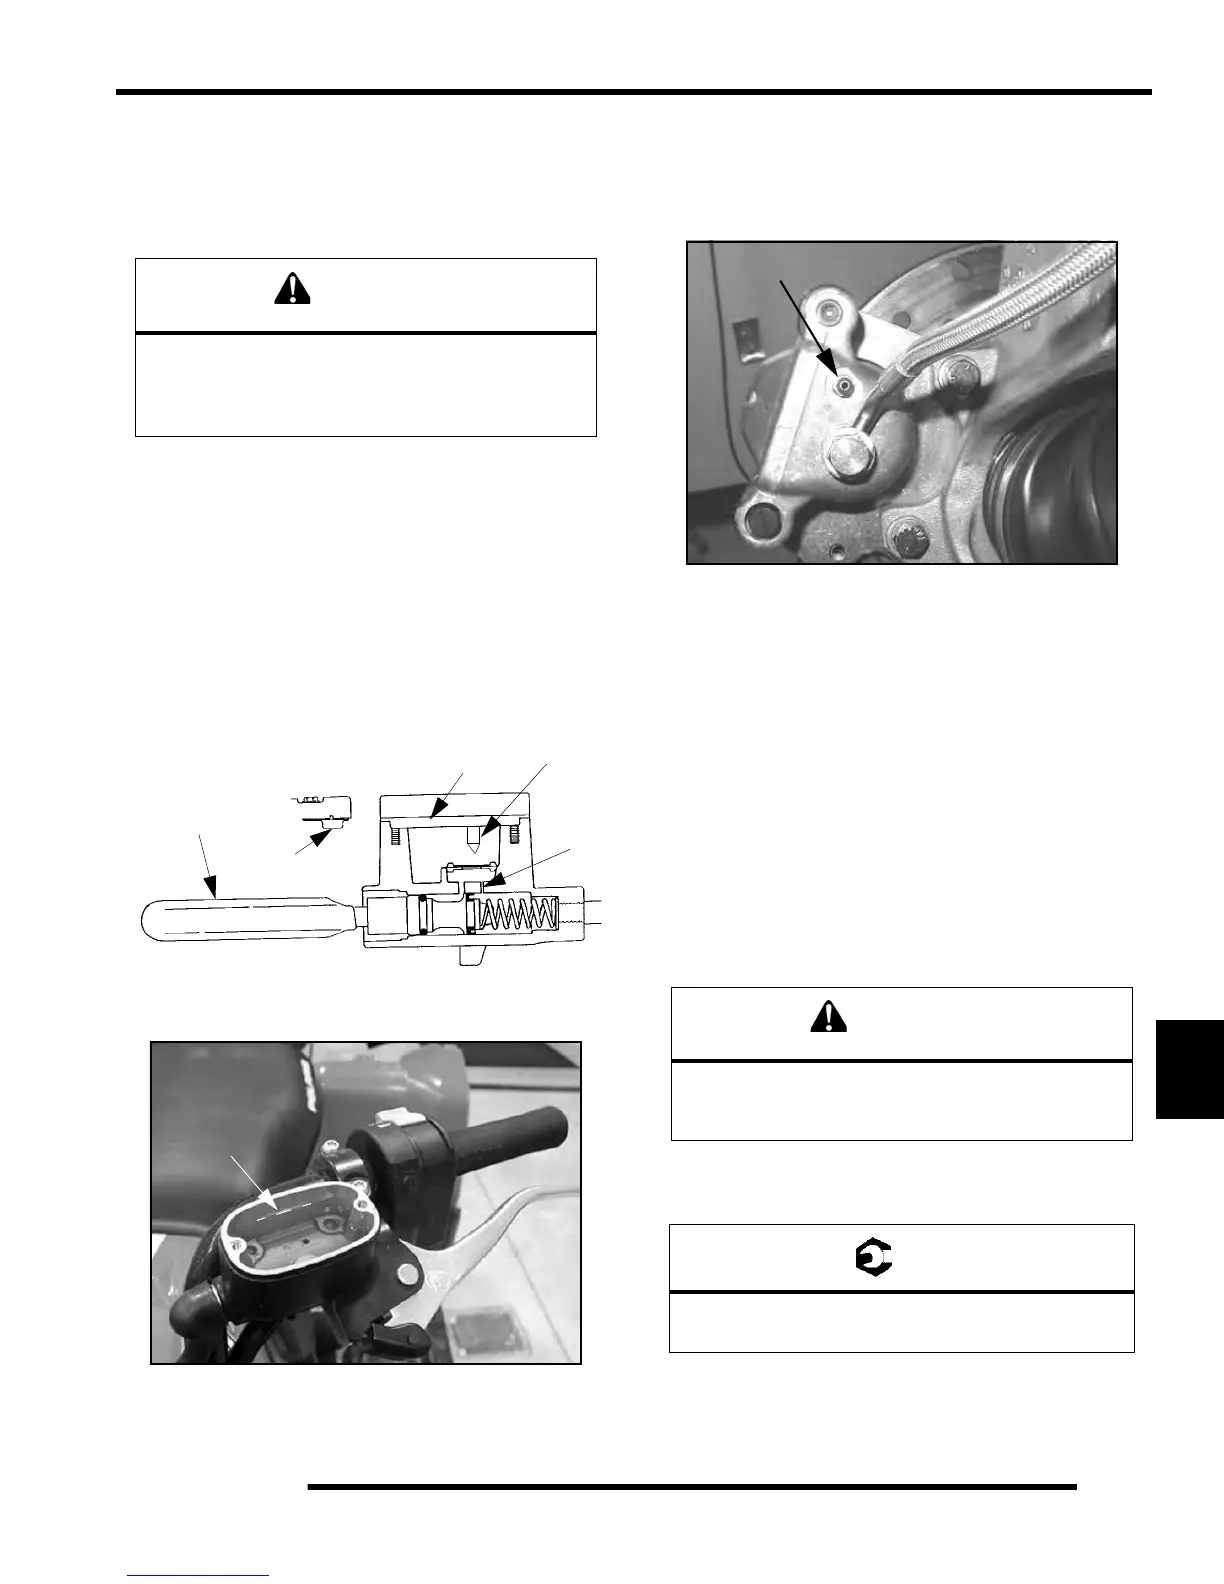
Brake Bleeding / Fluid Change
NOTE: When bleeding the brakes or replacing the
fluid, always start with the caliper farthest from the
master cylinder.
NOTE: Do not remove brake lever when reservoir
fl
uid level is low.
This procedure should be used to change fluid or bleed
b
rakes during regular maintenance.
1. Clean reservoir cover thoroughly.
2. Remove screws, cover and diaphragm (C) from
re
servoir.
3. Inspect vent slots (A) in cover and remove any debris
or
blockage.
4. If changing fluid, remove old fluid from reservoir with
a
Mity Vacä pump (PN 2870975) or similar tool.
5. Begin bleeding procedure with the caliper that is
far
thest from the master cylinder. Install a box end
wrench on caliper bleeder screw. Attach a clean,
clear hose to fitting and place the other end in a clean
container. Be sure the hose fits tightly on fitting.
NOTE: Fluid may be forced from supply port (B)
whe
n brake lever is pumped. Place diaphragm (C) in
reservoir to prevent spills. Do not install cover. See
Illustration above.
6. Slowly pump the brake lever until pressure builds and
ho
lds.
7. While maintaining lever pressure, open bleeder
scr
ew. Close bleeder screw and release brake lever.
NOTE: Do not release lever before bleeder screw is
tight
or air may be drawn into caliper.
8. Repeat procedure until clean fluid appears in bleeder
h
ose and all air has been purged. Add fluid as
necessary to maintain level in reservoir.
9. Tighten bleeder screw securely and remove bleeder
h
ose. Torque the bleeder screw to specification.
10. Repeat procedure Steps 5-9 for the remaining
ca
liper(s).
Always wear safety glasses during these
procedures. Brake fluid will damage finished
surfaces. Do not allow brake fluid to come in contact
with finished surfaces.
Maintain at least 1/2", (1.27 cm) of brake fluid
in the reservoir to prevent air from
entering the master cylinder.
Bleeder Screw Torque:
25-30 in.lbs. (2.80-3.40 Nm)

 Loading...