8
9940259 R02 - 2022 RZR PRO R / PRO R 4 Service Manual
© Copyright Polaris Industries Inc.
8.9
4. Install upper ball joint pinch bolt and lower ball joint
nut. Torque to specification.
TORQUE
Upper Ball Joint Pinch Bolt:
52 ft-lbs (70 Nm) - Torque bolt side
TORQUE
Lower Ball Joint Nut:
44 ft-lbs (60 Nm) + 90° (Single Use)
5. Install brake disc and caliper assembly. Torque brake
caliper fasteners to specification.
TORQUE
Front Caliper Mounting Bolts:
73 ft-lbs (100 Nm)
6. Install front knuckle assembly and axle nut. Torque
NEW axle nut to specification.
TORQUE
Wheel Axle Nut:
89 ft-lbs (120 Nm)
7. Install the steering tie rod end onto the front steering
knuckle.
8. Torque the tie rod end fastener to specification.
TORQUE
Tie Rod End Fastener:
52 ft-lbs (70 Nm) + 90°
9. Install wheel and five wheel nuts. Torque wheel nuts
to specification.
TORQUE
Wheel Nuts:
148 ft-lbs (200 Nm)
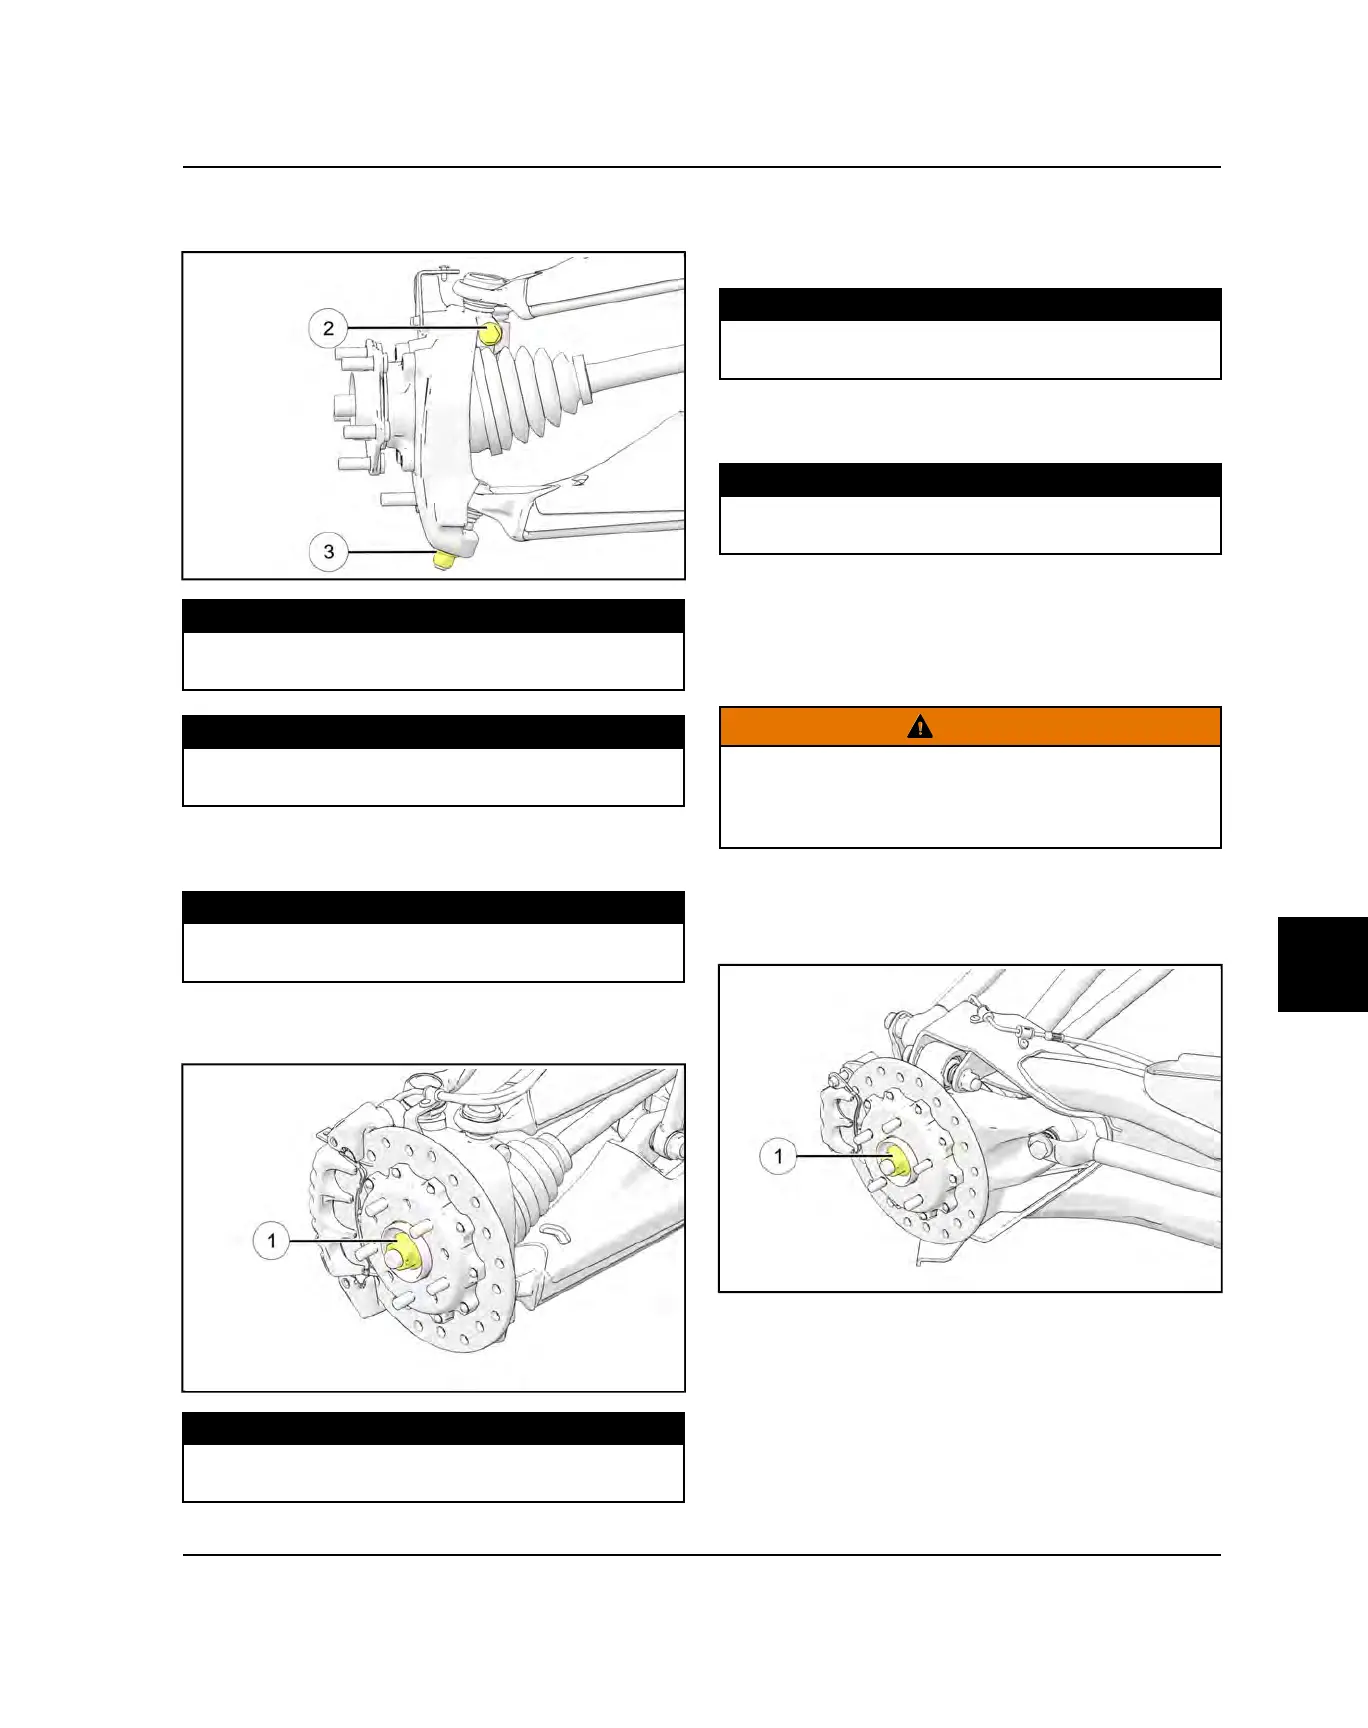
REAR HALF SHAFT REMOVAL
1. Elevate rear of vehicle and safely support machine
under the frame area.
WARNING
Serious injury may result if machine tips or falls. Be
sure machine is secure before beginning this service
procedure. Wear eye protection when removing
bearings and seals.
2. Remove the wheel nuts and rear wheel.
3. Remove rear axle nut
q
from the rear wheel hub
assembly.
FINAL DRIVE
 Loading...