Adjusting the Drop Position Automatically
This function corrects the misalignment of the ink dropping position automatically so that it reduces
image quality defects.
You cannot print a test pattern on narrow media. When adjusting the drop position automatically, use
media that has a width of 297 mm (approx. 11.7 inches) or more.
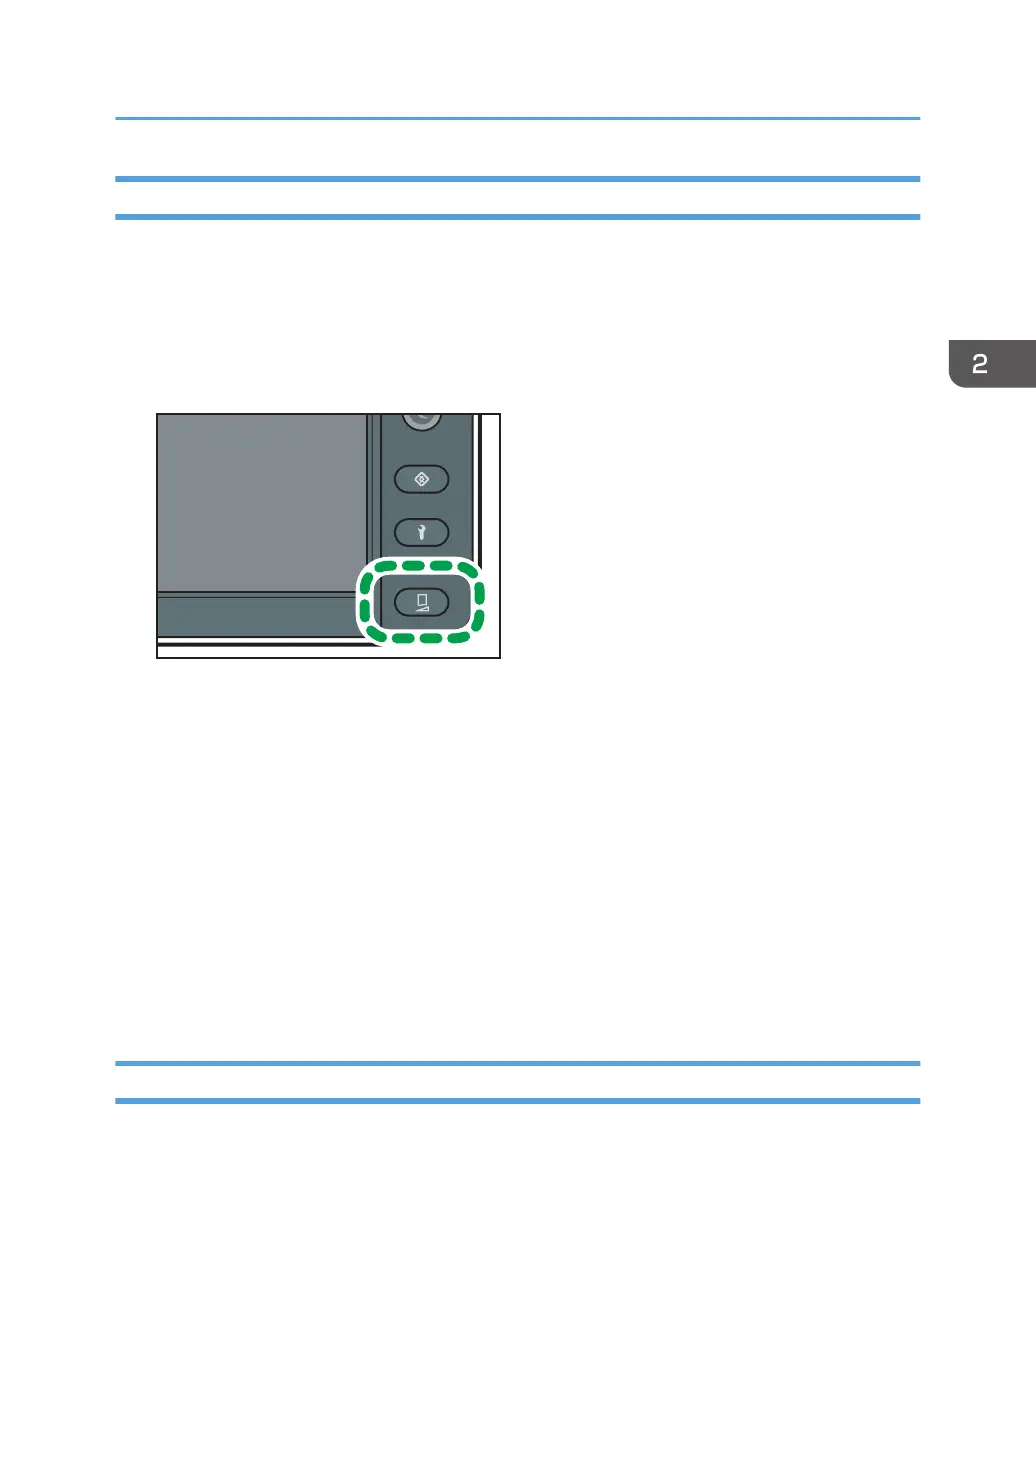
1. Press the [Standard Procedure] key.
2. Press [Drop Position Adjustment].
3. Press [Auto].
4. Select a print mode from [6 Pass / 8 Pass], [12 Pass], [16 Pass], or [32 Pass].
If the ink configuration used for the machine is 4C+W, you can select [12 Pass (White)].
5. Press [Execute].
The test pattern of the drop position adjustment is printed, and then drop position adjustment is
performed.
6. Press [Confirm].
7. Press [Close] twice.
8. Press [End].
Adjusting the Drop Position Manually
If image quality defects cannot be reduced even after adjusting the drop position automatically or you
want to adjust visually, adjust the drop position manually.
When using transparent or colored media, adjust the drop position manually.
You cannot print a test pattern on narrow media. When adjusting the drop position manually, use media
that has a width of 420 mm (approx. 16.5 inches) or more.
Adjusting the Drop Position
97
 Loading...