19
ASSEMBLY AND INSTALLATION
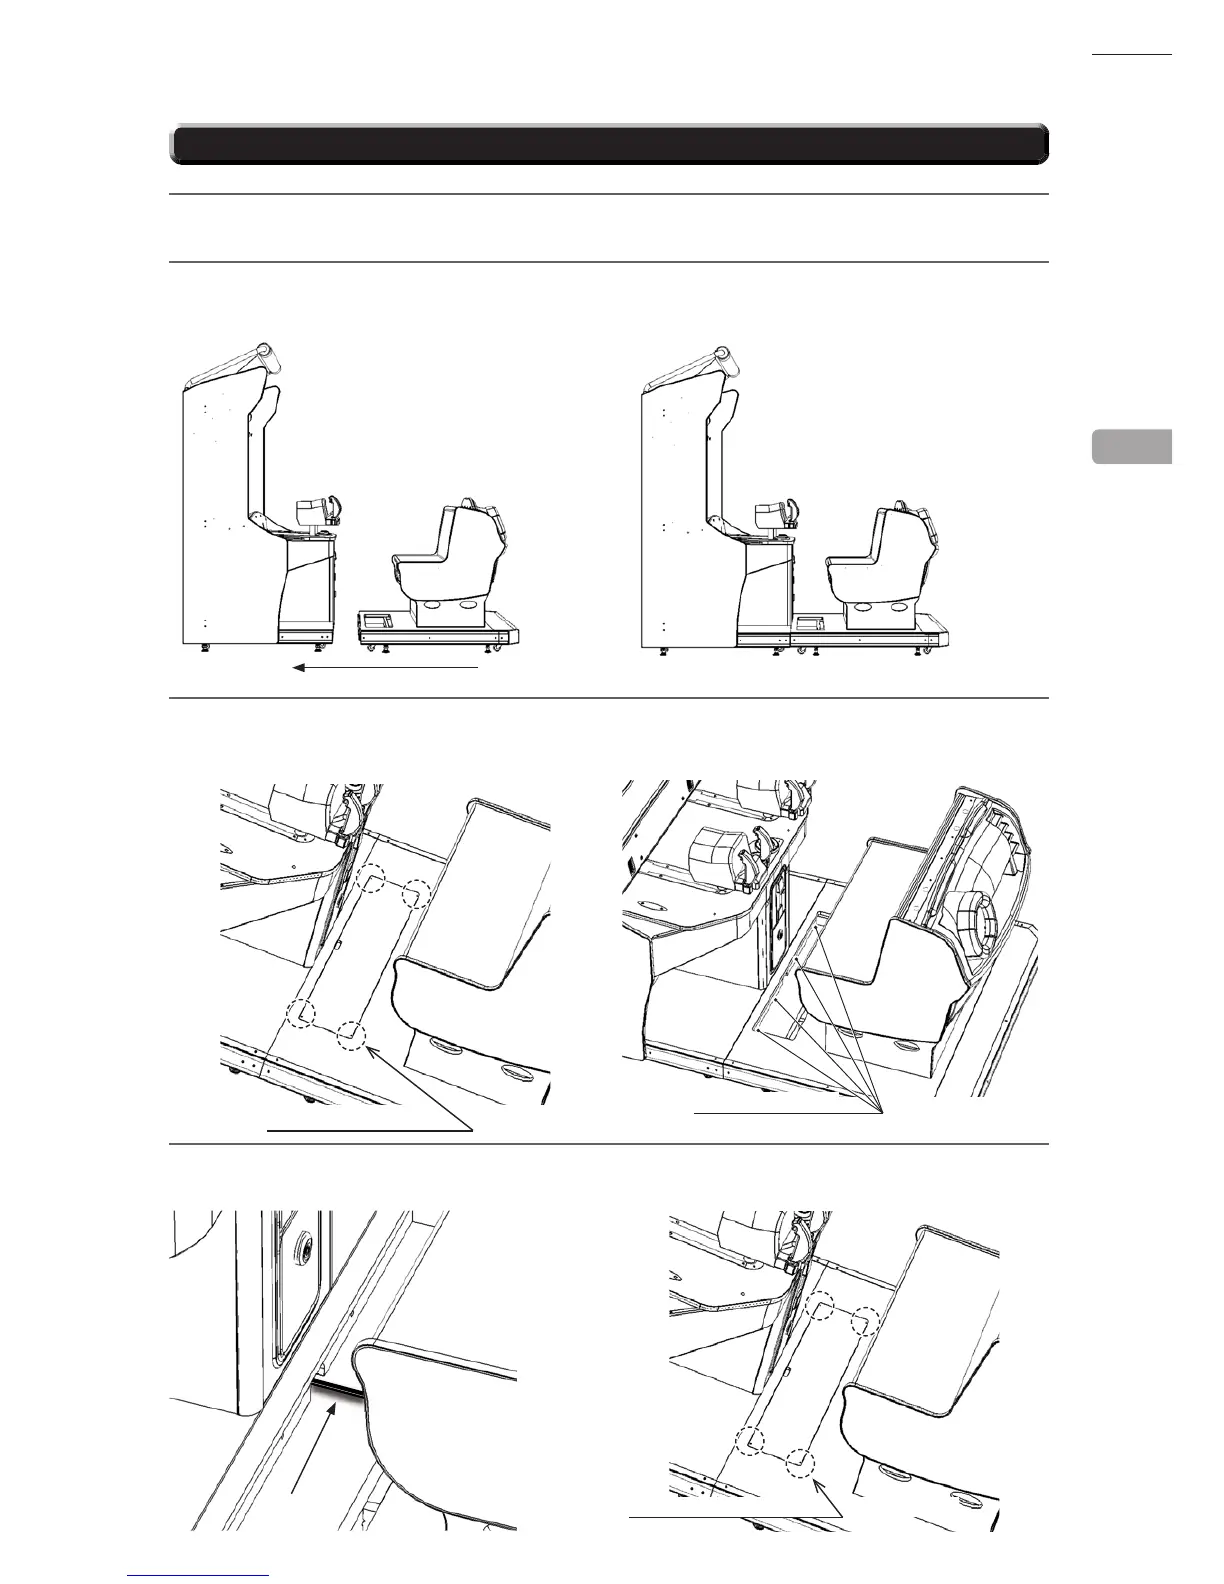
6-2 CONNECTING THE REAR CABINET TO THE FRONT CABINET
1
Move the product to the installation site. Be careful not to push on the screen or the plastic components.
Place the product so the back of the front cabinet is at least 0.15 m (5.9 in) from the wall.
2
Carefully push the Seat Cabinet up to the Display Cabinet and align.
3
Remove the (4) M4x30 Machine Screws which secure the lower door panel to the cabinet. Remove the
lower door panel and thread the M8x70 HEX BOLTS (4) Through the Seat Cabinet into the Display Cabinet
and tighten..
4
Connect the Harness from the Seat into the centre of the Display Cabinet. Re-t the lower door panel using
the (4) Machine screws removed in step 3.
6
M8x70 (4)
M8 Hex Bolt w/at and spring washers
Harness
M4x30 Machine Screws (4)
M4x30 Machine Screws (4)
 Loading...