13-1 TOP VOLUME
13-1-1 TOP VOLUME ADJUSTMENT
1
Turn off the power switch.
2
Using an Allen wrench with 2.5 mm measuring
distance, remove the 7 hexagonal socket bolts
and take off the controller cover.
3
Loosen the 2 screws and move the top volume bracket to adjust the gear mesh angle and seating. Ensure
that the D cut surface of the volume rotation axis is as shown in the below right gure when the controllers
are positioned as shown in the gure.
4
After adjusting, tighten the 2 screws.
5
Operate the controller and check to make sure the gears rotate smoothly.
6
Refer to Step 2 to attach the controller cover.
7
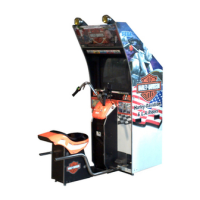
Turn on the power and be careful not to touch the motorcycle mechanism when doing so. The seat
initialization operation will be performed automatically after the power is turned on.
8
Set the volume value on the “CONT CALIBRATION SETTING” in GAME TEST MODE. The
recommended top volume setting when the controllers are as shown in the above gure is “80H ± 8H”. Check
to make sure the value decreases when the controllers are pointed at the right side of the screen (hand on the
left side) and increases when the controllers are pointed at the left side (hand on the right side). (See 11-6.)
HEXAGONAL SOCKET BOLT (7), chrome
M4 x 10, at & spring washers used
CONTROLLER COVER
30
゜
D CUT SURFACE
SCREW (2)
TOP VOLUME BRACKET
M4 x 8, w/at & spring washers
 Loading...


