5-35
SCANNER/INTERNET FAX►TRANSMITTING AN IMAGE
SENDING A FAX IN INTERNET FAX MODE
Transmits a fax in Internet Fax mode. This procedure can also be used to perform a direct transmission by Direct SMTP.
• If the memory becomes full while the originals are being scanned, a message will appear and scanning will stop.
• When all originals have been scanned, the message "Job stored." will be displayed together with a job control number. If
necessary, use this number to locate the job in the Transaction Report or in the Image Sending Activity Report.
If the job is a broadcast transmission, this number will also appear in the key of the job in the job status screen. For this
reason, it is advisable to make a note of the number so that you can check the result easily.
• Mail Footer Registration: The specified text is automatically appended to the end of the body text of e-mail. This is
convenient when you wish to append pre-set text such as a corporate policy. To enter the text to append, select [System
Settings] → [Image Send Settings] → [Scan Settings] → [Administration Settings] → [Mail Footer Registration] in "Settings
(administrator)". (Administrator rights are required.)
Enter up to 900 characters. (The appended text is not included in the maximum number of characters that can be entered
in the e-mail body.)
To specify whether or not to append text, select [System Settings] → [Image Send Settings] → [Scan Settings] →
[Administration Settings] → [Add a Footer Automatically to the Mail Message Body] in "Settings".
If a default address has been configured using "Settings" →[System Settings] → [Image Send Settings] → [Scan Settings] →
[Default Address] → [Default Address Setting], the mode cannot be changed, or the destination cannot be changed or added.
To switch to Internet fax mode, tap the [Cancel] key in the touch panel and then perform the transmission procedure.
1
Place the original.
Place the original in the document feeder tray of the automatic document feeder, or on the document glass.
► AUTOMATIC DOCUMENT FEEDER (page 1-75)
► DOCUMENT GLASS (page 1-77)
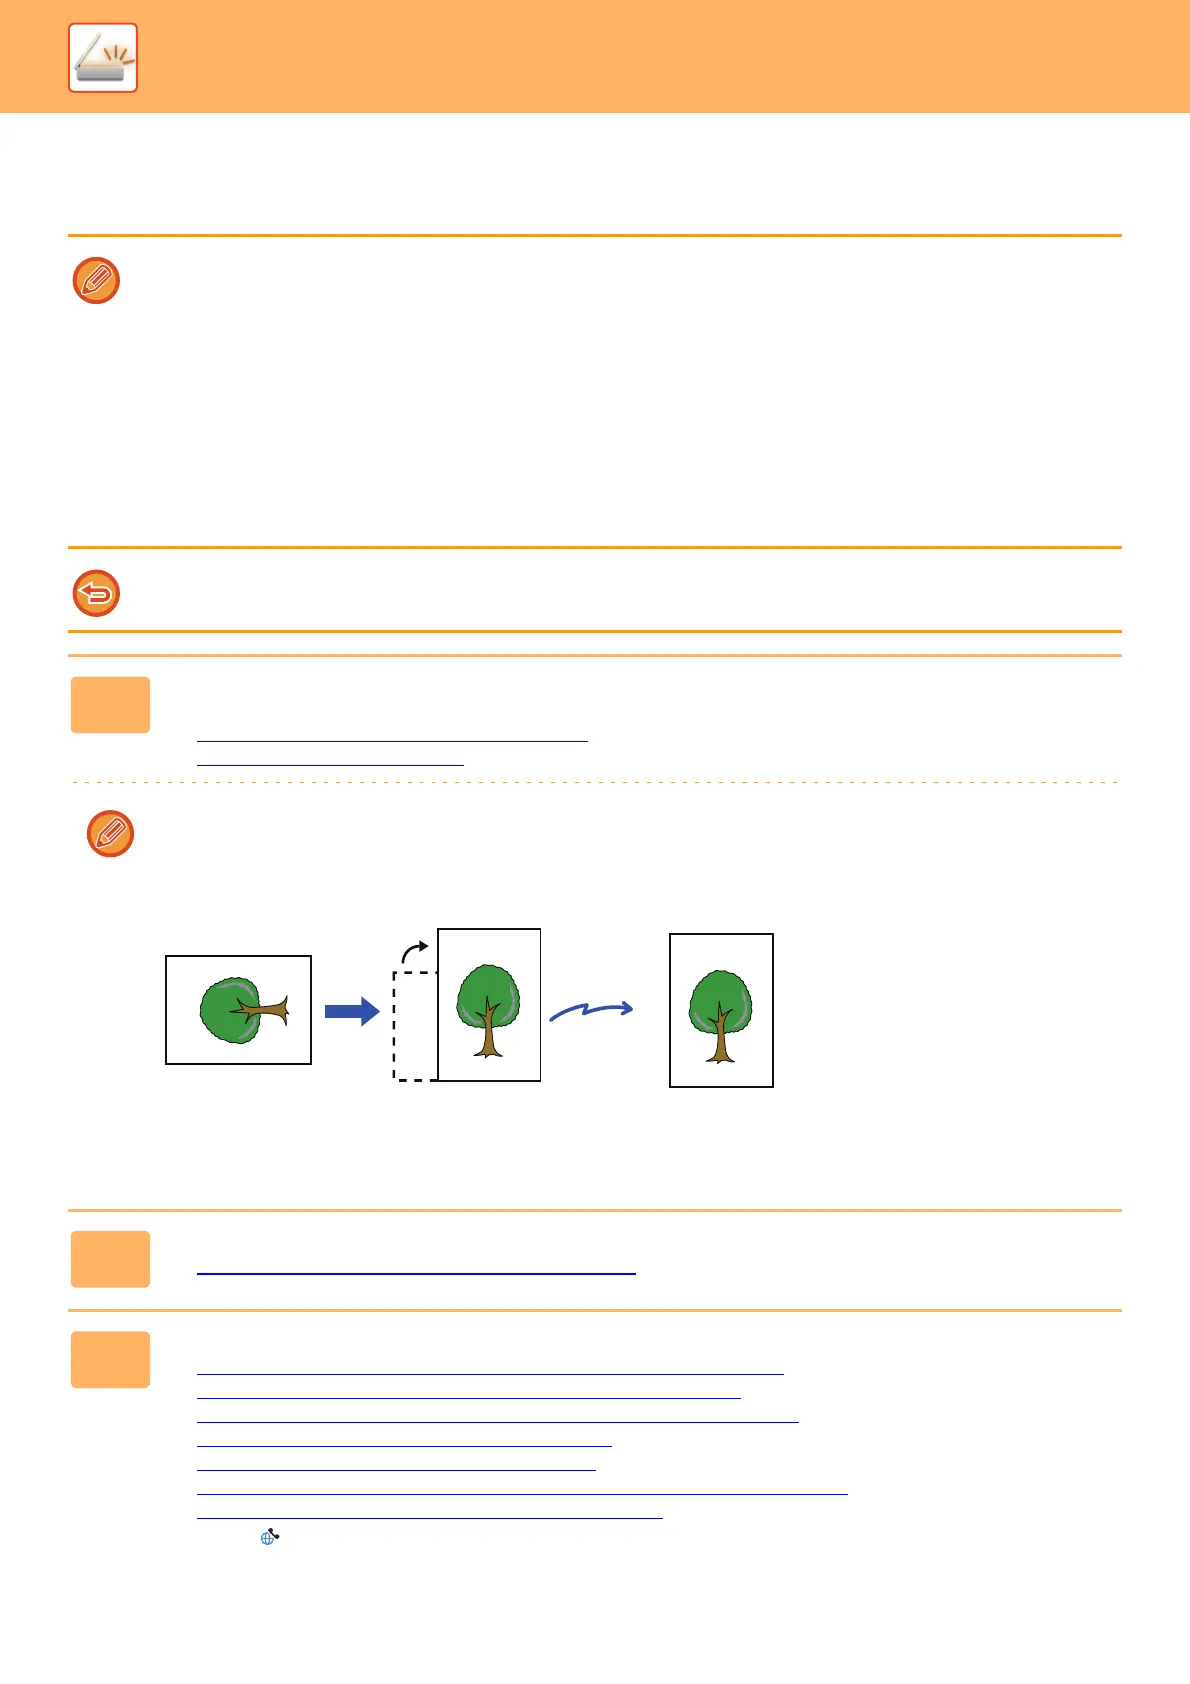
Rotation sending
5-1/2" x 8-1/2"(A5) or B5 size original will be rotated 90 degrees and transmitted as an
5-1/2" x 8-1/2"(A5) or B5 image in portrait orientation.
(Rotation sending is not available for originals with 5-1/2" x 8-1/2" (B5 or A5) size.)
2
Tap the mode display to switch to the initial screen of Internet Fax mode.
► SELECTING NETWORK SCANNER MODE (page 5-9)
3
Specify the destination.
► RETRIEVING A DESTINATION FROM AN ADDRESS BOOK (page 5-15)
► VIEWING A LIST OF THE SELECTED DESTINATIONS (page 5-18)
► USING A SEARCH NUMBER TO RETRIEVE A DESTINATION (page 5-19)
► ENTERING AN ADDRESS MANUALLY (page 5-20)
► SPECIFYING A NETWORK FOLDER (page 5-21)
► RETRIEVING A DESTINATION FROM A GLOBAL ADDRESS BOOK (page 5-22)
► USING A TRANSMISSION LOG TO RESEND (page 5-24)
The icon of appears in one-touch keys in which Internet fax addresses are stored.
When an original is
placed in horizontal
orientation
Rotated to vertical
orientation
Image is transmitted in
vertical orientation.
Send
 Loading...