Programming
8.2 Controlling a F-TM ServoDrive via the SINA_SPEED instruction
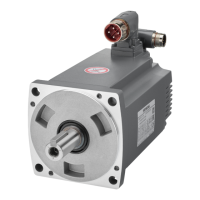
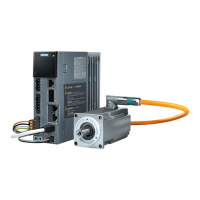
F-TM ServoDrive
86 Equipment Manual, 02/2020, A5E47579503-AA
Basic procedure in STEP 7
1. In the project tree, create PLC data types in the CPU 2 with the appropriate structure for
your configuration:
– PLC data type for the structure of the input data (depending on PROFIdrive telegram
type and telegram extension)
– PLC data type for the structure of the output data (depending on PROFIdrive telegram
type and telegram extension)
2. Create a tag from each type of the PLC data type in a tag table.
3. Assign the addresses for the tag according to the configured I/O addresses of the
F-TM ServoDrive.
4. Control the F-TM ServoDrive by setting outputs bit-by-bit. You can find a description on
how to set the outputs to control the F-TM ServoDrive in the PROFIdrive standard.
You can find the current PROFIdrive specification under https://www.profibus.com/
(https://www.profibus.com/
).
8.2 Controlling a F-TM ServoDrive via the SINA_SPEED instruction
Control with the SINA_SPEED instruction
For controlling the F-TM ServoDrive, you can also use the SINA-SPEED instruction from the
"DriveLib" block library.
The "DriveLib" block library can be downloaded from the Internet
(https://support.industry.siemens.com/cs/ww/en/view/109475044
).
8.3 Controlling F-TM ServoDrive with a technology object
Control with a technology object
You can also use a technology object, e.g. "Speed axis", for controlling the F-TM
ServoDrive. Note that the F-TM ServoDrive only supports speed operation and no
positioning.
Procedure
1. Create, for example, a "Speed axis" technology object in the CPU in the project tree in
STEP 7.
2. Open the technology object.
3. Select "F-TM ServoDrive" under "Configuration" > "Hardware interface" > "Drive".
4. Reference the technology object in the user program using the Motion Control technology
instructions, e.g. "MC-Power".
Additional information
You can find more information about the technology objects and technology instructions in
the online help of STEP 7.
 Loading...