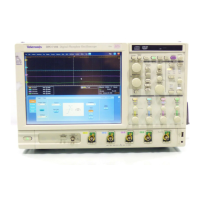
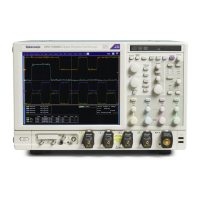
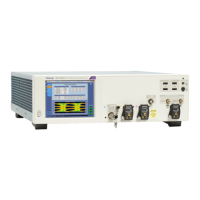
Set up triggering from the front panel
The front panel provides quick access to the most frequently used trigger controls. The trigger readout shows you the state of the
trigger system. On DPO70000SX instruments use the DPO7AFP accessory.
The Slope, Coupling, and Source controls only apply to edge triggering. To access the advanced trigger controls, open the
Trigger Setup control window by pushing the Advanced button. (See Advanced Triggering for more information.)
Use the following procedure to set up triggers using the front-panel controls:
1. Set the acquisition system to Run (the Run/Stop control is lighted), and set the vertical and horizontal controls appropriately
for the signal you want to acquire.
2. Push the Edge button to select edge triggering. Pushing Advanced opens the Trigger control window to set up other trigger
types.
3. Push the Slope button to toggle between Positive and Negative:
■
Pos. Triggers on a rising edge (positive-going) signal.
■
Neg. Triggers on a falling edge (negative-going) signal.
■
Pos + Neg. Triggers on both edges of the signal.
You can also set the Polarity in the Trigger control window.
4. To manually change the trigger level for edge triggers (or certain threshold levels for logic or pulse triggers), turn the front-
panel Level knob. You can also set the Level in the Trigger control window.
5. To quickly set the edge trigger level to 50% of the waveform voltage range, push the Level knob. The instrument sets the
trigger level to the halfway point between the peaks of the trigger signal. This function has no effect for the other trigger
types.
You can also click Set 50% in the Trigger control window.
6. Push the Trigger left and right arrow button to select a Source:
■
Ch 1 through Ch 4. These are the input channels. The channel you select as a trigger source will function whether it is
displayed or not.
■
Ext. This is a fifth, nondisplayable auxiliary (external) trigger source. To use the auxiliary trigger, connect the source to
the front-panel Auxiliary In connector.
■
Line. This is the AC line voltage. The oscilloscope is used to generate the trigger and you do not have to input a signal.
The trigger level is fixed at zero volts.
7. From the Trig menu select Edge Setup to set the Coupling for an A or B Event main trigger:
■
DC. Passes both AC and DC components of the input signal.
■
AC. Passes only the AC components of an input signal.
■
HF Reject. Attenuates signals above 30 kHz.
■
LF Reject. attenuates signals below 80 kHz.
■
Noise Rej. Provides lower sensitivity, reducing the chance of falsely triggering on noise.
■
RF. Increases sensitivity and bandwidth at the highest operating frequencies (SX models only).
8. Push the front-panel Mode button to toggle between normal and automatic trigger modes:
■
Norm (Normal). Requires a valid trigger event to acquire a waveform.
■
Auto (Automatic). Acquires a waveform even if no valid trigger event occurs.
NOTE. Be aware that in Auto mode, the acquired waveforms may not be triggered.
How to ?
DPO70000SX, MSO/DPO70000DX, MSO/DPO70000C, DPO7000C, and MSO/DPO5000B Series 621

 Loading...


