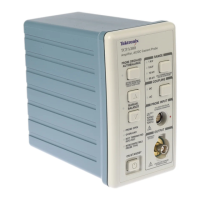
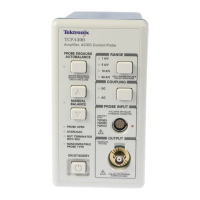
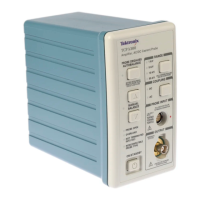
TCPA300/400 Amplifiers and TCP300/400 Series Current Probes Instruction Manual
3-19
Troubleshooting and Error Codes
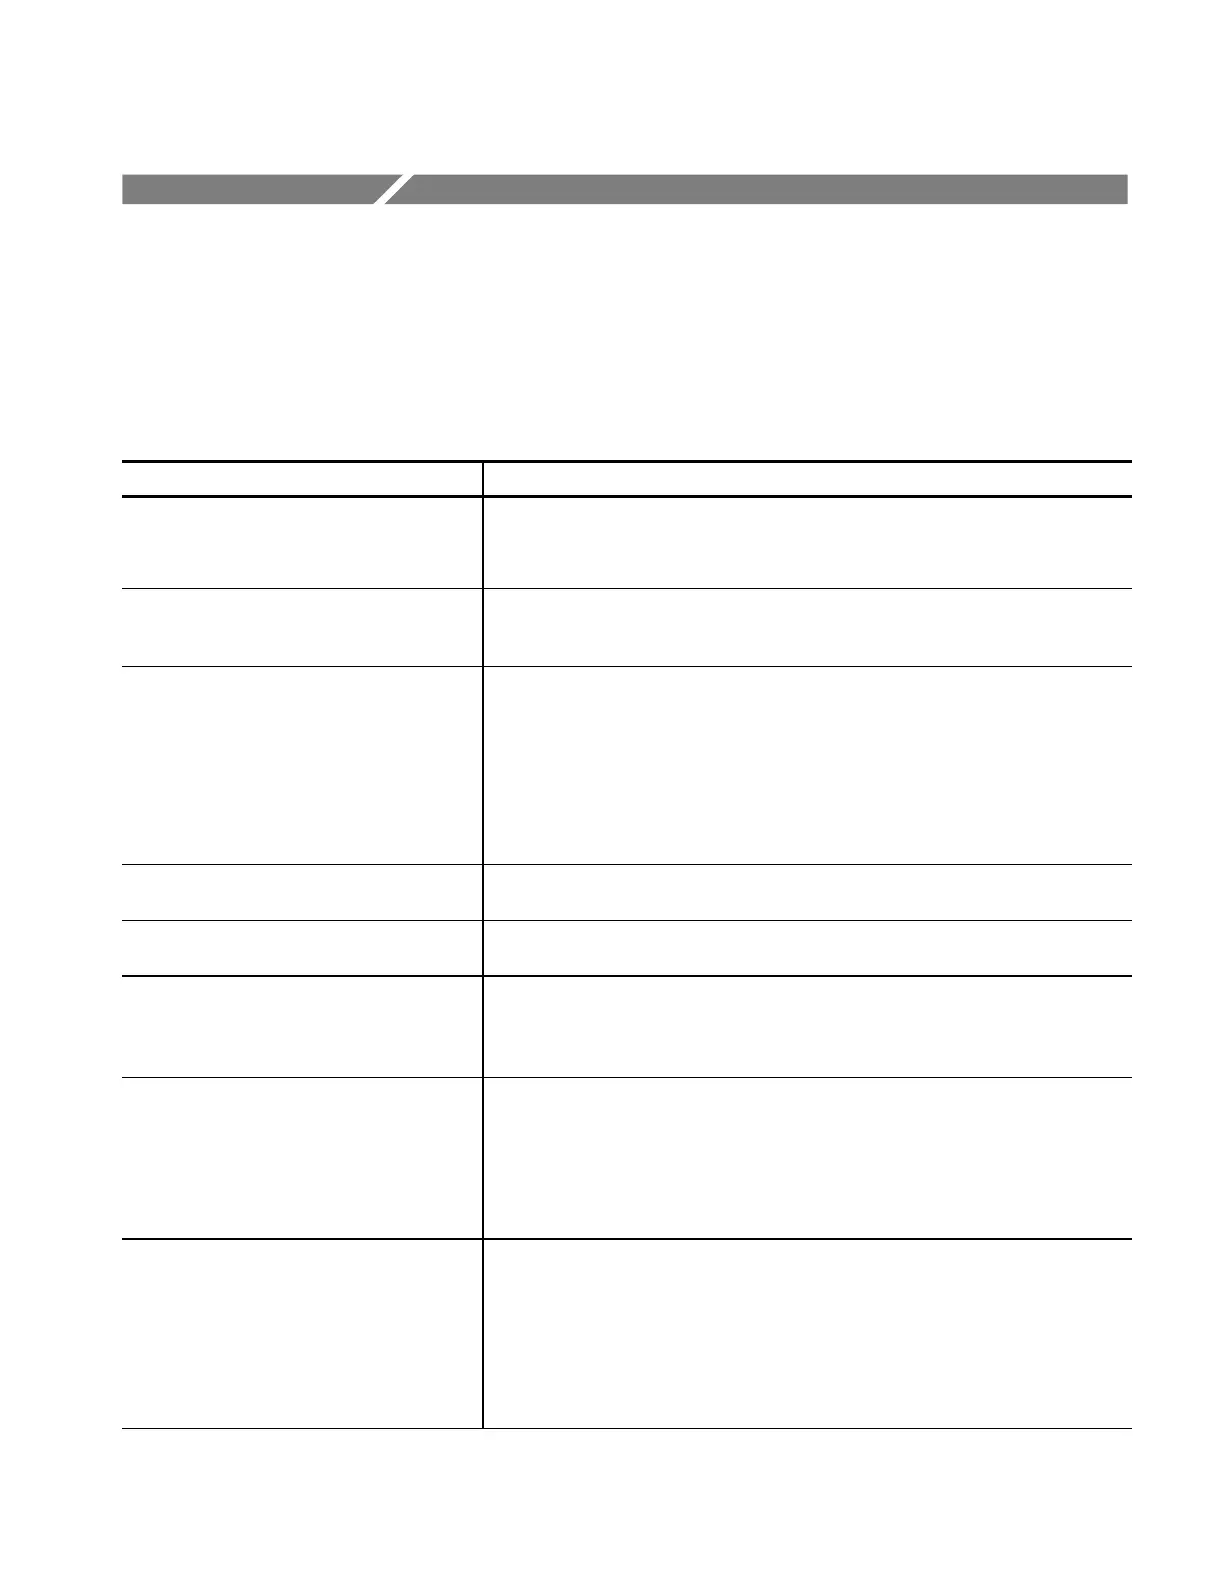
Table 3--3 lists possible problems that you may encounter when measuring
current with the TCPA300 and TCPA400. Use this as a quick troubleshooting
reference.
Table 3- 3: Troubleshooting
Problem Remedy
Amplifier will not power on Check that the ampl ifi er is pl ugged into a working AC outlet.
Defective amplifier. See HW Troubleshooting on page 7--21 to help determine which
module is defecti ve, or refer the instrument to qualified service personnel for repair.
Front panel displ ays an error status. Error
Status LEDs are on the lower-left section of
the ampli fier f ront panel
Note the error status and correct the condition. The error status is labeled on the front
panel. For exampl e, i f t he PROBE OPEN LED is lit, close and lock the probe jaws.
The AC and DC COUPLING LEDs are
flashing al ternately
The Error Status LEDs are displaying an error code. Error codes are described on
page 3--22. Not e the error code and turn the instrument off, then on. If the error
condition persists, refer the instrument to qualified service personnel for repair.
If the RANGE and DEGAUSS LED are both off, and one of the COUPLING LEDs is
lit, this indicates the amplifier is not detecting a probe. Reconnect the probe.
All LEDs f lashing indicate a t hermal shut down. Power-cycle the system and let it cool
for 15 minut es before taking measurements. In most cases, 15 minutes is sufficient.
All LEDs are f lashing All LEDs flashing indicates a thermal shutdown. Power-cycle the system and let it
cool before taki ng measurement s. I n most cases, 15 minutes is sufficient.
OVERLOAD LED remains lit red after
removing probe from ci rcui t.
Probe transformer or amplifier main board is defective.
OVERLOAD LED remains lit orange Degauss the probe. If the OVERLOAD LED remains lit orange, disconnect the probe
from the circuit and let it cool for 15 minutes before degaussing again. If this does not
clear the LED, the probe transformer or probe Hall device may be defective. Connect
another probe to the amplifier, or connect the probe in question to another amplifier.
Probe does not degauss successfully and
LEDs are lighted in an unfamiliar pattern
Amplifier is displaying an error code or is out of calibration or defective. Refer to
Interpreting the Error Code display on page 3--23. If another amplifier is available, try
to degauss the probe on the other amplifier, to help isolate the cause.
Component failure on probe circuit board: broken adjustment/wire/etc. Disassemble
probe, repair/replace component or refer the instrument to qualified service personnel
for repair.
Cannot degauss the probe Current Probe is not locked. Lock the current probe.
Current Probe is improperly connected to the amplifier input connector.
Amplifier output is not terminated into 50 Ω load. Set input impedance of oscilloscope
to 50 Ω or connect a 50 Ω feed-through termination at the oscilloscope input, not at
the amplifier output.
Current Probe is defective or not compatible with the amplifier type.
 Loading...