TopAccess
[Administration] Tab Page 55
0.[Administration] Tab Page
Home Setting
Home Setting
You can set the default screen displayed by pressing the [Home] button on the control panel when user
authentication is enabled. The settings vary, depending on the [Sync Setting] setting.
For the procedure for home data synchronization, refer to the following page.
P.93 “Setting Home Data Synchronization”
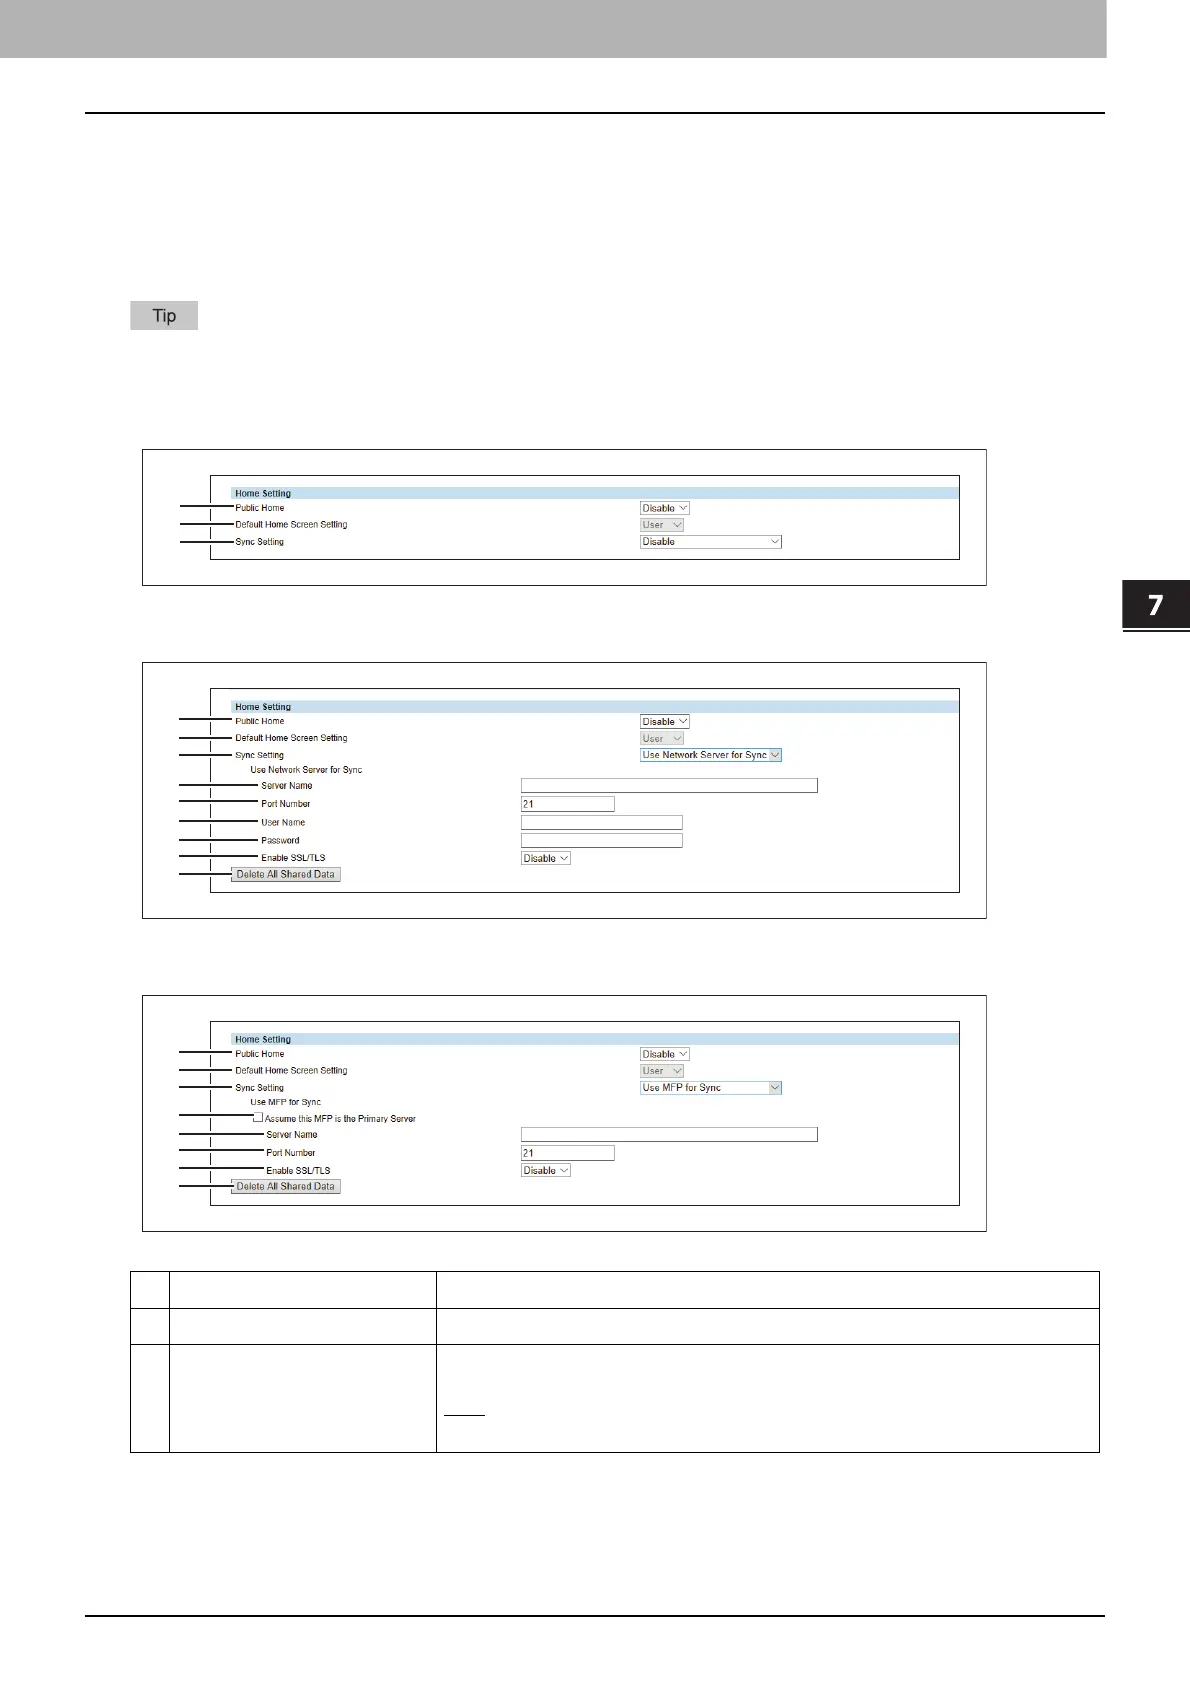
When [Disable] is selected from [Sync Setting]
When [Use Network Server for Sync] is selected from [Sync Setting]
When [Use MFP for Sync] is selected from [Sync Setting]
Item name Description
1 Public Home Select whether to enable or disable Public Home.
2 Default Home Screen Setting Select the Home to be displayed as the default screen when you press the
[Home] button.
User
: Select this to the User Home screen.
Public: Select this to display the Public Home screen.
 Loading...