7.TopAccess
Functional Setups 93
TopAccess
Setting Home Data Synchronization
Once you have registered multiple MFPs for connection, you can use the common HOME screen when you log in to any
one of the registered MFPs that are connected to the network. If MFP is used to synchronize the HOME screens, up to
10 MFPs can be connected.
P.93 “Procedure for Home Data Synchronization”
If you change the default settings on any of the connected MFPs after you start the home data synchronization, you
need to set the same changes for all of the connected MFPs or you need to create a clone file except User Management
and Address Book on the MFP where you have changed the settings and install it into all the other connected MFPs.
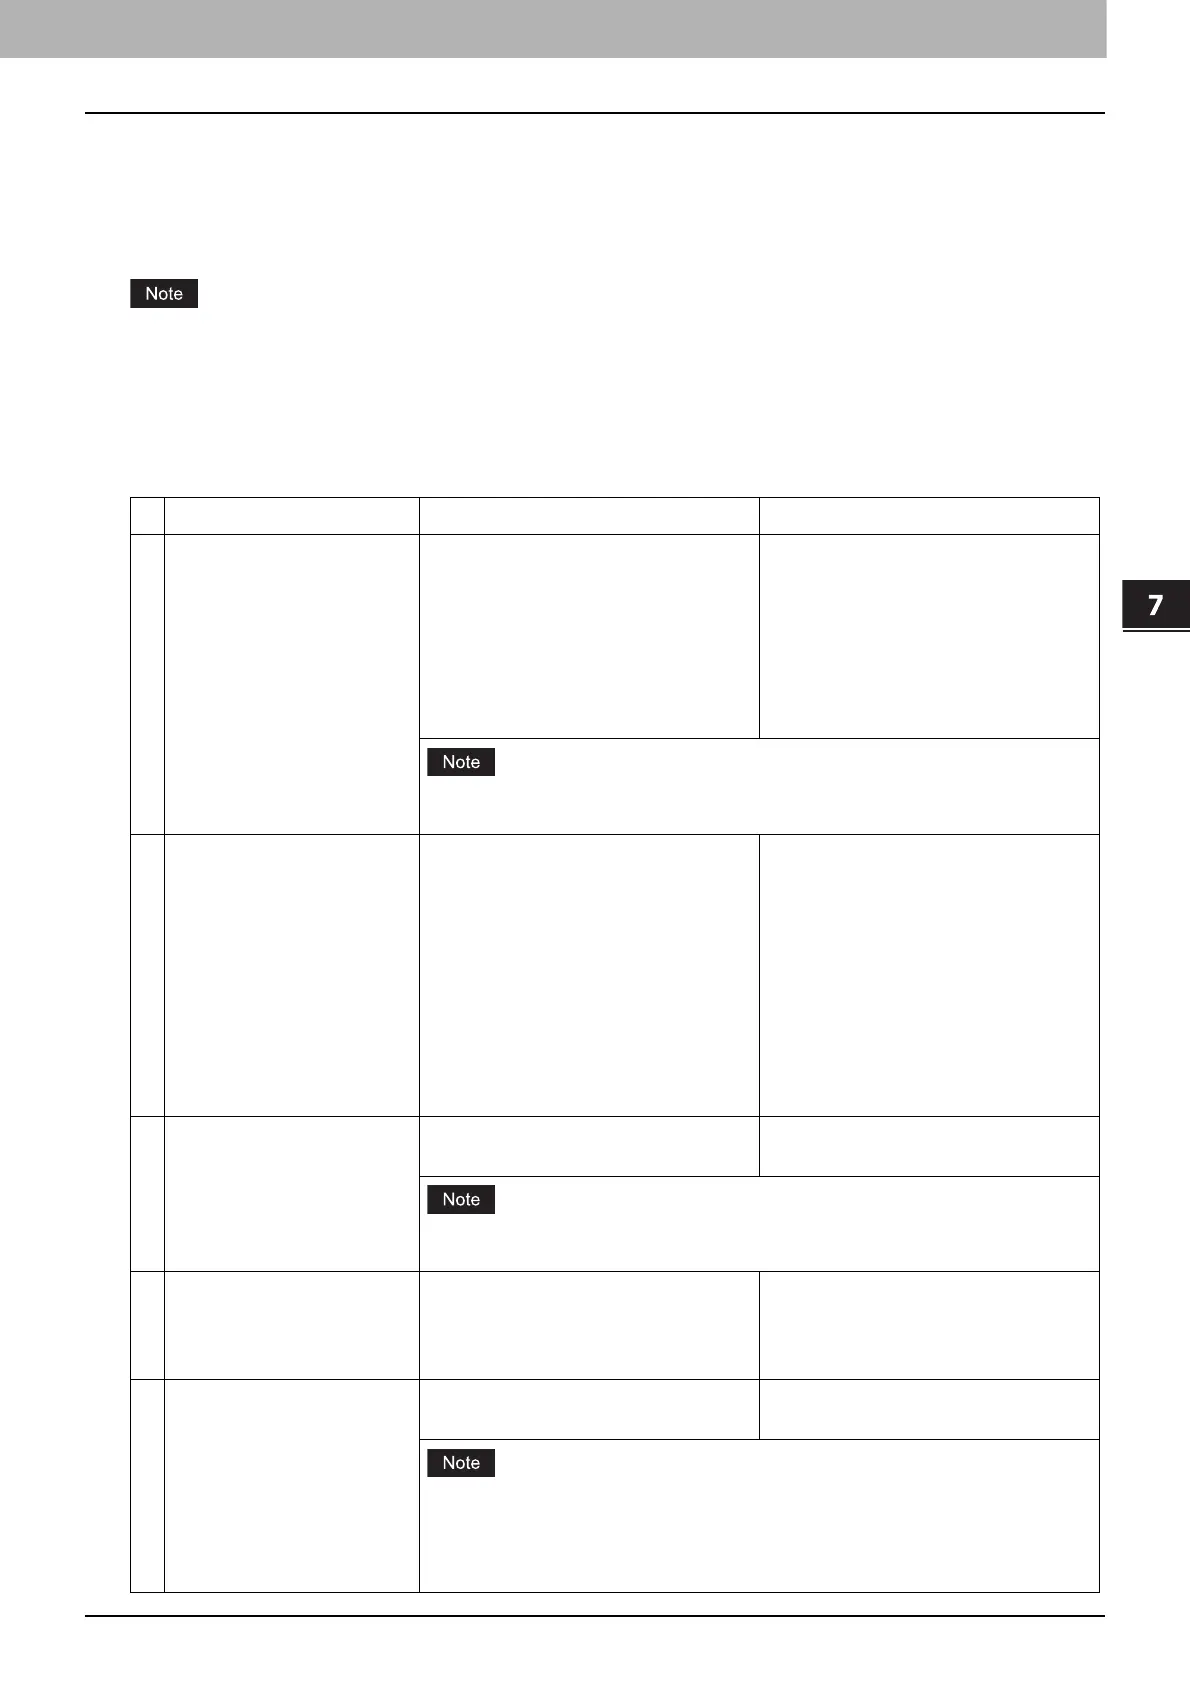
Procedure for Home Data Synchronization
The following table explains the procedure to synchronize the HOME screens by means of MFP.
Operation Description Reference
1 Setting the first MFP for
connection
Register this MFP where you currently
log in with TopAccess as the first
device.
Make several settings such as user
information, address book, default
settings for jobs, installation of
applications, EWB function settings,
and others.
TopAccess Guide “[User Management]
Tab Page Overview”
TopAccess Guide “[Address Book] Item
list”
TopAccess Guide “[Application] Item
List”
TopAccess Guide “Embedded Web
Browser settings”
Make sure that [Enable FTP Server] is enabled.
TopAccess Guide “Setting up FTP Server”
2 Creating a clone file Create a clone file to copy the settings
of the first MFP and install it into the
second or later MFPs.
Include the following categories in the
clone file:
Default Settings
User Management
Network/Print Service
Address Book
Application
P.78 “Create Clone File settings”
3 Setting the second or later
MFPs for connection
Install the created clone file into the
second or later MFPs.
P.80 “Install Clone File settings”
Execute [Delete All Shared Data] before you install the clone file.
P.55 “Home Setting”
4 Setting the primary server Select one MFP as the primary server
for connection and configure the
shared user management and the
shared address book.
TopAccess Guide “Setting up User
Authentication Setting”
TopAccess Guide “Shared Setting”
5 Setting the home data
synchronization
Set the home data synchronization on
all MFPs for connection.
P.55 “Home Setting”
To disconnect MFP, select [Disable] from [Public Home] on the MFP
concerned.
Select [Assume this MFP is the Primary Server] on the MFP that you use as the
primary server.
 Loading...