2.SETTING ITEMS (ADMIN)
Setting General Functions 127
2 SETTING ITEMS (ADMIN)
Exporting logs
This menu allows you to export logs for each operation (PRINT/SEND/RECEIVE/SCAN) into your USB storage device,
which are displayed in the Job Status Log List screen.
1
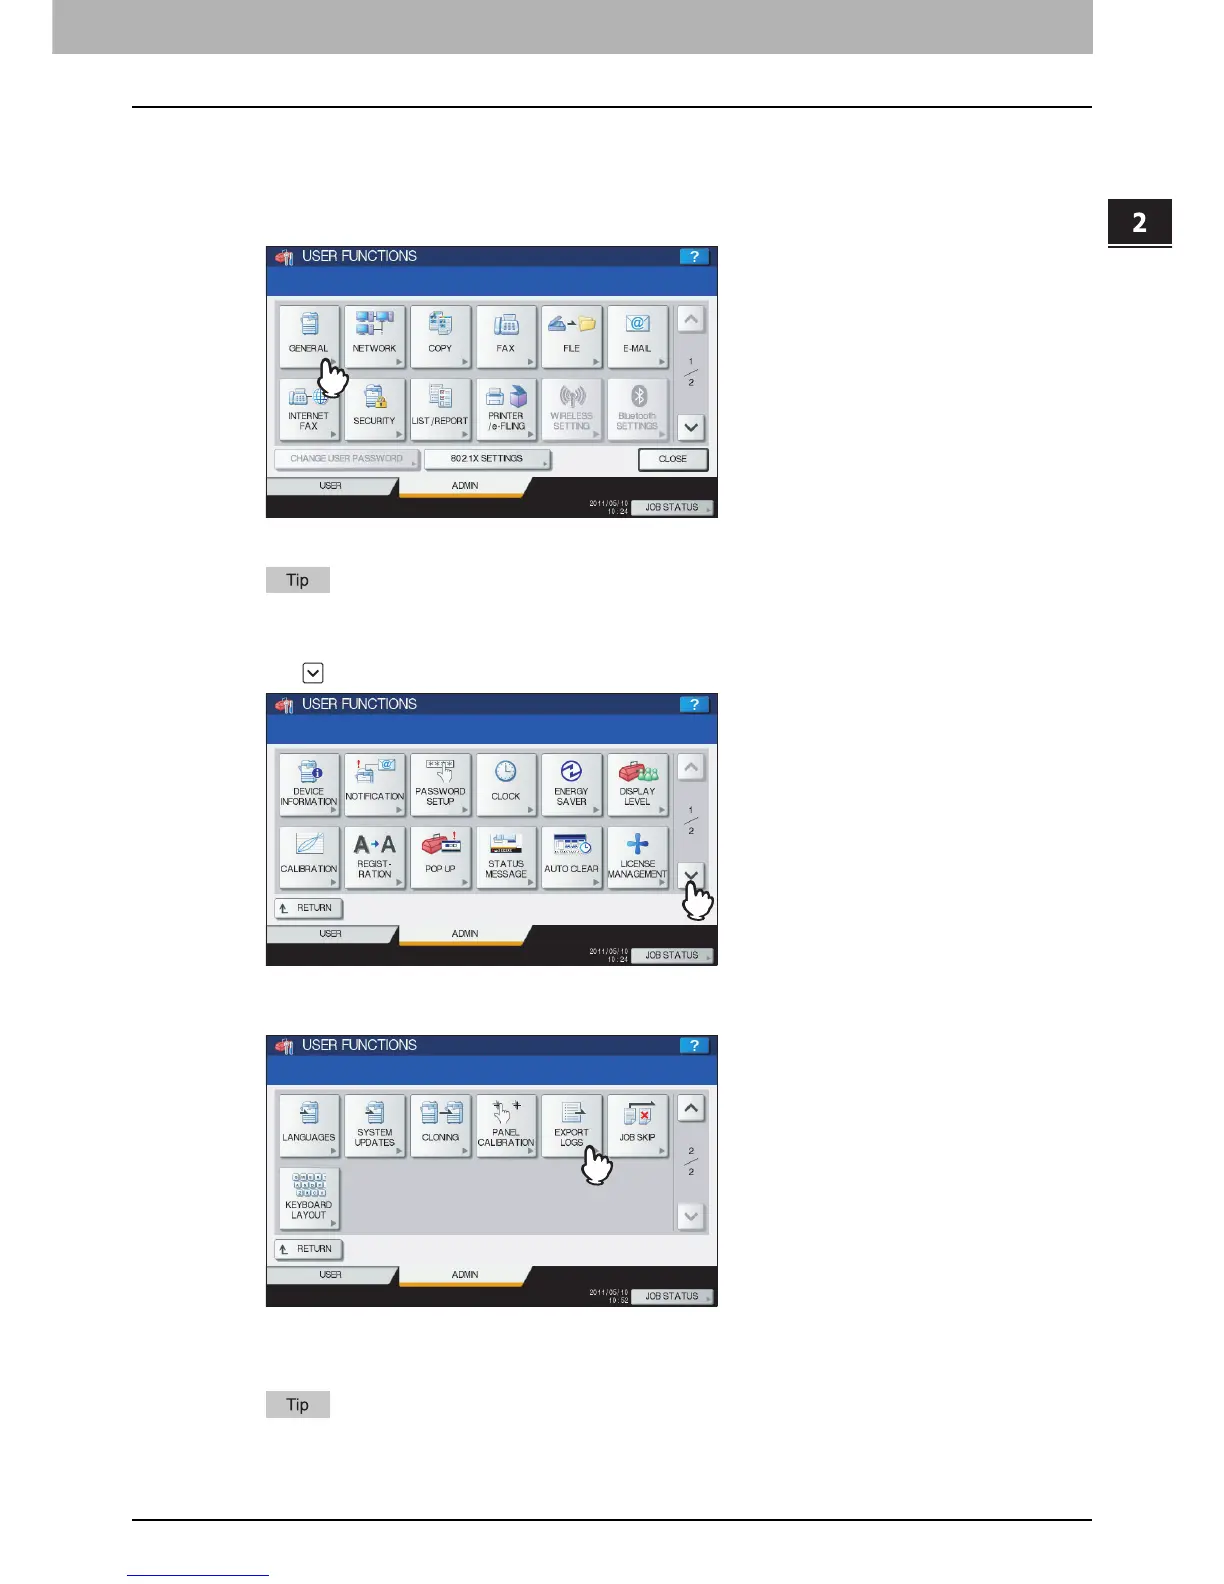
Press [GENERAL] in the ADMIN menu (1/2).
The GENERAL menu (1/2) is displayed.
To display the ADMIN menu, see the following page:
P.75 “Entering Admin Menu”
2
Press on the GENERAL menu (1/2) screen.
The GENERAL menu (2/2) is displayed.
3
Press [EXPORT LOGS].
The EXPORT LOGS screen is displayed.
4
Connect your USB storage device to the USB port on the equipment.
For the location of the USB port on the equipment, refer to the Quick Start Guide “Chapter 1:
PREPARATIONS”.

 Loading...


