3 MANAGING COUNTERS (COUNTER MENU)
232 Managing Department Codes
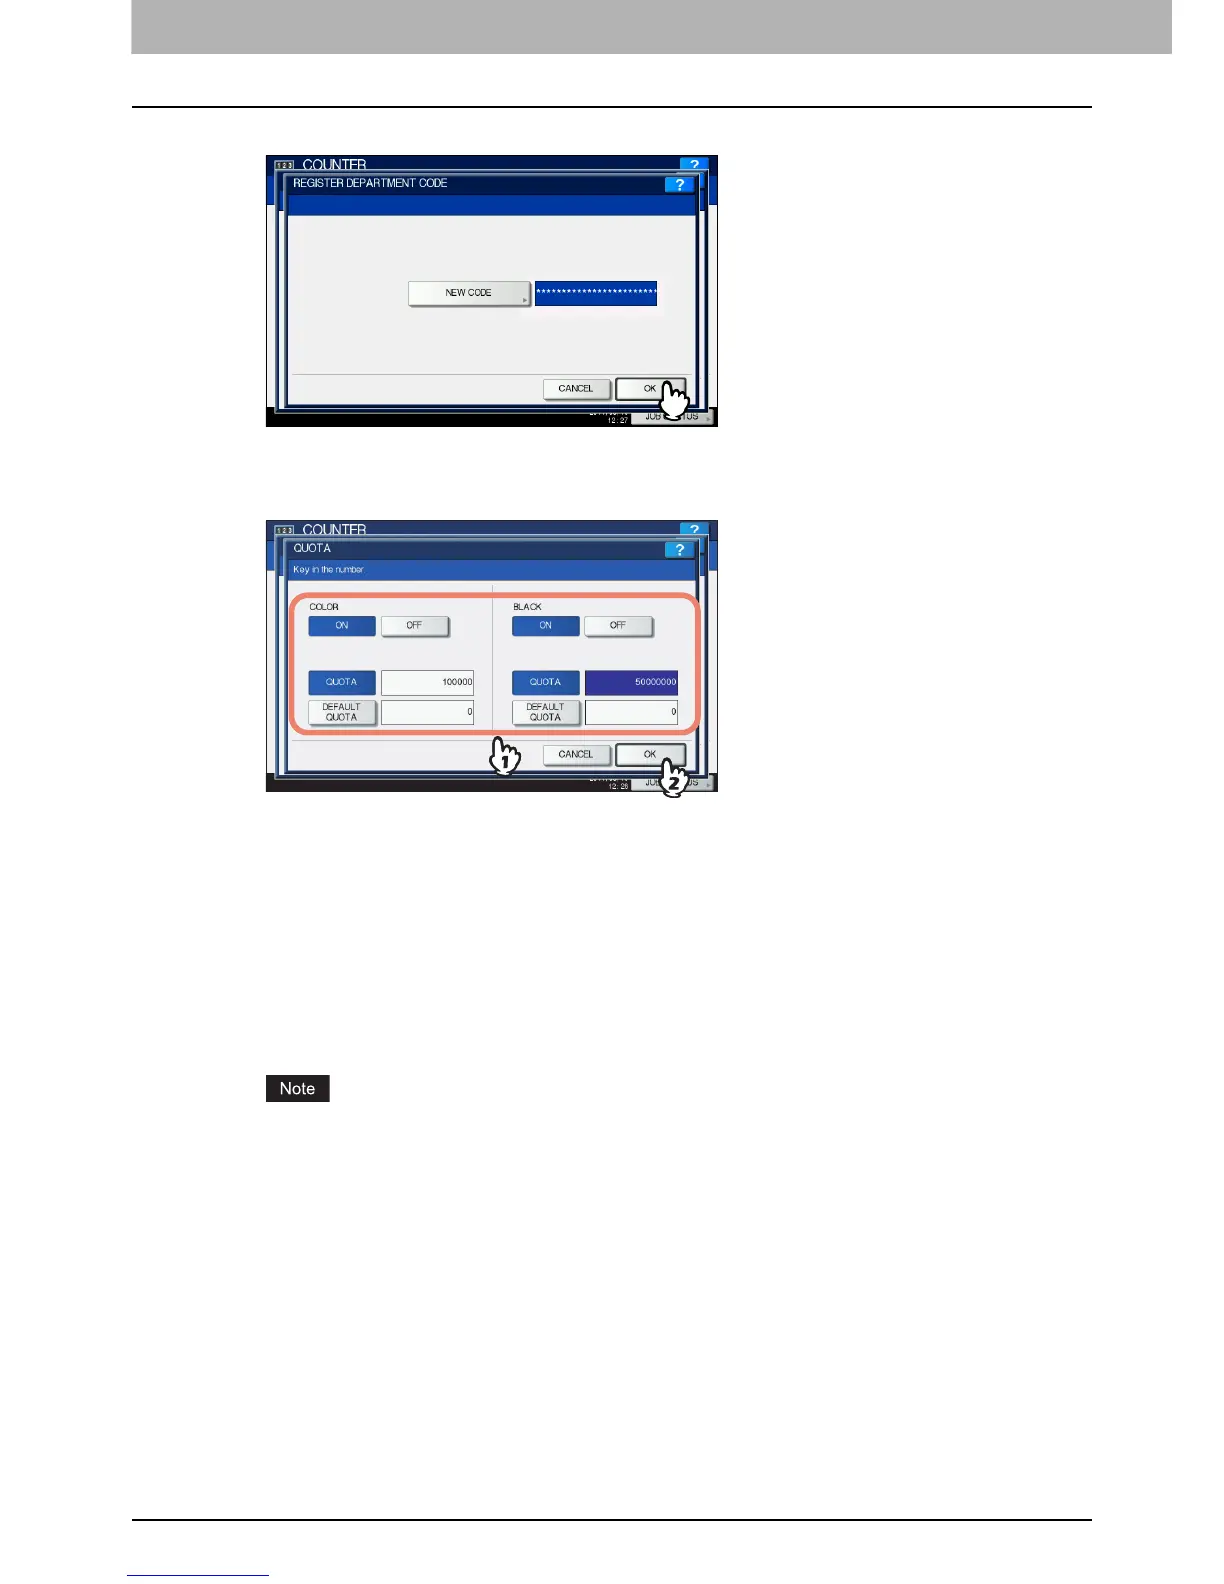
6
Press [OK].
The QUOTA screen is displayed.
7
Set the quota of this department code as required, and press [OK] to register the new
department code.
You will be returned to the DEPARTMENT CODE screen.
QUOTA MANAGEMENT — The quota setting is enabled or disabled by pressing [ON] or [OFF]. To enable it, press
[ON] and set the quota and the default quota value. (In the color print models, set the color and the black quota
respectively.)
y QUOTA — The remaining number of available copies/prints for this department code is displayed. The number
entered in the [DEFAULT QUOTA] box is reduced every time when copying/printing is performed which can no
longer be done when the number reaches “0”.
When a new department code is registered, the number entered in the [DEFAULT QUOTA] box is displayed in
this box.
You can manually change the number displayed in this box to a preferred one.
y DEFAULT QUOTA — Enter the initial quota for this department code. You can enter up to “99,999,999.99”.
When the remaining number of available copies/prints becomes “0” during the job being printed, a few copies
that exceed the quota are printed and counted because the equipment cannot stop the job immediately.

 Loading...


