2 SETTING ITEMS (ADMIN)
Entering Admin Menu 75
Entering Admin Menu
Follow the steps below to enter the ADMIN menu in the USER FUNCTIONS screen.
1
Press the [USER FUNCTIONS] button on the control panel to enter the USER
FUNCTIONS menu.
2
Press the [ADMIN] tab.
y When the User Management feature is disabled, you must enter the administrator password.
Proceed to the next step.
y When the User Management feature is enabled, you must log into the MFP as a user having the administrator
privilege.
When you press the [ADMIN] tab, the ADMIN menu will be displayed.
Proceed to step 5.
If you log into the MFP as a user who has no administrator privilege, the [ADMIN] tab will be unavailable.
Setting role information allows you to give privileges to users. For details of role information, refer to the
TopAccess Guide “Chapter 7: [User Management] Tab Page”.
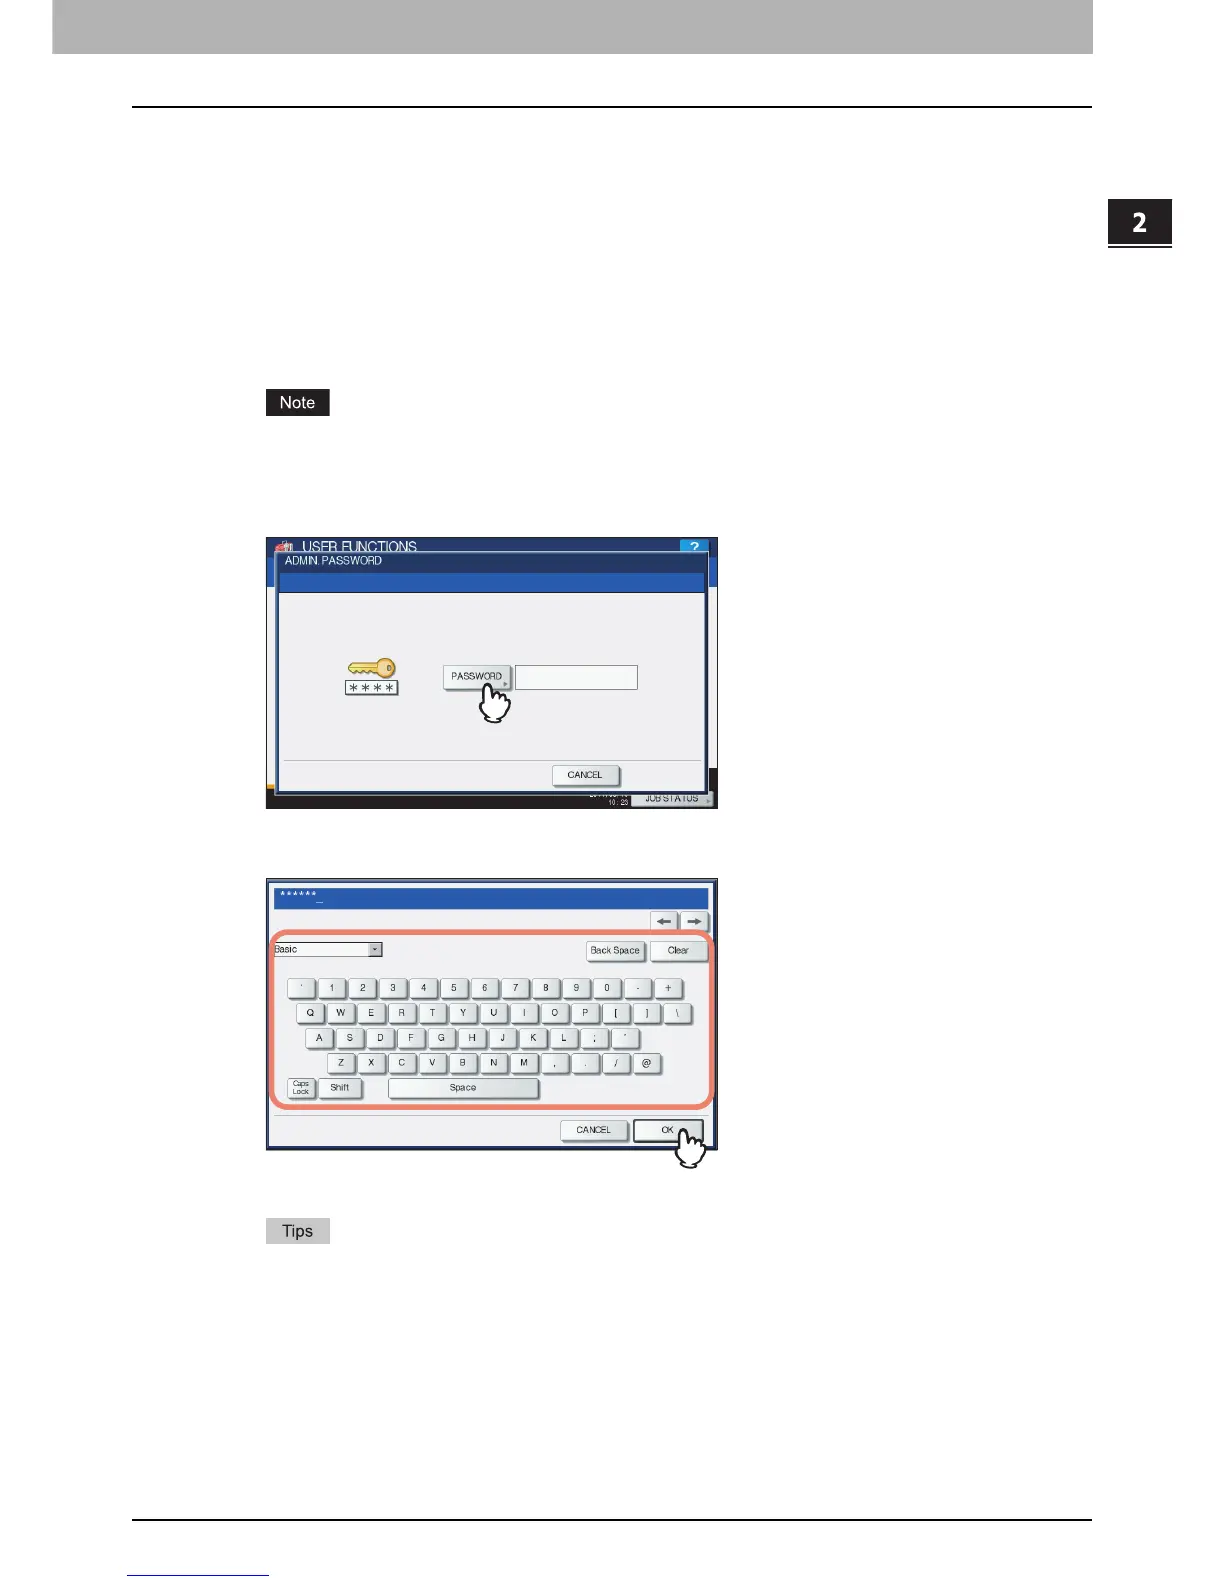
3
Press [PASSWORD].
The on-screen keyboard is displayed.
4
Enter the administrator password and press [OK].
The ADMIN menu is displayed.
y If the administrator password has not been changed before, enter the default administrator password
“123456”.
y The input password appears as asterisks (*). You can also use the digital keys on the control panel to enter
numerals.

 Loading...


