2.SETTING ITEMS (ADMIN)
Setting Network Functions 151
2 SETTING ITEMS (ADMIN)
Setting the SMB protocol
When you want to make this equipment visible in the Windows network, you must enable the SMB protocol and enter the
NetBIOS name and workgroup to specify the device name of this equipment and workgroup where it will be visible.
If your network uses the WINS server to allow SMB communications across segments, you must specify the WINS server
address so that this equipment will be visible from the different segments.
This must be enabled for SMB printing, Save as file to the network folder using SMB, and sharing the “FILE_SHARE”
folder (that is the local folder of this equipment) in the network.
1
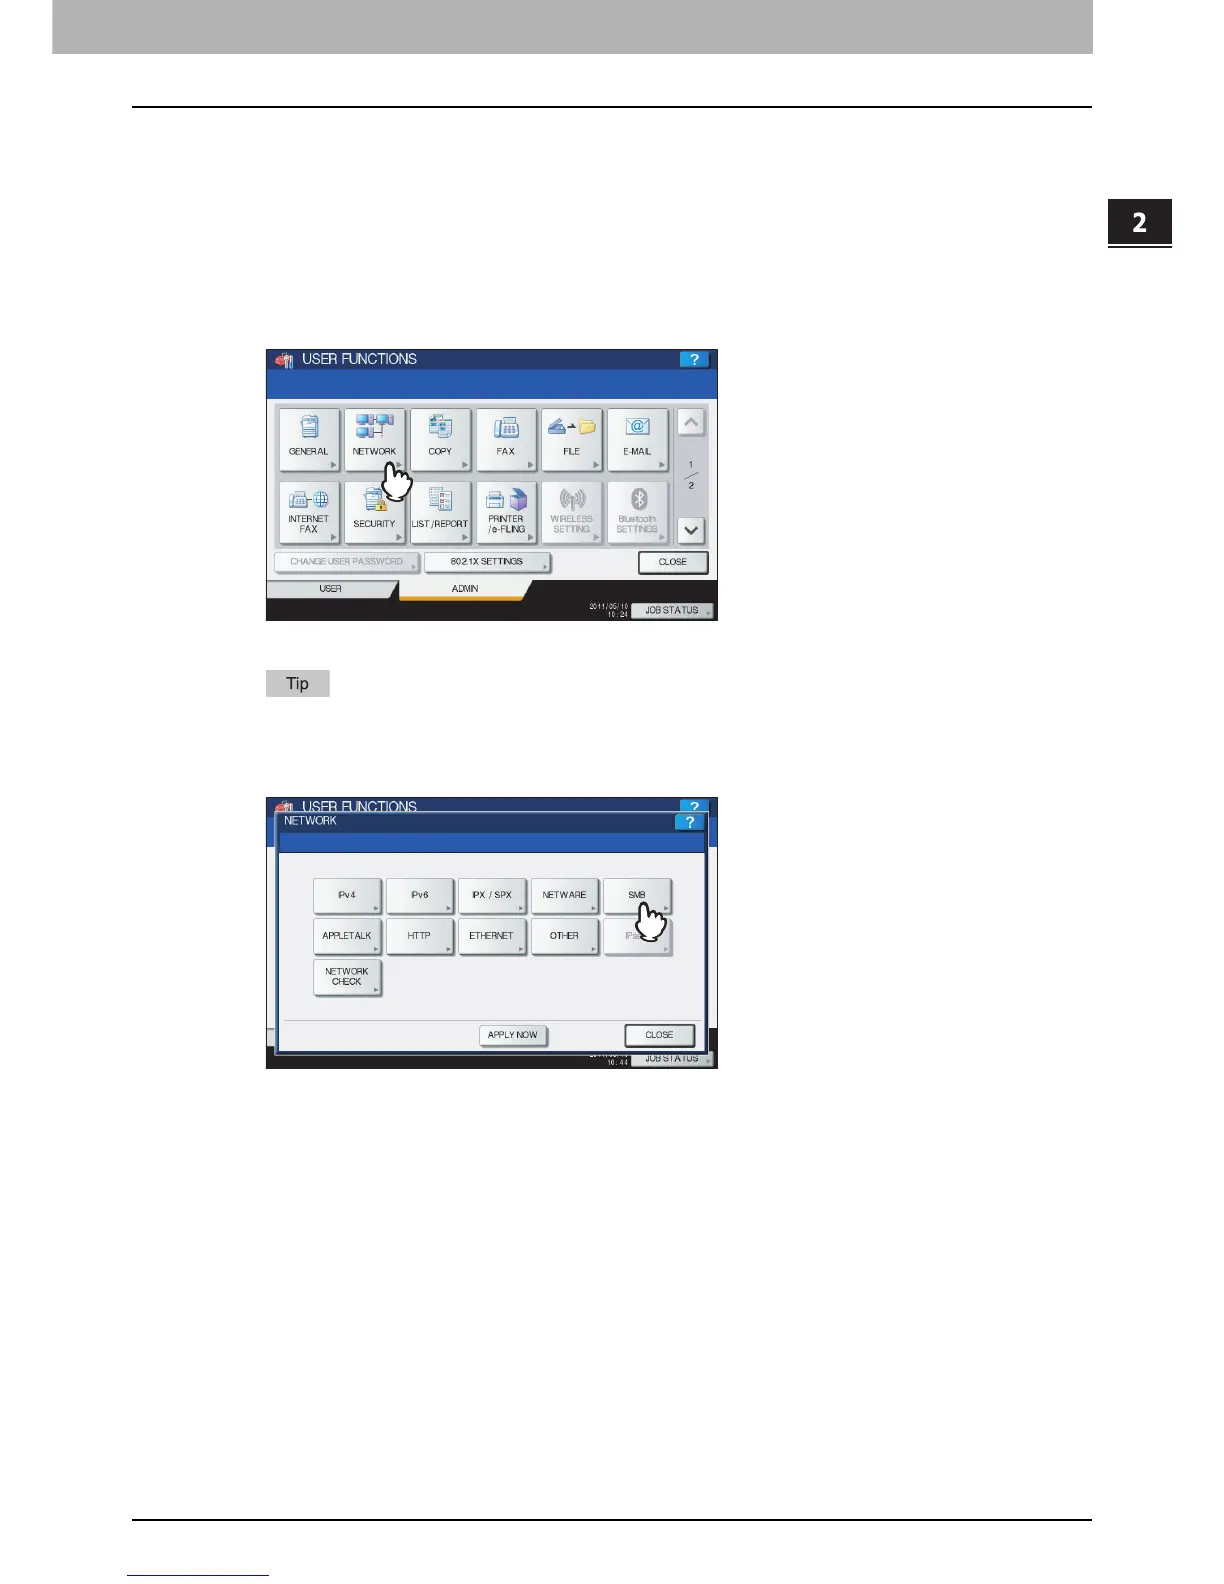
Press [NETWORK] in the ADMIN menu (1/2).
The NETWORK menu is displayed.
To display the ADMIN menu, see the following page:
P.75 “Entering Admin Menu”
2
Press [SMB].
The SMB screen is displayed.

 Loading...


