2.SETTING ITEMS (ADMIN)
Setting Network Functions 149
2 SETTING ITEMS (ADMIN)
4
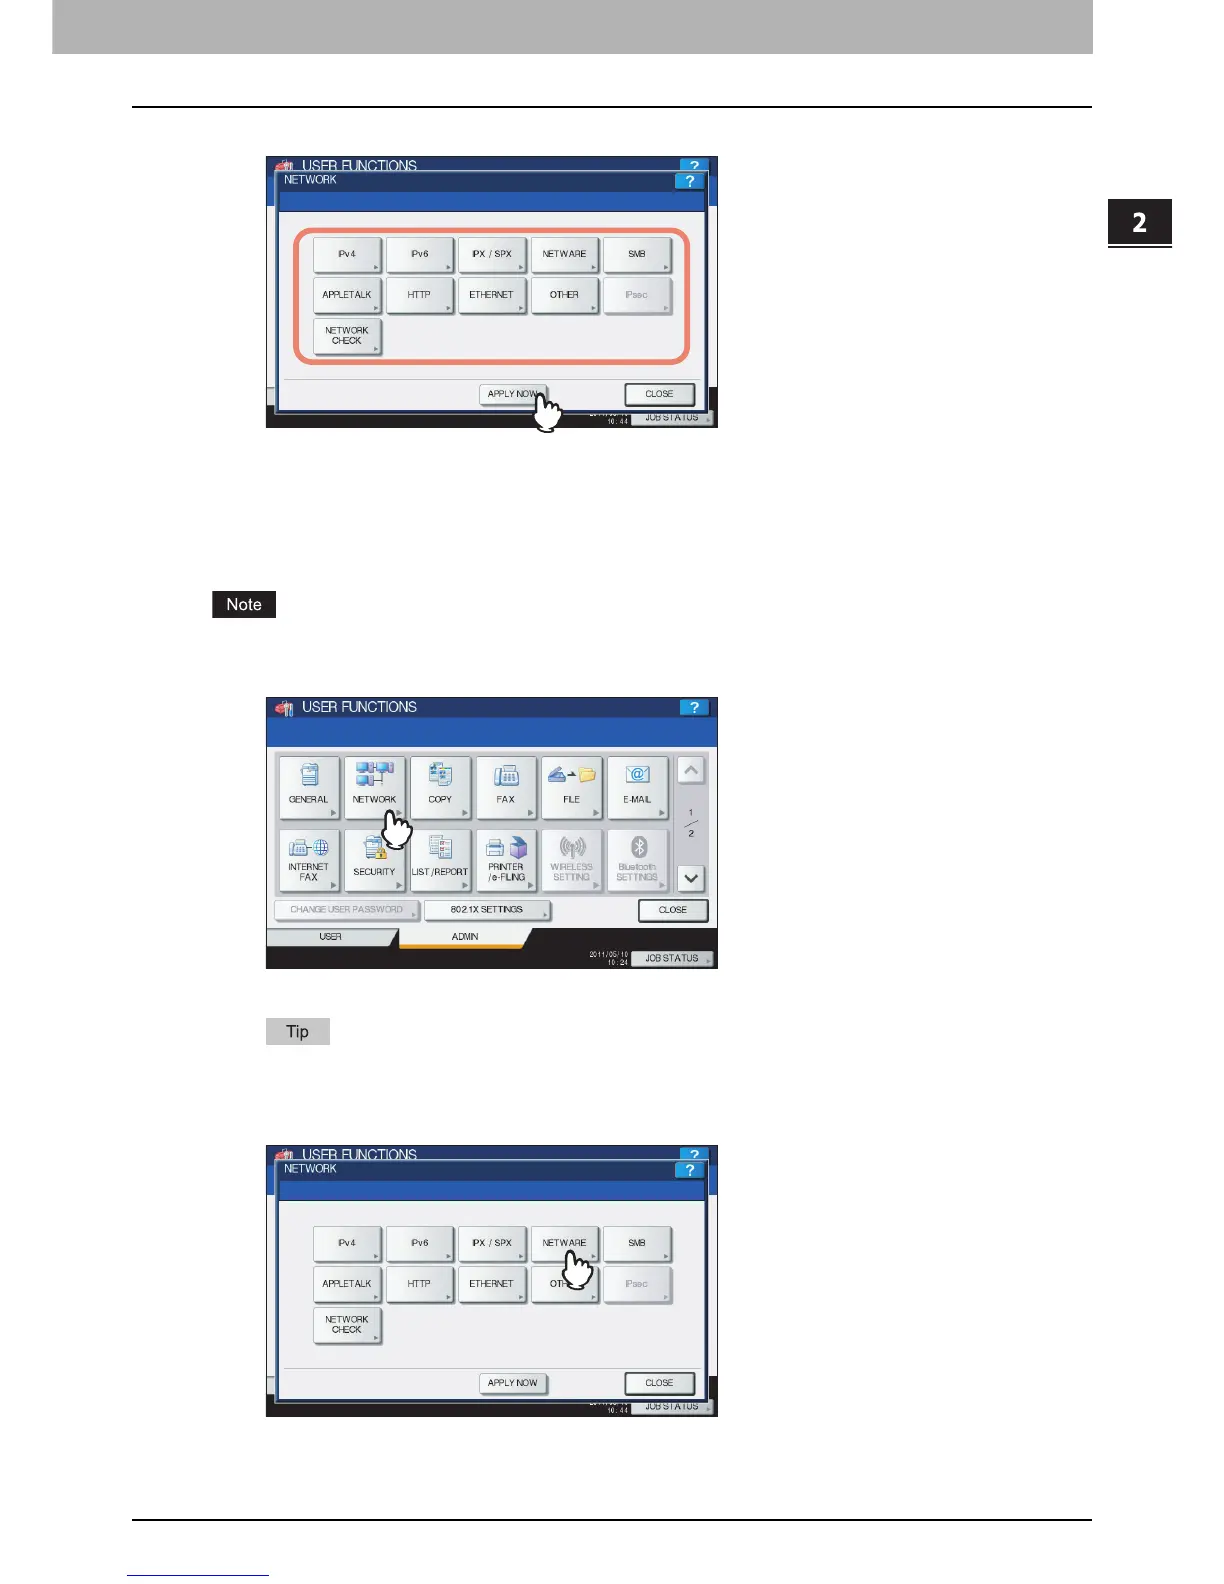
Continue to another network setting if required, then press [APPLY NOW].
“NETWORK INITIALIZING” is displayed at the lower left of the screen and this equipment starts initializing the
network interface card to apply the changes. This message disappears after it is finished.
Setting the NetWare settings
You can set the NetWare network mode and the NetWare configuration to be connected.
This option must be set when you use the NetWare file server for Novell printing.
1
Press [NETWORK] in the ADMIN menu (1/2).
The NETWORK menu is displayed.
To display the ADMIN menu, see the following page:
P.75 “Entering Admin Menu”
2
Press [NETWARE].
The NETWARE screen is displayed.

 Loading...


