1 - 10 RTHC-IOM-1C
NOTE: Field piping must be arranged and supported
to avoid stress on the equipment. It is strongly
recommended that the piping contractor provide at
least 3 feet (914 mm) of clearance between the pre-
installation piping and the planned location of the
unit. This will allow for proper fit-up upon arrival of the
unit at the installation site. All necessary piping
adjustments can be made at that time. Refer to the
current engineering bulletin for further details on
installation.
q Where specified, supply and install valves in the
water piping upstream and downstream of the
evaporator and condenser water boxes, to isolate
the shells for maintenance and to balance/trim the
system.
q Supply and install condenser water control
valve(s) per
Trane RLC-EB-4.
q Supply and install flow switches or equivalent
devices in both the chilled water and condenser
water piping. Interlock each switch with the proper
pump starter and UCP2, to ensure that the unit
can only operate when water flow is established
(ref. Section 3).
q Supply and install taps for thermometers and
pressure gauges in the water piping, adjacent to
the inlet and outlet connections of both the
evaporator and the condenser.
q Supply and install drain valves on each water box.
q Supply and install vent cocks on each water box.
q Where specified, supply and install strainers
ahead of all pumps and automatic modulating
valves.
q Supply and install refrigerant pressure relief
piping from the pressure relief to the atmosphere.
q If necessary, supply enough HCFC-134
refrigerant and dry nitrogen (75 psig) for pressure
testing.
q Start the unit under supervision of a qualified
service technician.
q Where specified, supply and insulate the
evaporator and any other portion of the unit, as
required, to prevent sweating under normal
operating conditions.
q For unit-mounted starters, cutouts are provided at
the top of the panel for line-side wiring.
q Supply and install the wire terminal lugs to the
starter.
q Supply and install field wiring to the line-side lugs
of the starter.
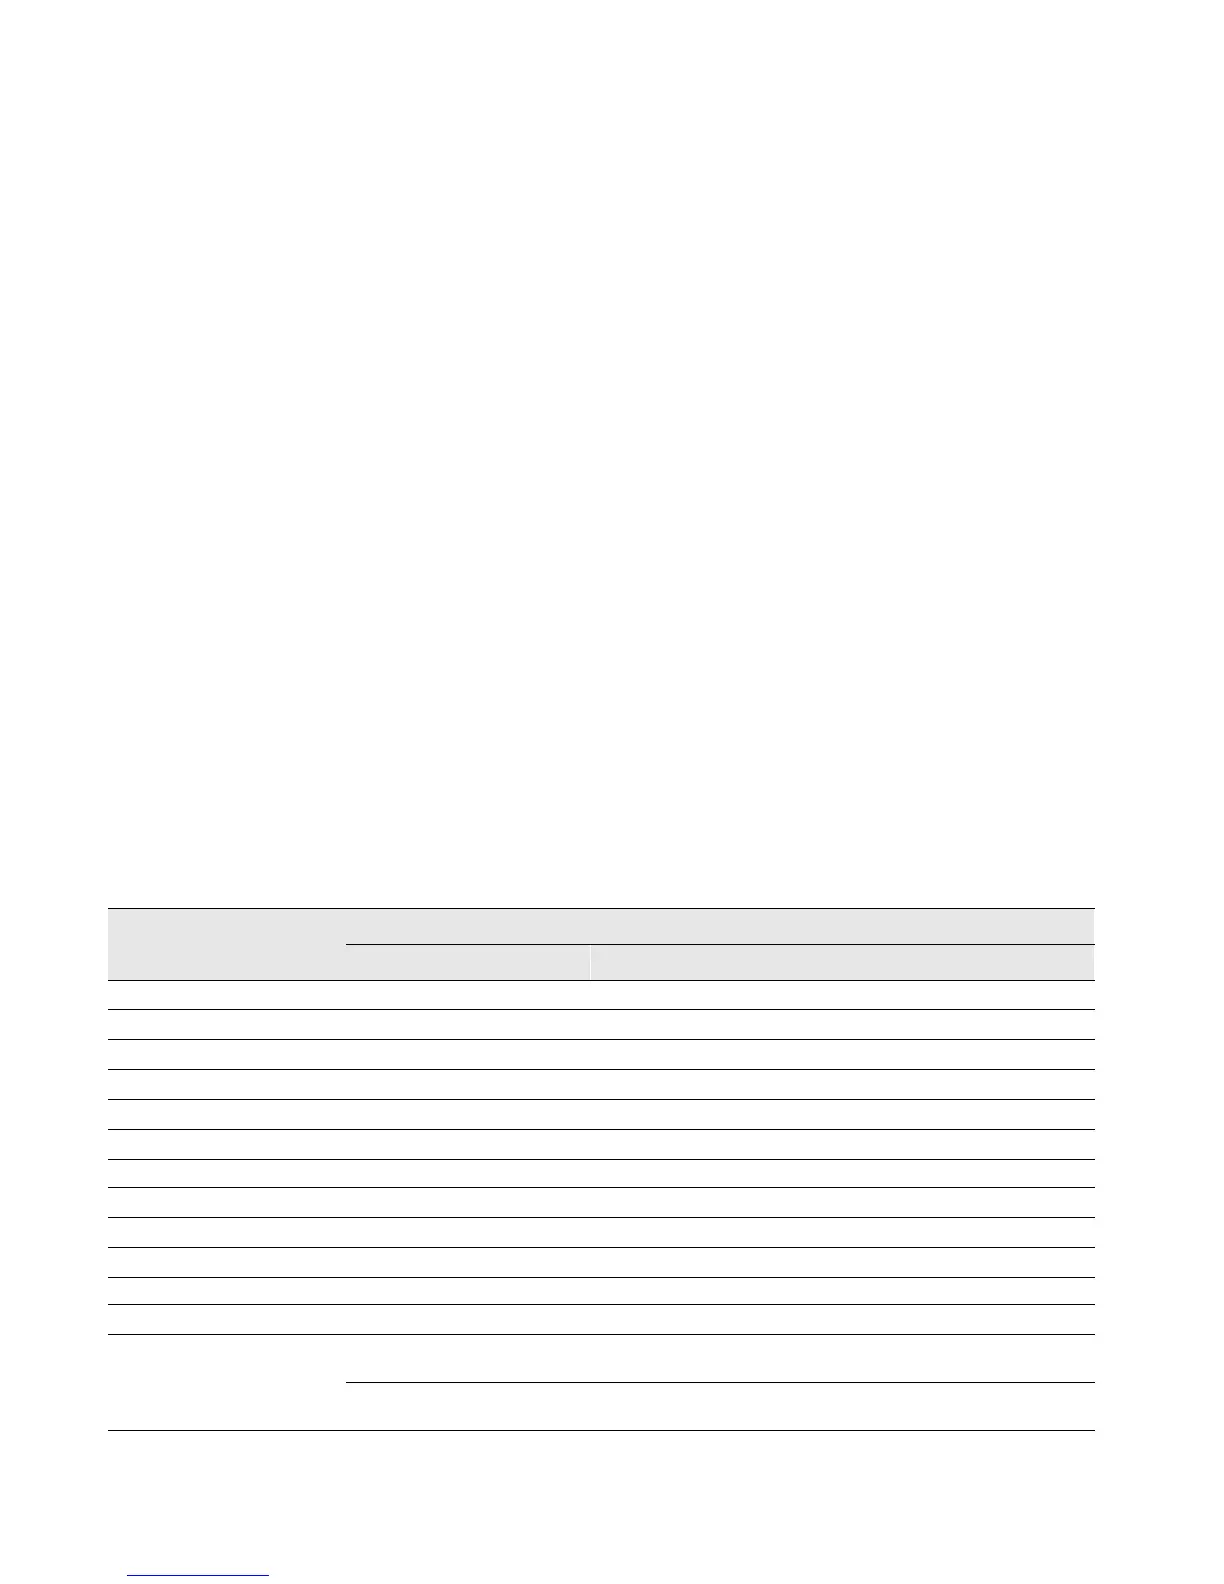
Table 5
General Data
Unit Designator
(corresponds to digits 6, 7, 12, 13, 16, 17 of unit model number)
D1D1E1 D1F1F2 D1G2G2 D2D2E2 D2F2F3 D2G3G3
General
Refrigerant Type
HFC-134a HFC-134a HFC-134a HFC-134a HFC-134a HFC-134a
Refrigerant Charge (lb (kg))
575 (261) 740 (336) 850 (385) 575 (261) 740 (336) 850 (385)
Oil Charge (gal (l))
6 (23) 10 (35) 11 (39) 6 (23) 10 (35) 11 (39)
Operating Weight (lb (kg))
15,850 (7189) 17,900 (8119) 21,400 (9707) 15,900 (7212) 18,700 (8482) 22,100 (10,024)
Shipping Weight (lb (kg))
15,000 (6804) 16,700 (7575) 19,600 (8890) 15,000 (6804) 17,400 (7892) 20,100 (9117)
Overall Dimensions
Length (in (mm))*
134 (3404) 149 (3785) 153 (3886) 134 (3404) 149 (3785) 153 (3886)
Width (in (mm))*
68 (1727) 69 (1753) 70 (1778) 68 (1727) 69 (1753) 70 (1778)
Height (in (mm))*
76 (1930) 76 (1930) 80 (2032) 76 (1930) 76 (1930) 80 (2032)
Evaporator
Water Storage (gal (l))
69 (261) 102 (386) 144 (545) 74 (280) 107 (405) 159 (602)
Minimum Flow (gpm (l/s))
454 (29) for
2-pass
626 (39) for
2-pass
606 (38) for
3-pass
498 (31) for
2-pass
669 (42) for
2-pass
690 (43) for
3-pass
303 (19) for
3-pass
417 (26) for
3-pass
454 (29) for
4-pass
332 (21) for
3-pass
446 (28) for
3-pass
518 (33) for
4-pass
 Loading...