48 4 Paper
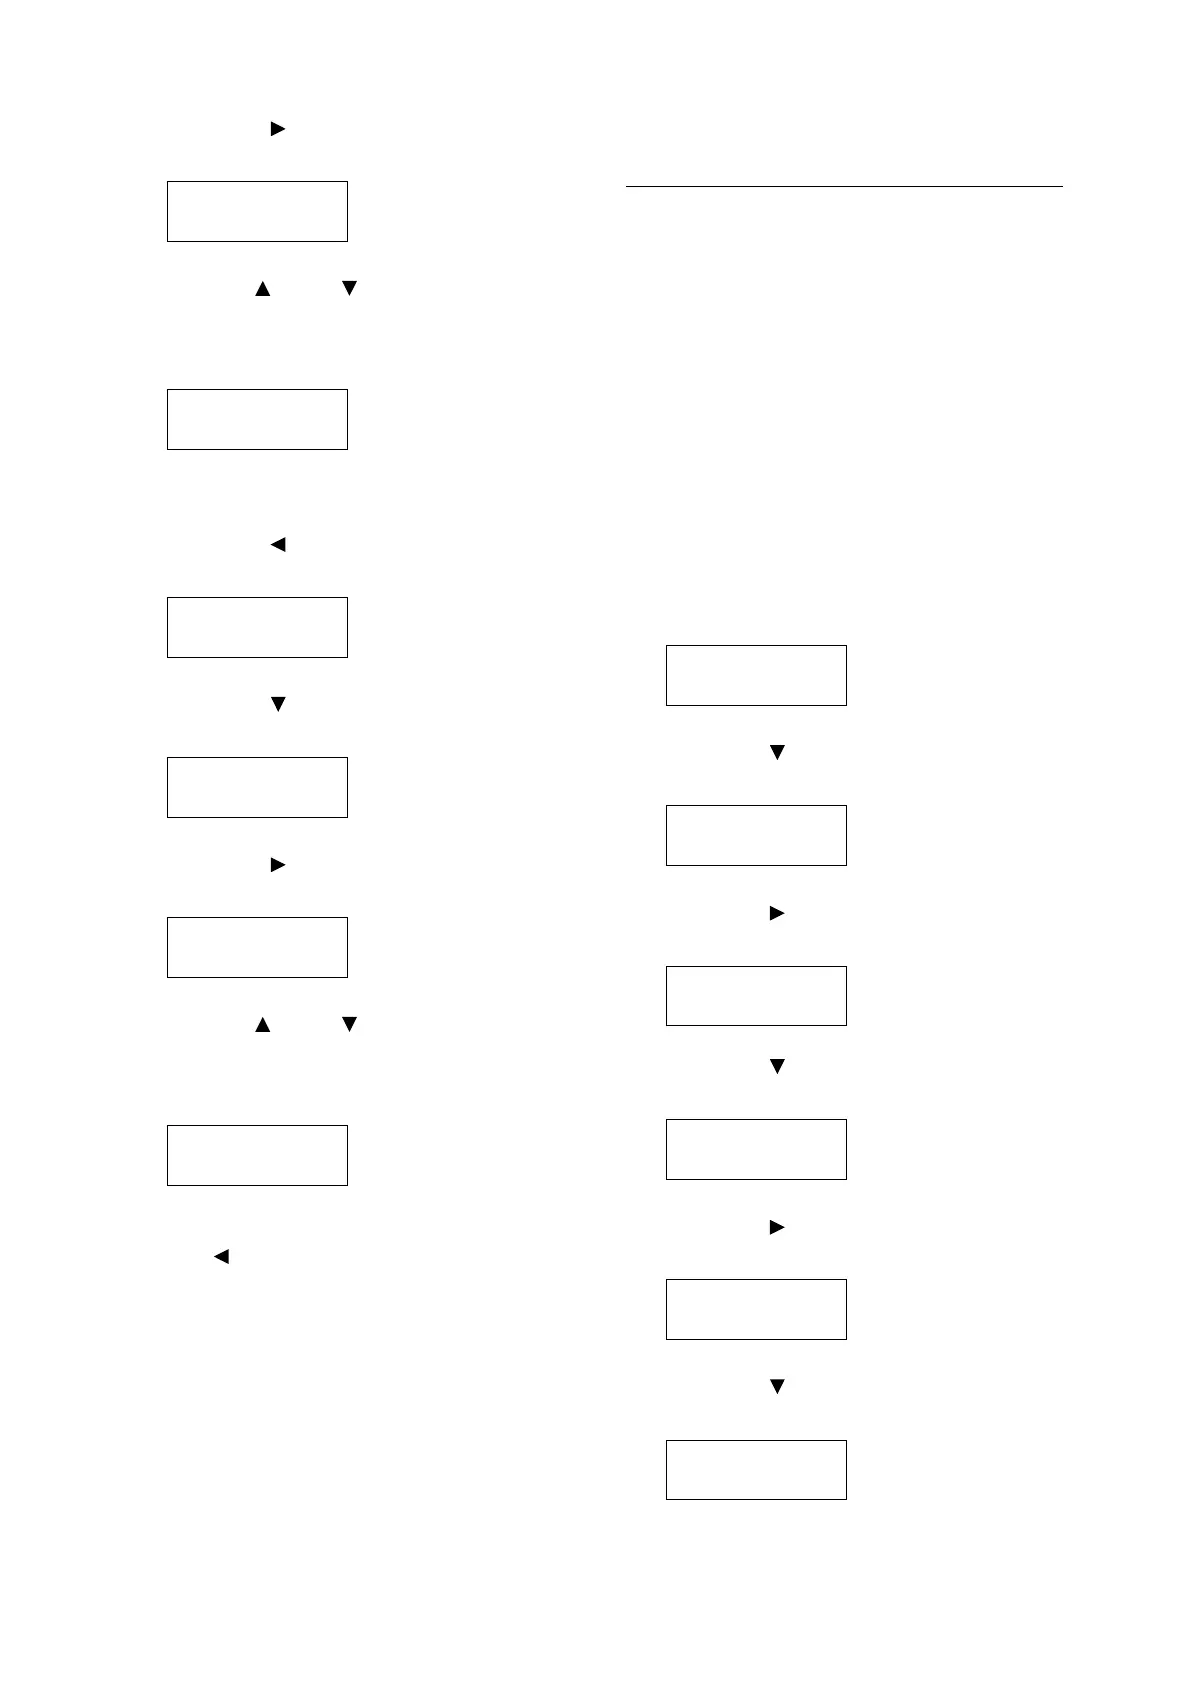
11. Press the < > or <OK> button to select.
The current set value is displayed.
12. Use the < > and < > buttons to enter the
Portrait (Y) size and then press the <OK>
button to apply it.
(Example: 297 mm)
13. After setting the Portrait (Y) Size, set the
Landscape (X) Size.
Press the < > or <Return> button to return
to [Portrait (Y) Size].
14. Press the < > button.
[Landscape (X) Size] is displayed.
15. Press the < > or <OK> button to select.
The current set value is displayed.
16. Use the < > and < > buttons to enter the
Landscape (X) Size and then press the
<OK> button to apply it.
(Example: 432 mm)
17. To configure settings for other trays, press
the < > button or <Return> button until the
screen in step 8 is displayed. Then repeat
the steps that follow.
To exit the setting operation, press the
<Menu> button to return to the [Ready to
print] screen.
Changing the Paper Type
Settings of Trays 1 through 4
If the paper type setting does not match the actual
type of the paper, toner may not fuse properly to
the paper, resulting in poor print quality.
Use the procedure below to change the paper
type settings of trays 1 through 4.
Important
• If a paper type setting results in toner not fusing properly
on the paper and poor print quality, try changing to a
different paper type setting and printing again. If the
paper type setting is for plain paper, for example, try
changing it to bond paper or recycled paper.
Note
• Refer to “Standard Paper and Tested Paper” (P. 42) for
information about paper and control panel settings.
1. On the control panel, press the <Menu>
button to display the menu screen.
2. Press the < > button until [Admin Menu] is
displayed.
3. Press the < > or <OK> button to select.
[Network/Port] is displayed.
4. Press the < > button until [Printer Settings]
is displayed.
5. Press the < > or <OK> button to select.
[Substitute Tray] is displayed.
6. Press the < > button until [Paper Type] is
displayed.
Portrait (Y) Size
•
140 mm
Portrait (Y) Size
•
297 mm
Tray 1 Custom
Portrait (Y) Size
Tray 1 Custom
Landscape (X) Size
Landscape (X) Size
•
182 mm
Landscape (X) Size
•
432 mm
Menu
LanguageEmulation
Menu
Admin Menu
Admin Menu
Network/Port
Admin Menu
Printer Settings
Printer Settings
Substitute Tray
Printer Settings
paper Type
 Loading...


