RADIATOR
6-3
EAS26390
CHECKING THE RADIATOR
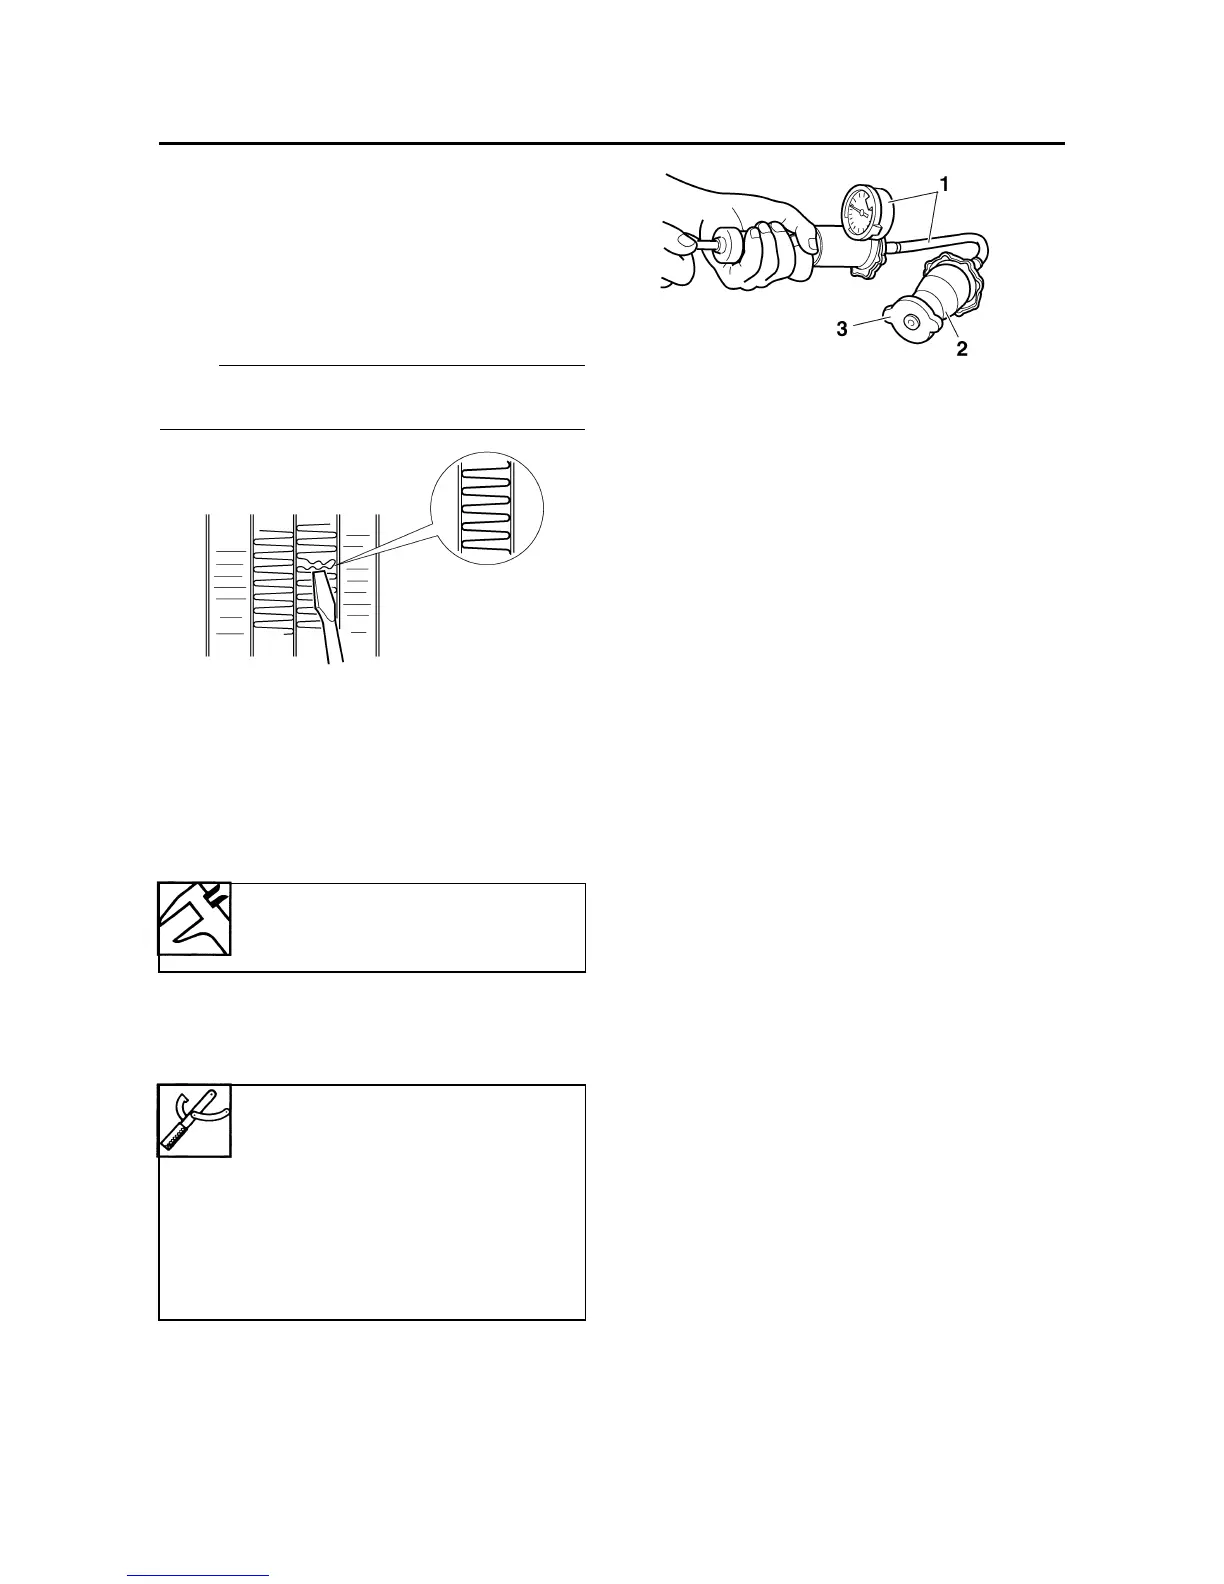
1. Check:
• Radiator fins
Obstruction → Clean.
Apply compressed air to the rear of the
radiator.
Damage → Repair or replace.
NOTE:
Straighten any flattened fins with a thin, flat-
head screwdriver.
2. Check:
• Radiator hoses
• Radiator pipes
Cracks/damage → Replace.
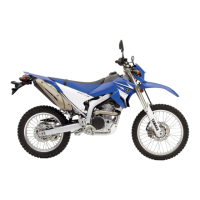
3. Measure:
• Radiator cap opening pressure
Below the specified pressure → Replace
the radiator cap.
▼▼▼▼▼▼▼▼▼▼▼▼▼▼▼▼▼▼▼▼▼▼▼▼▼▼▼▼▼▼
a. Install the radiator cap tester “1” and radia-
tor cap tester adapter “2” to the radiator
cap “3”.
b. Apply the specified pressure for ten sec-
onds and make sure there is no drop in
pressure.
▲▲▲▲▲▲▲▲▲▲▲▲▲▲▲▲▲▲▲▲▲▲▲▲▲▲▲▲▲▲
4. Check:
•Radiator fan
Damage → Replace.
Malfunction → Check and repair.
Refer to "ELECTRICAL COMPONENTS"
on page 8-105.
EAS26400
INSTALLING THE RADIATOR
1. Fill:
• Cooling system
(with the specified amount of the recom-
mended coolant)
Refer to "CHANGING THE COOLANT" on
page 3-20.
2. Check:
• Cooling system
Leaks → Repair or replace any faulty part.
3. Measure:
• Radiator cap opening pressure
Below the specified pressure → Replace
the radiator cap.
Refer to "CHECKING THE RADIATOR" on
page 6-3.
Radiator cap opening pressure
93–123 kPa (13.2–17.5 psi)
(0.93–1.23 kgf/cm²)
Radiator cap tester
90890-01325
Radiator pressure tester
YU-24460-01
Radiator cap tester adapter
90890-01352
Radiator pressure tester
adapter
YU-33984

 Loading...