Maintenance
102
The procedure for checking the battery varies
for different batteries. This procedure con-
tains typical checks that apply to many batter-
ies, but you should always refer to the battery
manufacturer’s instructions.
NOTICE
ECM01920
A poorly maintained battery will quickly
deteriorate.
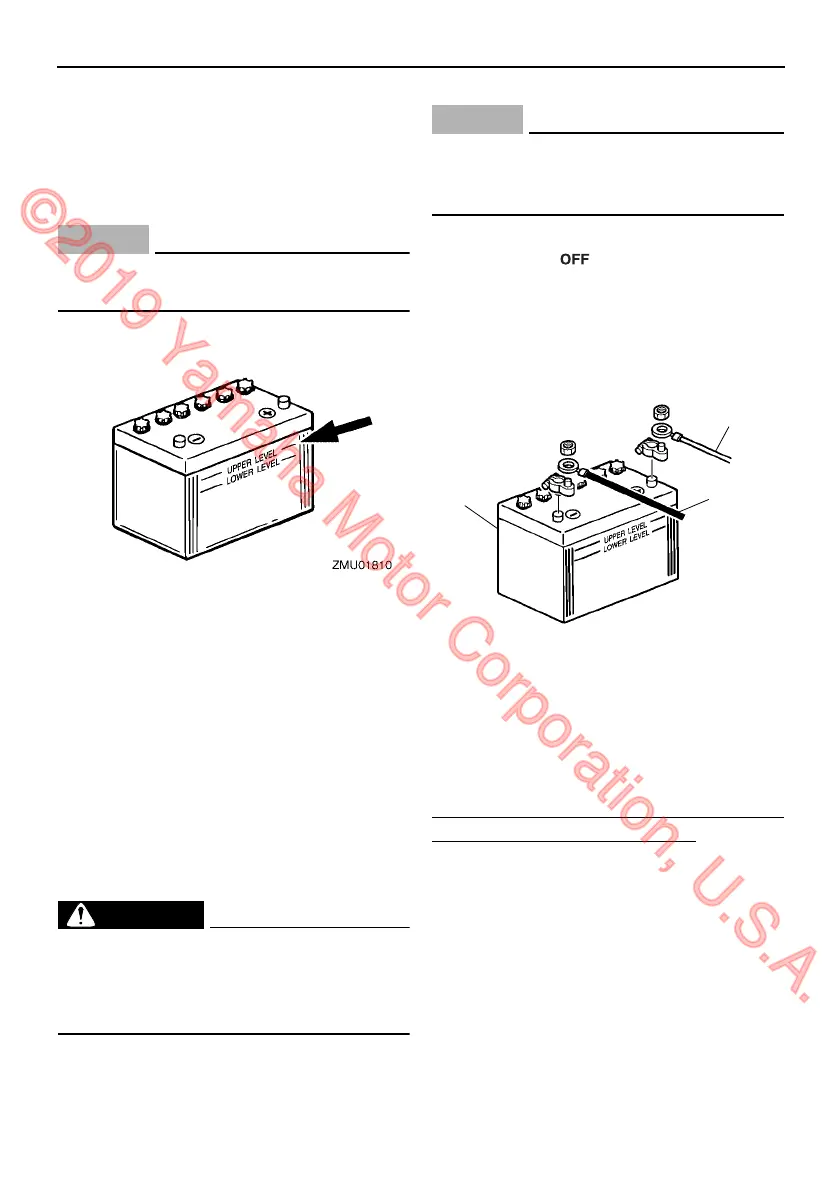
1. Check the electrolyte level.
2. Check the battery’s charge. If your boat is
equipped with the digital speedometer,
the voltmeter and low battery alert func-
tions will help you monitor the battery’s
charge. If the battery needs charging,
consult your Yamaha dealer.
3. Check the battery connections. They
should be clean, secure, and covered by
an insulating cover. WARNING! Bad
connections can produce shorting or
arcing and cause an explosion.
[EWM01912]
EMU35495
Connecting the battery
WARNING
EWM00572
Mount the battery holder securely in a dry,
well-ventilated, vibration-free location in
the boat. Install a fully charged battery in
the holder.
NOTICE
ECM01124
Do not reverse the battery cables. Other-
wise, the electrical parts could be dam-
aged.
1. Make sure the main switch (on applicable
models) is “” (off) before working on
the battery.
2. Connect the red battery cable to the
POSITIVE (+) terminal first. Then con-
nect the black battery cable to the NEGA-
TIVE (-) terminal.
3. The electrical contacts of the battery and
cables must be clean and properly con-
nected, or the battery will not start the en-
gine.
Connecting an accessory battery (optional)
(F150, LF150, F150A1, FL150A1)
If connecting an accessory battery, consult
your Yamaha dealer about correct wiring. For
the fuse size, see ABYC (E-11).
1. Red cable
2. Black cable
3. Battery
ZMU01811
1
2
3
U63P1DE0.book Page 102 Tuesday, March 29, 2011 7:15 PM
©2019 Yamaha Motor Corporation, U.S.A.
 Loading...