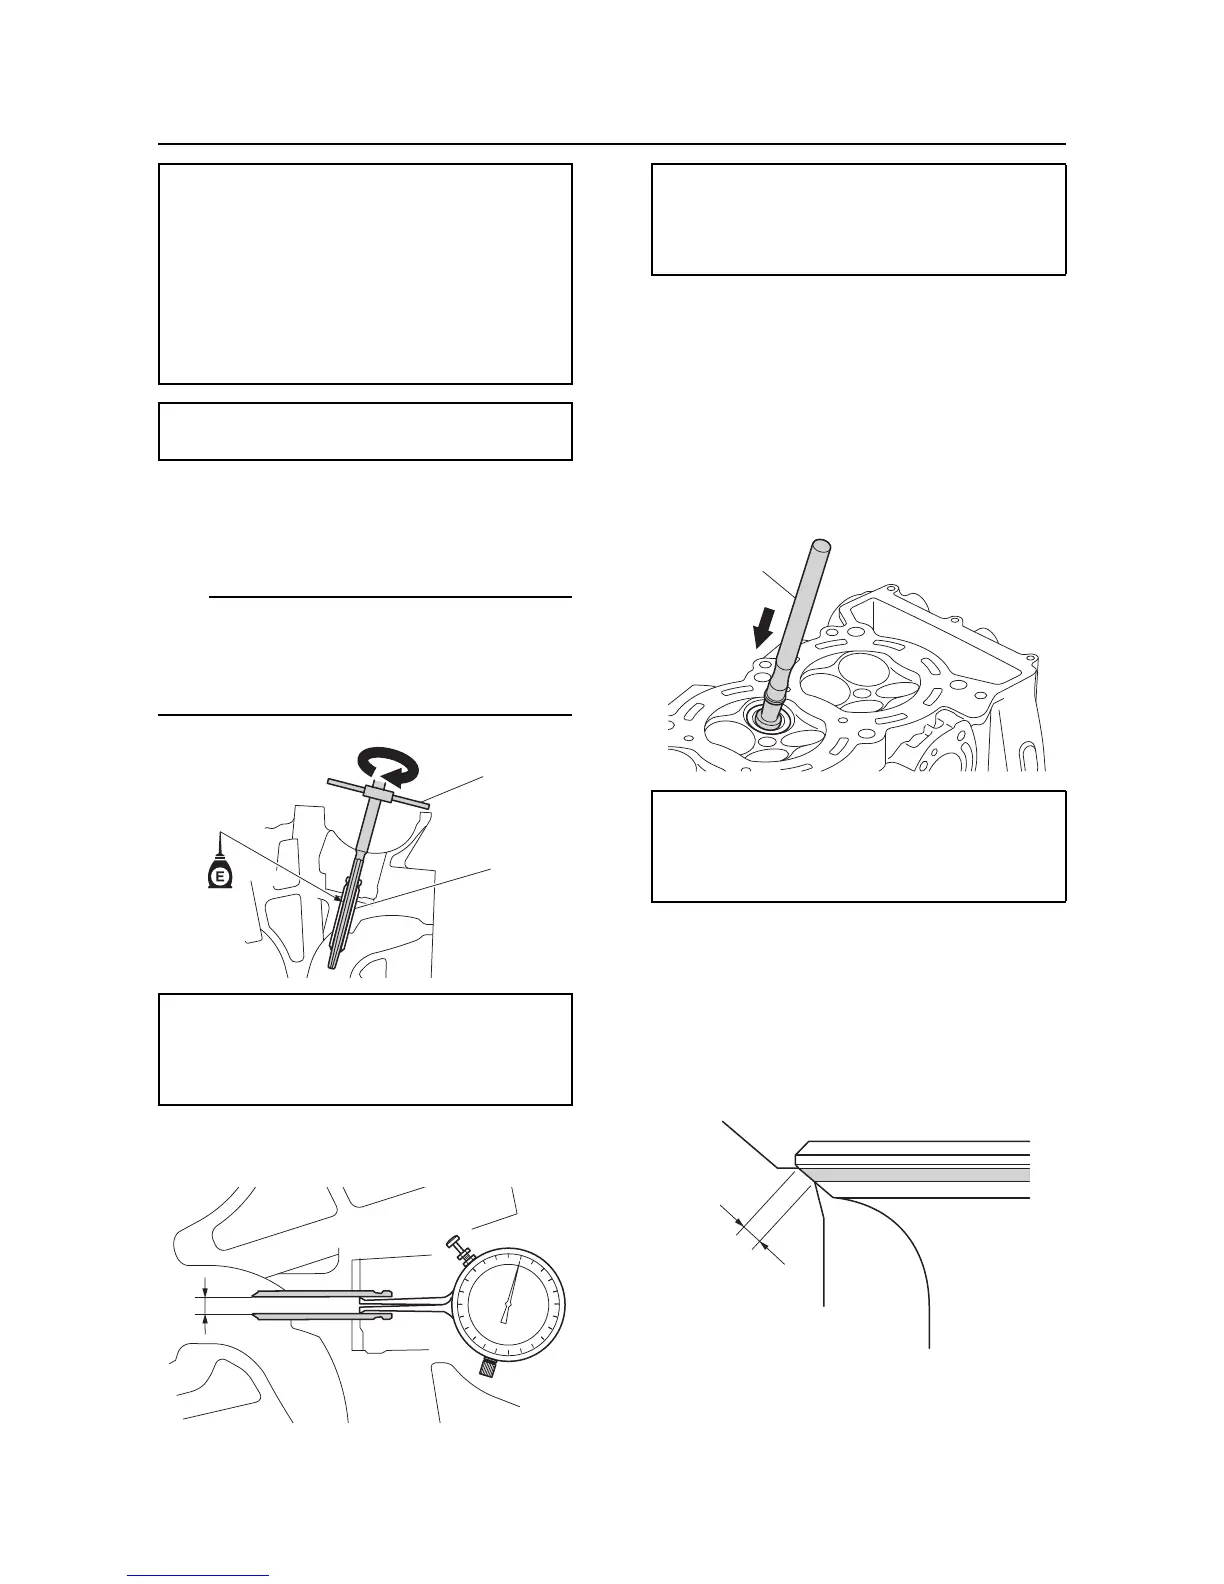
• Turn the special service tool “1” clockwise to
ream the valve guide “2”.
• Do not turn the special service tool “1” coun-
terclockwise when removing the tool.
4. Clean the valve guide inner surface. Mea-
sure the valve guide inside diameter “a”.
Valve seat check
1. Remove carbon deposits from the valves
and valve seats.
2. Apply a thin, even layer of blue layout fluid
(Dykem) onto the valve seat.
3. Press the valve lightly against the valve
seat using the special service tool “1”.
4. Measure the valve seat contact width “a”
where the blueing dye is adhered to the
valve face. Reface the valve seat if the
valve is not seated properly or if the valve
seat contact width “a” is out of specifica-
tion. Replace the valve guide if the valve
seat contact width “a” is uneven.
Valve guide remover/installer “1”
90890-06801
Valve guide remover “1”
YB-06801
Valve guide installer “2”
90890-06810
Valve guide installer “2”
YB-06810
Valve guide installation height
12.3–12.7 mm (0.48–0.50 in)
Valve guide reamer “1”
90890-06804
Valve guide reamer “1”
YM-01196
 Loading...