5-79
Crankcase, connecting rod, and piston
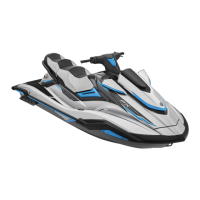
2. Measure the crankshaft runout. Replace if
out of specification.
Crankshaft pin oil clearance check
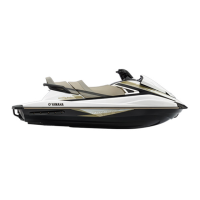
1. Clean the connecting rod bearings “1” and
connecting rod big end.
2. Install the upper bearing into the connect-
ing rod “2” and lower bearing into the con-
necting rod cap “3”.
• Install the connecting rod bearings “1” in their
original positions.
• Fit the protrusion “a” on each bearing into the
slots “b” in the connecting rod cap “3” and
connecting rod “2”.
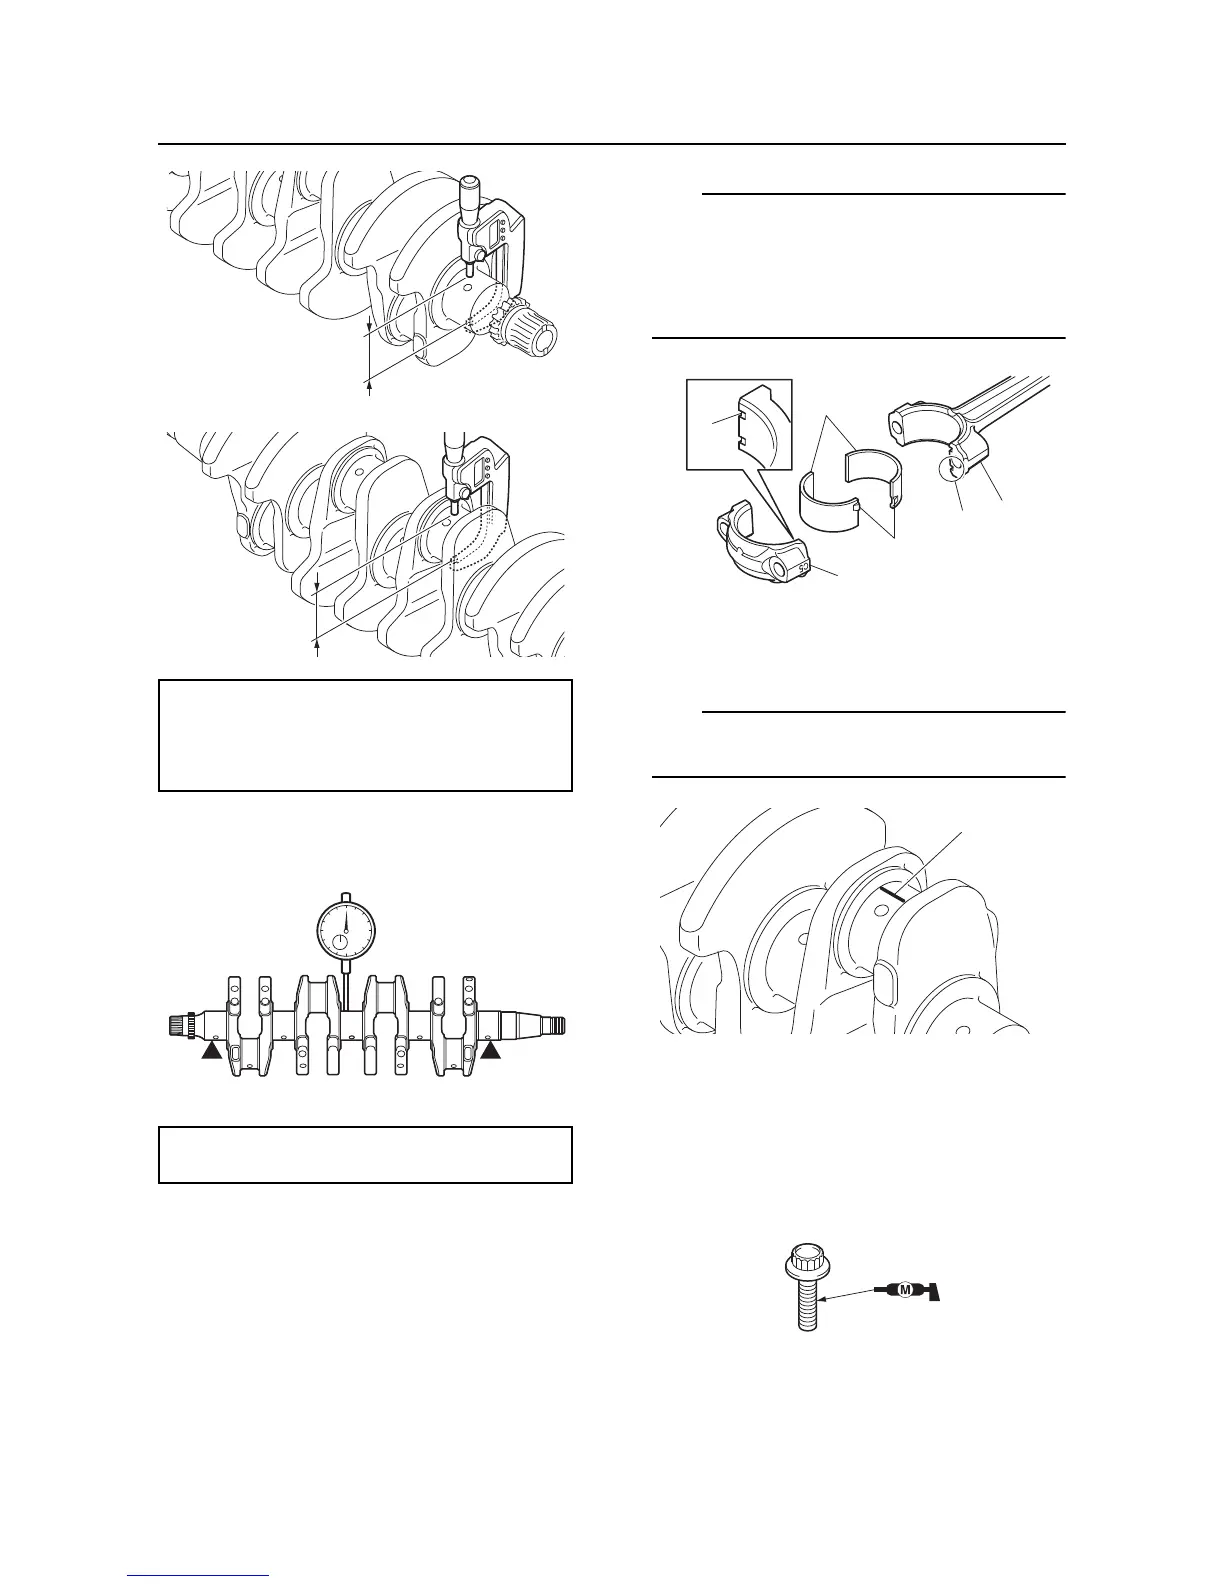
3. Put a piece of Plastigauge “1” on the
crankshaft pin, parallel to the crankshaft.
Do not put the Plastigauge “1” over the oil hole
in the crankshaft pin.
4. Clean the connecting rod bolts.
5. Lubricate the threads of the connecting rod
bolts with molybdenum disulfide grease.
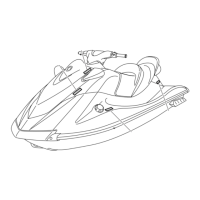
Journal diameter
39.976–40.000 mm (1.5739–1.5748 in)
Pin diameter
41.976–42.000 mm (1.6526–1.6535 in)
Runout limit
0.030 mm (0.0012 in)
 Loading...