Printer connections
Connect the printers to the Control Center Microboard as follows. Only one printer can be
connected at a time.
Table 206: Okidata OKIPOS 441
Microboard Printer Function
J2-4 Pin 3 Tx (data to printer)
J2-2 Pin 20 DSR (busy signal from printer)
J2-9 Pin 7 Gnd
Cabinet – Shield
Hardware required:
Cable
• #18 AWG stranded 50 ft. maximum length.
Connectors
Microboard
• None. Strip 1/4" insulation from wire and insert into screw terminal block.
Printers
• Okidata - 25 pin plug DB-25P or equivalent; Shell DB-C2-J9 or equivalent.
Printer setup
The selected printer must be configured as follows. Refer to manual provided by printer
manufacturer with respective printer.
Okidata OKIPOS 441
1. With the printer power off, remove the two screws which hold the RS232 Interface Module.
2. Pull the RS232 Interface Module out of the printer.
3. Set DIP switch SW2-2 to OFF to select 19200 BPS. Do not change any other switch settings.
4. Re-install the RS232 Interface Module and two mounting screws.
5. Load paper and install the printer ribbon into the printer.
6. Connect the printer cable to the printer and the microboard.
7. Connect the printer power cable to the printer and plug into a 100 to 240VAC power source.
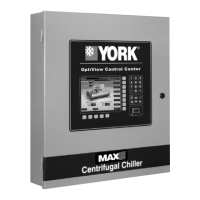
Control center setup
Chiller ID
Access Level Required: OPERATOR
Using the COMMS Screen, assign an identification number to the chiller. This number will appear at
the top of each report.
Printer setup
Access Level Required: OPERATOR
YK-EP Style B Centrifugal Chiller222
 Loading...