Set Real-Time Clock rtC-
This option allows the owner to set the controls internal clock to
the correct time and date.
1. Control must be in Manual Mode. Refer to How to Enter the
Manual Mode.
2. Press the DELICATES (∧) or the COLD (∨) keypad until
Prog appears in the display. Press the START (enter) keypad,
and AtS 1 will appear in the display.
3. Press the DELICATES (∧) or the COLD (∨) keypad to scroll
through the programmable options until rtC- appears in the
display.
4.
Press the START keypad and rtC 1 will appear in the dis-
play.
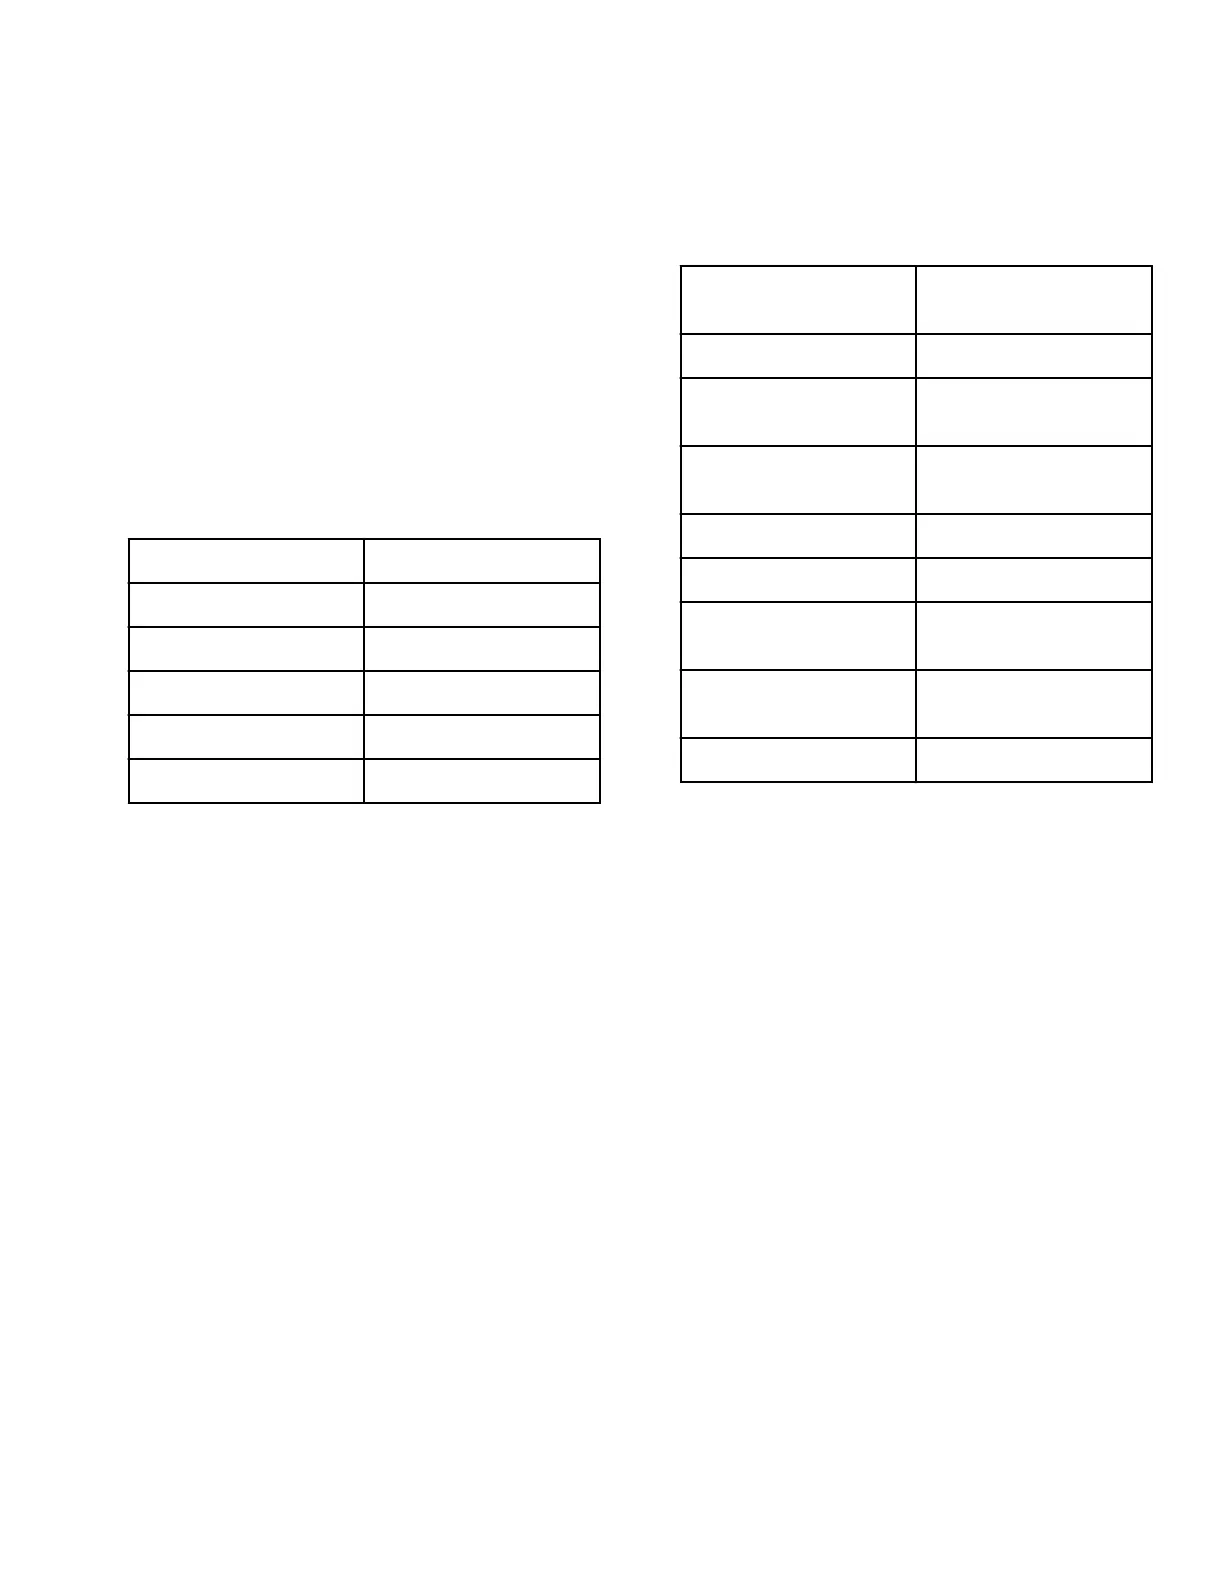
5. Press the DELICATES (∧) or the COLD (∨) keypad to scroll
through the programmable options. Refer to Table 6 .
rtC 1
Programs Minutes
rtC 2
Programs Hours
rtC 3
Programs Day of Week
rtC 4
Programs Date of Month
rtC 5
Programs Month
rtC 6
Programs Year
Table 6
6. When the desired option appears in the display, press the
START (enter) keypad. The current value will appear in the
display.
7. Press the DELICATES (∧) or the COLD (∨) keypad to in-
crease or decrease the minutes, hours, day of week, date of
month, month or year to the correct time or date.
NOTE: The hours will be displayed in military time.
For day of week, Sunday is considered day one (1),
Monday is day two (2) and so on. For year, the year
2000 is “ 0 ”, the year 2001 is “ 1 ” and so on.
8. Press the START (enter) keypad when the correct value ap-
pears in the display. The new value is saved and the next op-
tion will appear in the display.
Set Daylight Savings Time dLS-
This option allows the owner to set the controls internal clock to
the daylight savings time and date.
1. Control must be in Manual Mode. Refer to How to Enter the
Manual Mode.
2. Press the DELICATES (∧) or the COLD (∨) keypad until
Prog appears in the display. Press the START (enter) keypad,
and AtS 1 will appear in the display.
3. Press the DELICATES (∧) or the COLD (∨) keypad to scroll
through the programmable options until dLS- appears in the
display. Press the START keypad and dLS 1 will appear in
the display.
4. Press the DELICATES (∧) or the COLD (∨) keypad to scroll
through the programmable options. Refer to Table 7 .
dLS 1
Daylight Savings (On/
Off)
dLS 2
Programs Start Month
dLS 3
Programs Start Day of
Week
dLS 4
Programs Start Week of
Month
dLS 5
Programs Start Hour
dLS 6
Programs End Month
dLS 7
Programs End Day of
Week
dLS 8
Programs End Week of
Month
dLS 9
Programs End Hour
Table 7
5. When the desired option appears in the display, press the
START (enter) keypad. The current value will appear in the
display.
6. Press the DELICATES (∧) or the COLD (∨) keypad to in-
crease or decrease the minutes, hours, day of week, date of
month, month or year to the correct time or date.
NOTE: The hours will be displayed in military time.
For day of week, Sunday is considered day one (1),
Monday is day two (2) and so on. For year, the year
2000 is “ 0 ”, the year 2001 is “ 1 ” and so on. For
week of month, first week is "1", second week is
"2", third week is "3", and last week is "4".
7. Press the START (enter) keypad when the correct value ap-
pears in the display. The new value is saved and the next op-
tion will appear in the display.
Special Vend 1 Days Enable SP1 1
This option allows the owner to set the day or days of a special
vend.
Special Vend 1 is used to change the standard vend prices for spe-
cial occasions. The special vend can be programmed to start and
end on a specific day or days of the week.
The owner may also turn the Special Vend 1 option on or off if
desired.
Programming Control
©
Copyright, Alliance Laundry Systems LLC -
DO NOT COPY or TRANSMIT
47 Part No. 204370ENR1
 Loading...