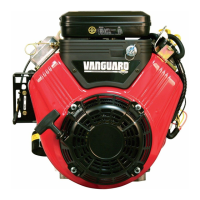
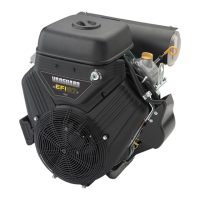
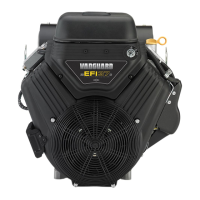
Section 5: Removal/Installation 109
12. Install two hex fl ange screws to fasten me-
chanical diaphragm fuel pump bracket to
blower housing. Alternately tighten screws
to 12-16 in-lbs (1-2 Nm).
13. Install two hex fl ange screws to fasten ECM
bracket and ECM ground wire ring termi-
nal to blower housing. Alternately tighten
screws to 25-35 in-lbs (3-4 Nm).
14. Install four hex fl ange screws to fasten fan
guard (D) to blower housing. Alternately
tighten screws to 40-48 in-lbs (5 Nm) using
a crosswise pattern.
15. Install four hex fl ange screws to fasten
decorative cover (C) to upper air cleaner
bracket. Alternately tighten screws to 50-70
in-lbs (6-8 Nm) using a crosswise pattern.
16. See Figure 5-2. Install six hex fl ange
screws to fasten static guard (B) to blower
housing. Alternately tighten screws to 25-35
in-lbs (3-4 Nm) using a crosswise pattern.
17. Install air cleaner (A) as follows:
a. Place air cleaner on upper air cleaner
bracket.
b. Install two screws to fasten retaining
strap to upper air cleaner bracket. Al-
ternately tighten screws to 75-95 in-lbs
(9-11 Nm).
c. Position band clamp on free end of air
hose.
d. Install air hose onto air inlet elbow and
tighten band clamp screw to 10-20 in-lbs
(1-2 Nm).
ECM
Removal
1. Remove two hex fl ange screws to release
ECM bracket from blower housing.
2. Disconnect J1 and J2 connectors from
ECM.
Installation
1. Connect J1 and J2 connectors to new
ECM.
NOTE: The words BLACK and GREY are
molded into the ECM housing to ensure
proper installation of J1 (Grey) and J2
(Black) connectors.
2. Slide hex fl ange screw through inside ECM
bracket fl ange and ground wire ring termi-
nal. Start screw into inside boss on blower
housing.
3. Install second Phillips screw on opposite
side, and alternately tighten screws to 25-
35 in-lbs (3-4 Nm).
MAP/MAT Sensor
Removal
1. Remove air cleaner assembly, static guard
and decorative cover. See Air Cleaner
Assembly/Static Guard/Decorative Cover/
Blower Housing, Removal, steps 1-3.
2. Pull out red secondary lock and press to
disconnect MAP/MAT sensor connector.
3. Remove screw to release sensor bracket
from threaded boss on intake manifold.
4. Remove sensor from intake manifold.
Installation
1. Lightly lubricate O-ring of new sensor.
2. Install sensor into intake manifold.
3. Install screw to fasten sensor bracket to
threaded boss on intake manifold. Tighten
screw to 50-60 in-lbs (6-7 Nm).
4. Connect MAP/MAT sensor connector. Push
in red secondary lock to secure.
 Loading...