Section 5: Removal/Installation 117
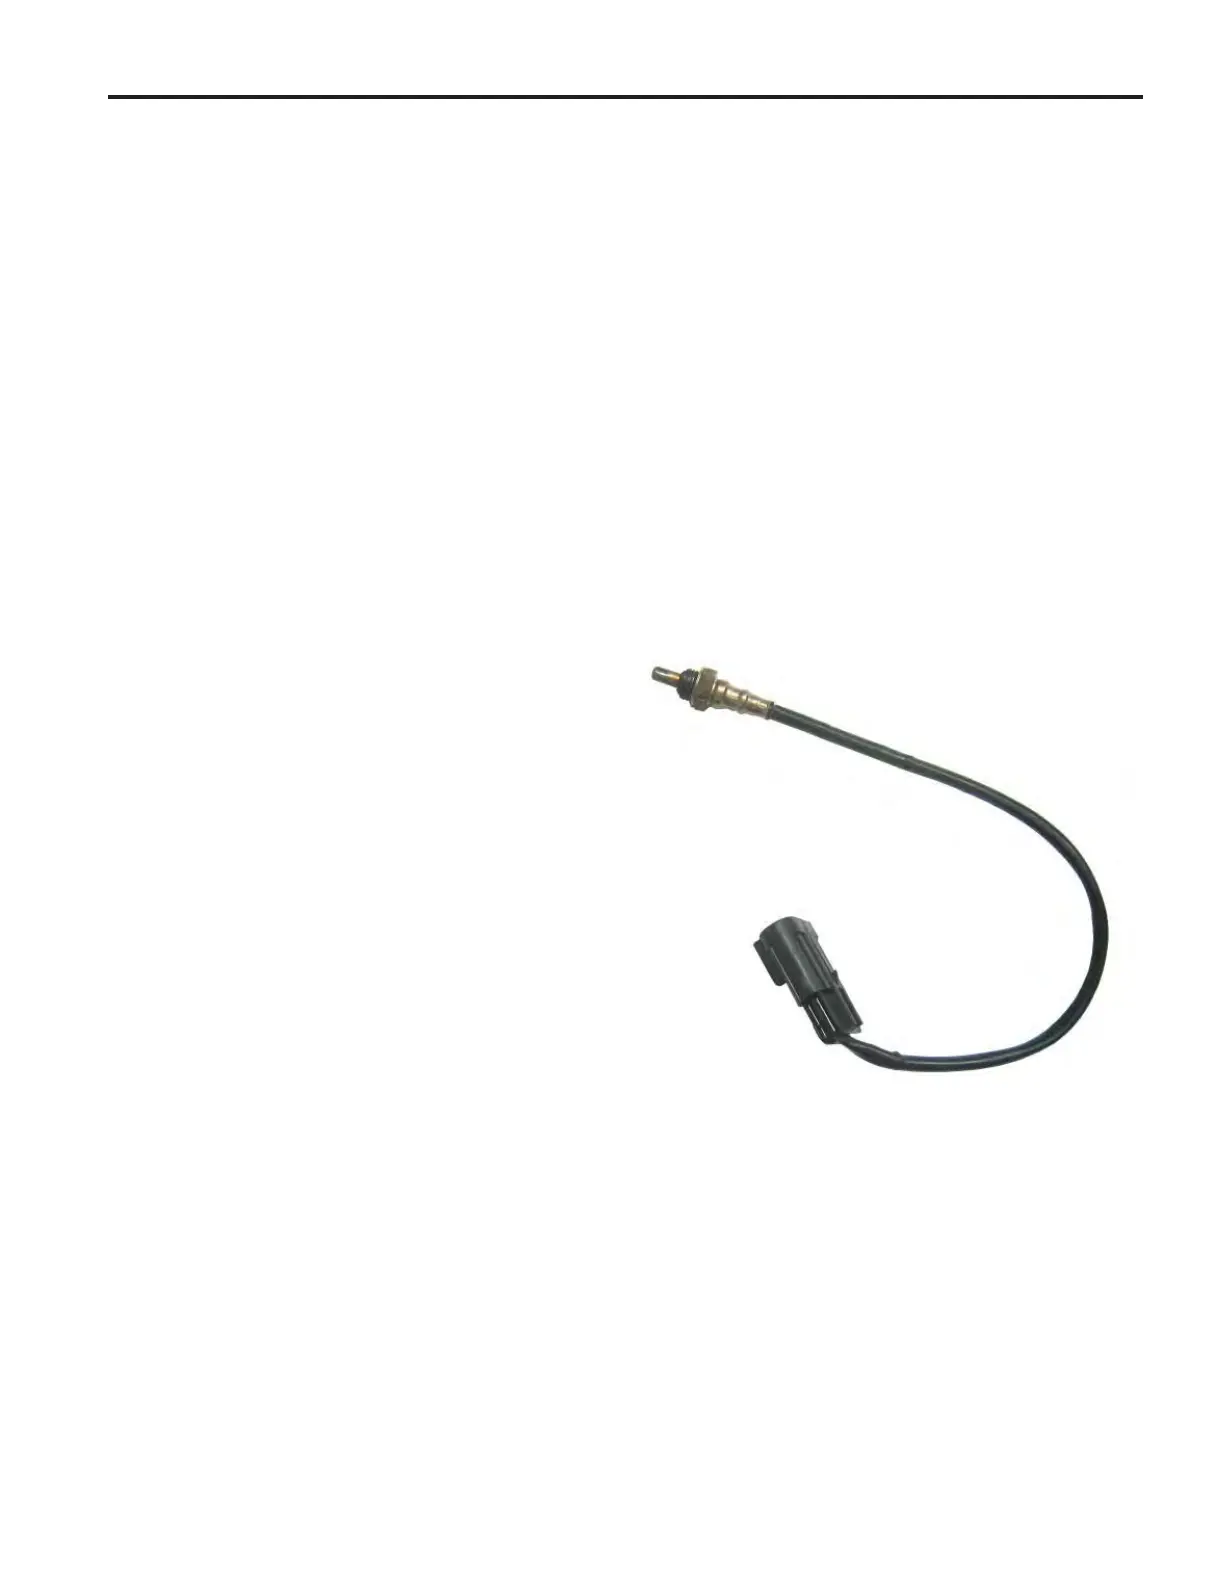
Figure 5-13 HO
2
Sensor.
• Connect 6-place (or 8-place) engine to
chassis connector.
5. Install fl ywheel. Proceed as follows:
CAUTION: Keep fi ngers away from
inside edge of fl ywheel during installa-
tion. Stator magnets are powerful and may
pull the fl ywheel in with suffi cient force to
cause hand injury.
a. Install fl ywheel onto crankshaft taper
aligning crankshaft and fl ywheel key-
ways. Install key.
b. Install fl ywheel washer onto crankshaft
taper with the dome side up.
c. Install fl ywheel nut onto crankshaft taper
and tighten to 120-140 ft-lbs (163-190
Nm).
d. Install four hex fl ange screws to fas-
ten fan to fl ywheel. Alternately tighten
screws to 75-95 in-lbs (9-11 Nm).
6. See Air Cleaner Assembly/Static Guard/
Decorative Cover/Blower Housing, Installa-
tion.
HO
2
Sensor
Removal
1. Disconnect HO
2
sensor connector.
2. Rotate sensor body hex CCW to release
sensor from muffl er. See Figure 5-13.
Installation
1. Rotate sensor body hex CW to secure
sensor to muffl er. Tighten to 146-173 in-lbs
(16-19 Nm).
2. Routing sensor cable conduit inboard of
EFI wire harness, connect HO
2
sensor con-
nector.
 Loading...