APPENDIX
179
5
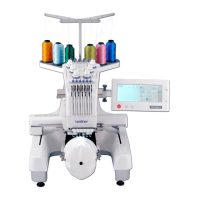
■ Oiling the needle bars
From embroidering screen, select one needle bar at a
time. (page 86) Rotate the handwheel toward the LCD
panel bringing the needle bar to its lowest position. Put
one drop of oil, as high as possible on the needle bar
above the felt washer.
1 Apply oil here.
• Too much oil may drip onto embroidery project.
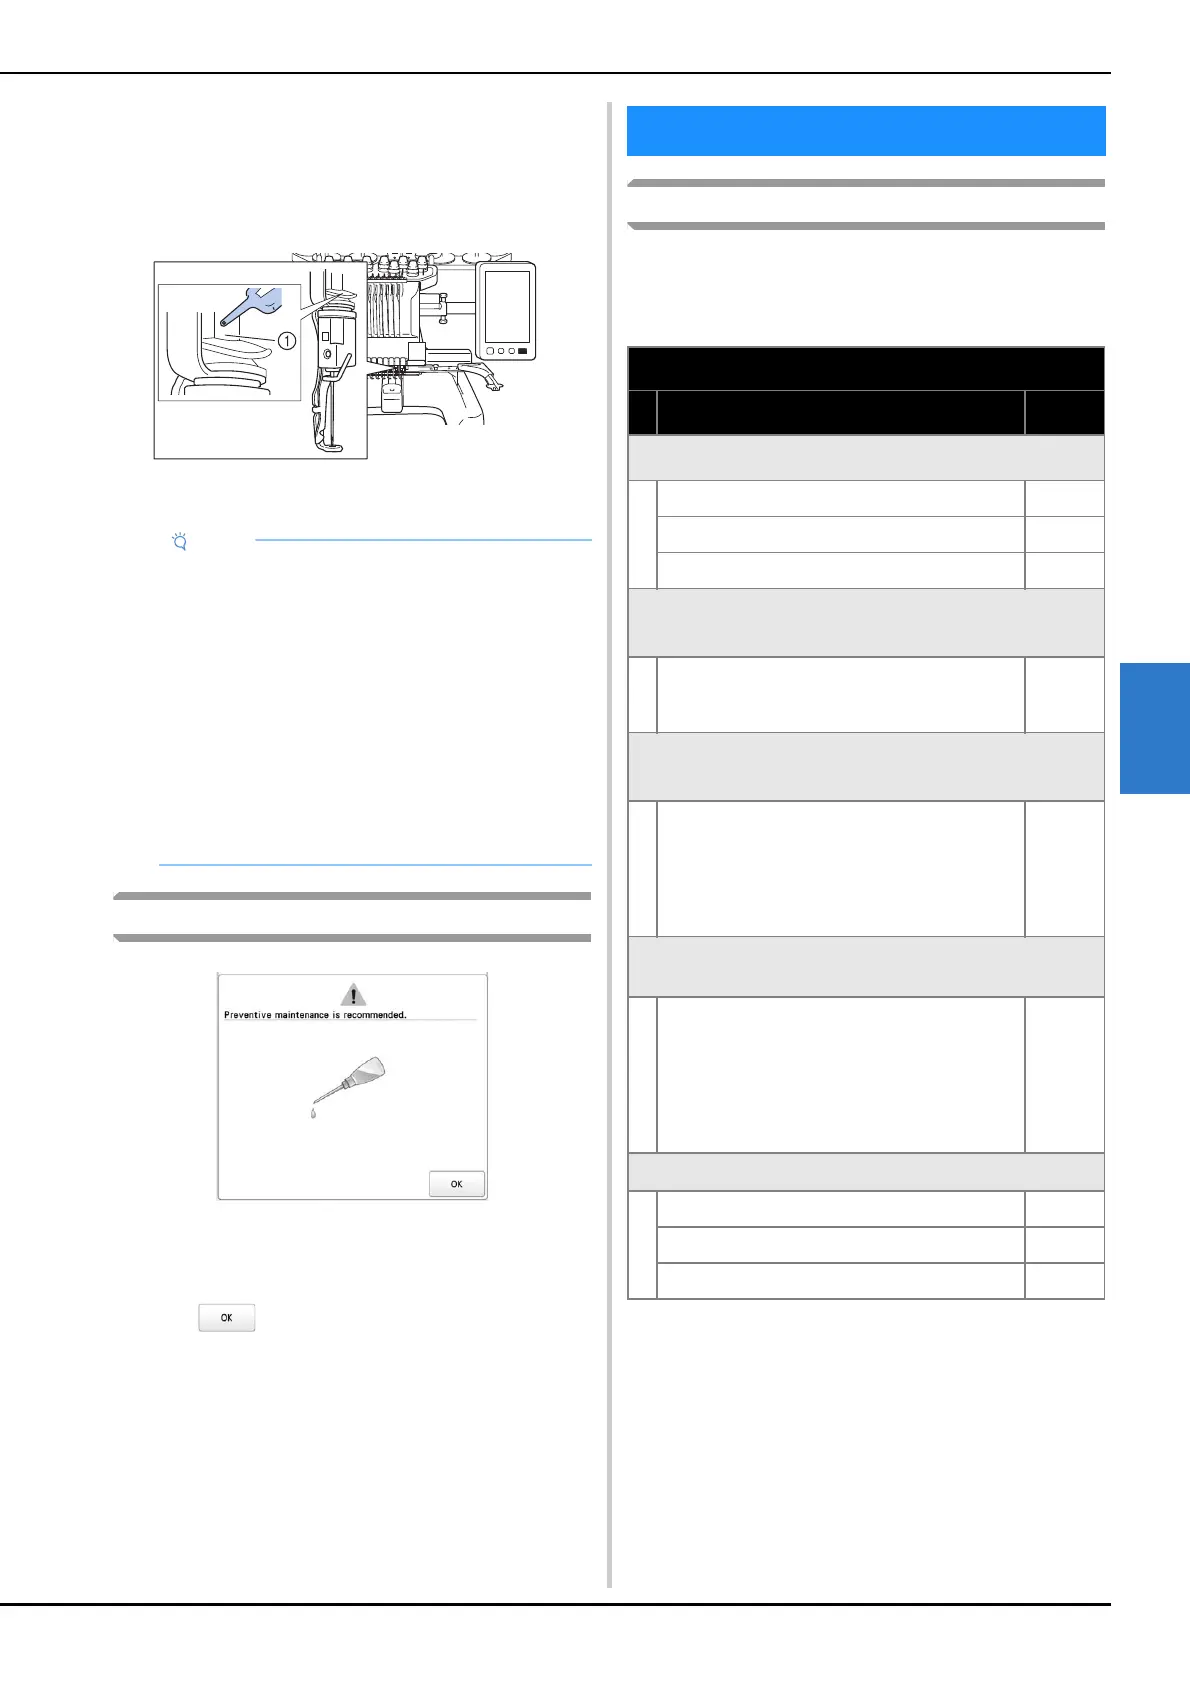
About the maintenance message
Once this message appears, it is recommended to take your
machine to your nearest authorized Brother dealer for a
regular maintenance check. Although this message will
disappear and the machine will continue to function once
you touch , the message will display several more
times until the appropriate maintenance is performed.
Please take the time to arrange for the maintenance that your
machine requires once this message appears. Such steps will
help to ensure you receive continued, uninterrupted hours of
machine operation for the future.
Troubleshooting
If the machine does not operate correctly, check for the
following points/issues before requesting service.
If the reference page is “*” or the suggested remedy does not
correct the problem, contact your authorized Brother dealer.
• Put a drop of oil onto the hook once a day before
use.
• Apply one drop of oil on the lower needle bar
above the felt washer every 40 – 50 hours of
embroidering time.
• Apply only machine oil. Use of any other type of oil
may result in damage to the machine.
• Do not apply too much oil. Fabric or thread may get
contaminated. If too much oil is applied, wipe off
any excess with a rag.
• If the thread breaks while embroidering or the
operating noise of the hook becomes loud, apply
oil onto the race hook.
TROUBLESHOOTING
Symptom
Probable Cause/Remedy Page
The machine does not operate.
The machine is not turned on. 22
The machine has not been unlocked. 87
The “Start/Stop” button was not pressed. 87
The embroidery frame cannot be attached to the
machine.
The embroidery frame holder attached to the
machine is not appropriate for the selected
embroidery frame.
66
The embroidery frame cannot be removed or
attached.
Depending on the position where the machine’s
carriage has stopped, it may be difficult to
remove or attach the embroidery frame.
• Touch the Needle bar/Frame move key to
position the carriage, so the embroidery frame
can easily be removed or attached.
66
Embroidering is interrupted while embroidering a
large project.
Embroidering is interrupted by the presser feet
not in use catching on the fabric outside of the
design area.
• Stitch the design as close to the center of the
embroidery frame using needle bars 3 through
7, keeping the head of the machine as
centered as possible.
57, 58
The needle breaks.
The needle is not installed correctly. 176
The needle set screw is loose. 176
The needle is bent or blunt. 176

 Loading...