28
Installing the Lens
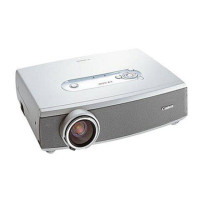
1. Remove the dust cap.
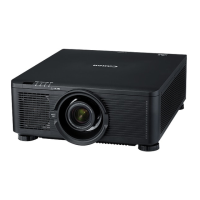
2. Remove the new lens from its packaging.
3. Remove the lens covers from the rear and front of the
new lens. Remove them before continuing.
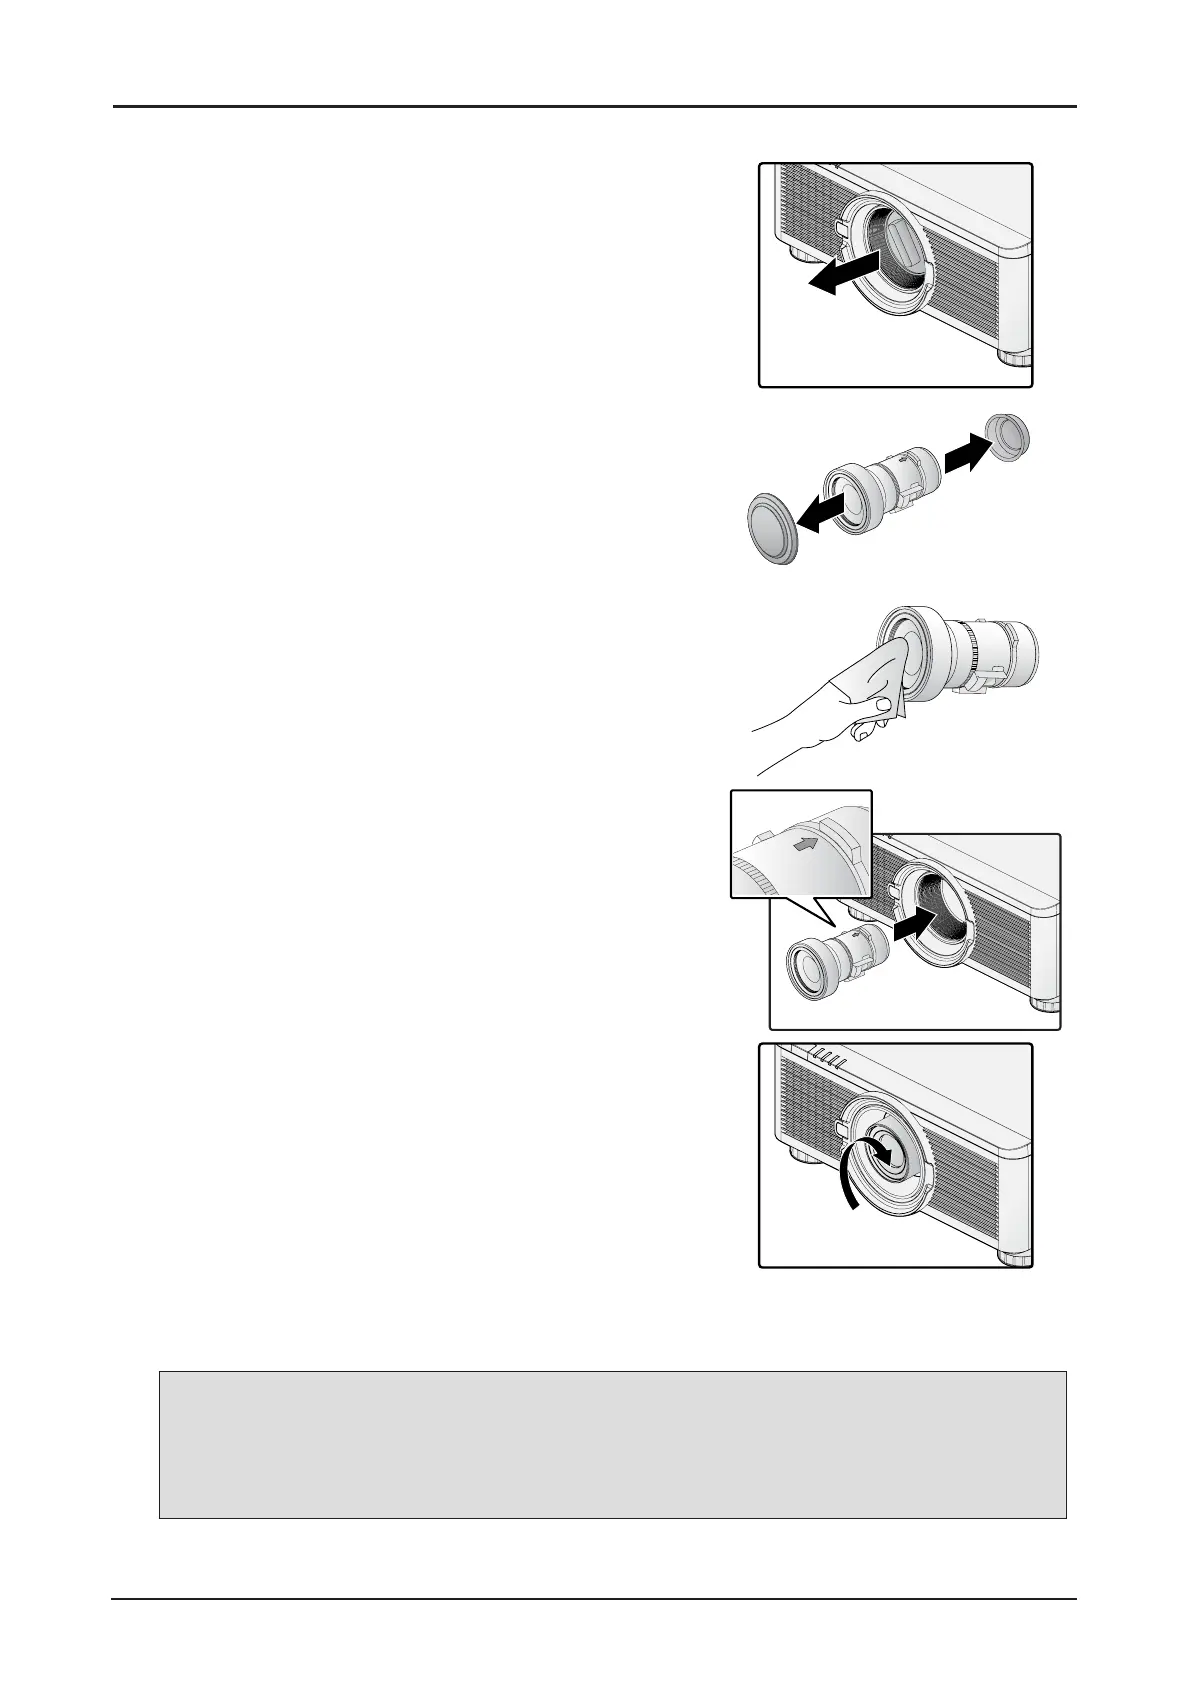
4. Clean the new lens before installing. Take care when
cleaning to prevent scratching the surface of the new
lens.
5. Orient the lens so that the arrow on the label pasted on
its side is facing upward and push the lens into the lens
mount of the unit as far as it will go.
6. Turn the new lens clockwise until and audible Click is
heard signifying the new lens is secured and seated
correctly.
7. Gently pull on the new lens to ensure it is locked in
place. If the new lens does not come off, it is seated
correctly.
Note:
■ The projector supports the lens memory function. Perform the memory function every time
when you install the lens.
■ Be sure to execute Center Lens after the lens is changed.
■ Refer to User’s Manual attached to optional lens as well.
 Loading...