105
Advanced Settings (REC MENU)
Advanced Settings (REC MENU)
The following are menu operations you can use to configure various camera settings.
• You also can use the Control Panel (page 43) to configure some of the settings that
appear on the menu screen. Refer to the page references provided in this section
for information about configuring settings using the Control Panel.
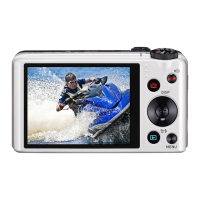
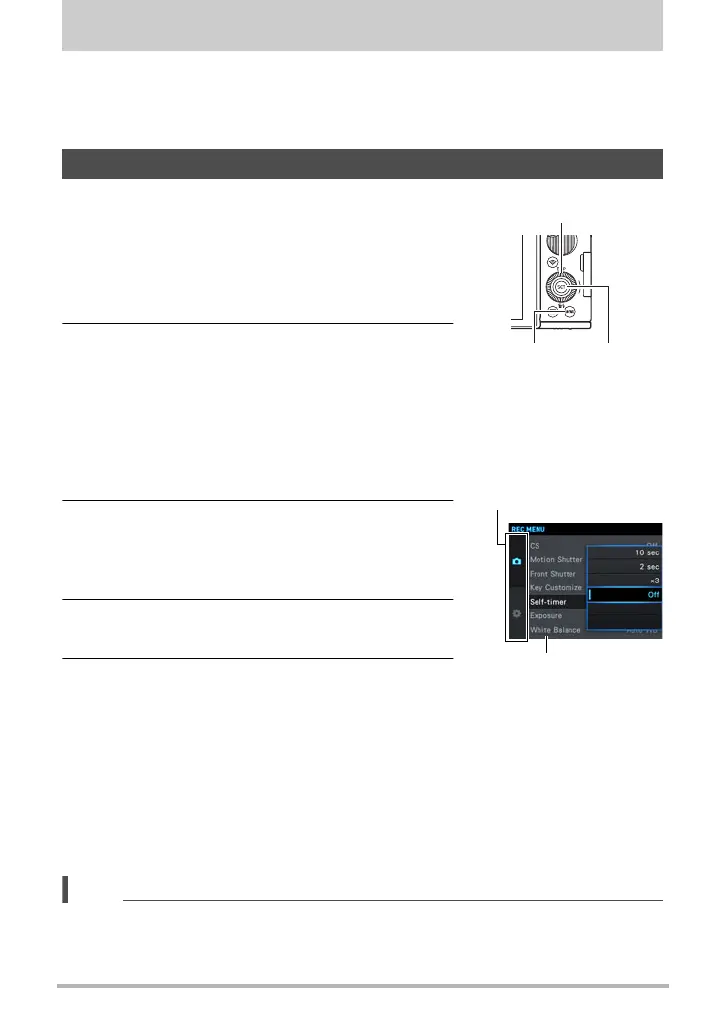
1. In the REC mode, press [MENU].
This will display the menu screen (r REC
MENU).
• Menu contents are different in the REC mode
(r REC MENU) and PLAY mode (p PLAY
MENU).
2. Press [4], use [8] and [2] to select the
“r REC MENU” tab, and then press [6] or
[SET].
• To configure settings on the “p PLAY
MENU”, select the “p PLAY MENU” tab
(which is displayed only in the PLAY mode).
To configure other settings, select the
“¥ SETTING” tab (page 187).
3. Use [8] and [2] to select the menu item
you want, and then press [6] or [SET].
• Operating the zoom controller displays the next
or previous page of menu items.
4. Use [8] and [2] to change the setting of
the selected menu item.
5. After the setting is the way you want, press
[SET] to apply the setting and return to the
viewfinder screen.
• Pressing [MENU] cancels the current selections and returns to the menu
screen.
• To continue with configuration of another setting item, press [4] instead of
[SET], move the selection boundary to the next setting item, and then use [8]
and [2] to change the selected setting. Next, press [6].
• Pressing the shutter button or [p] (PLAY) interrupts the menu operation and
exits the menu screen.
• Depending on the recording mode, some of the items on the menu may be dimmed,
which indicates they are not available. While Premium Auto Pro is in use, only the
menu items whose settings can be configured will be displayed on the menus.
Using the Menu Screen to Configure Recording Settings
[MENU]
[SET]
[8] [2] [4] [6]
Items
Example:
When “Self-timer” is
selected on the “
r
REC
MENU” tab
Tabs
 Loading...