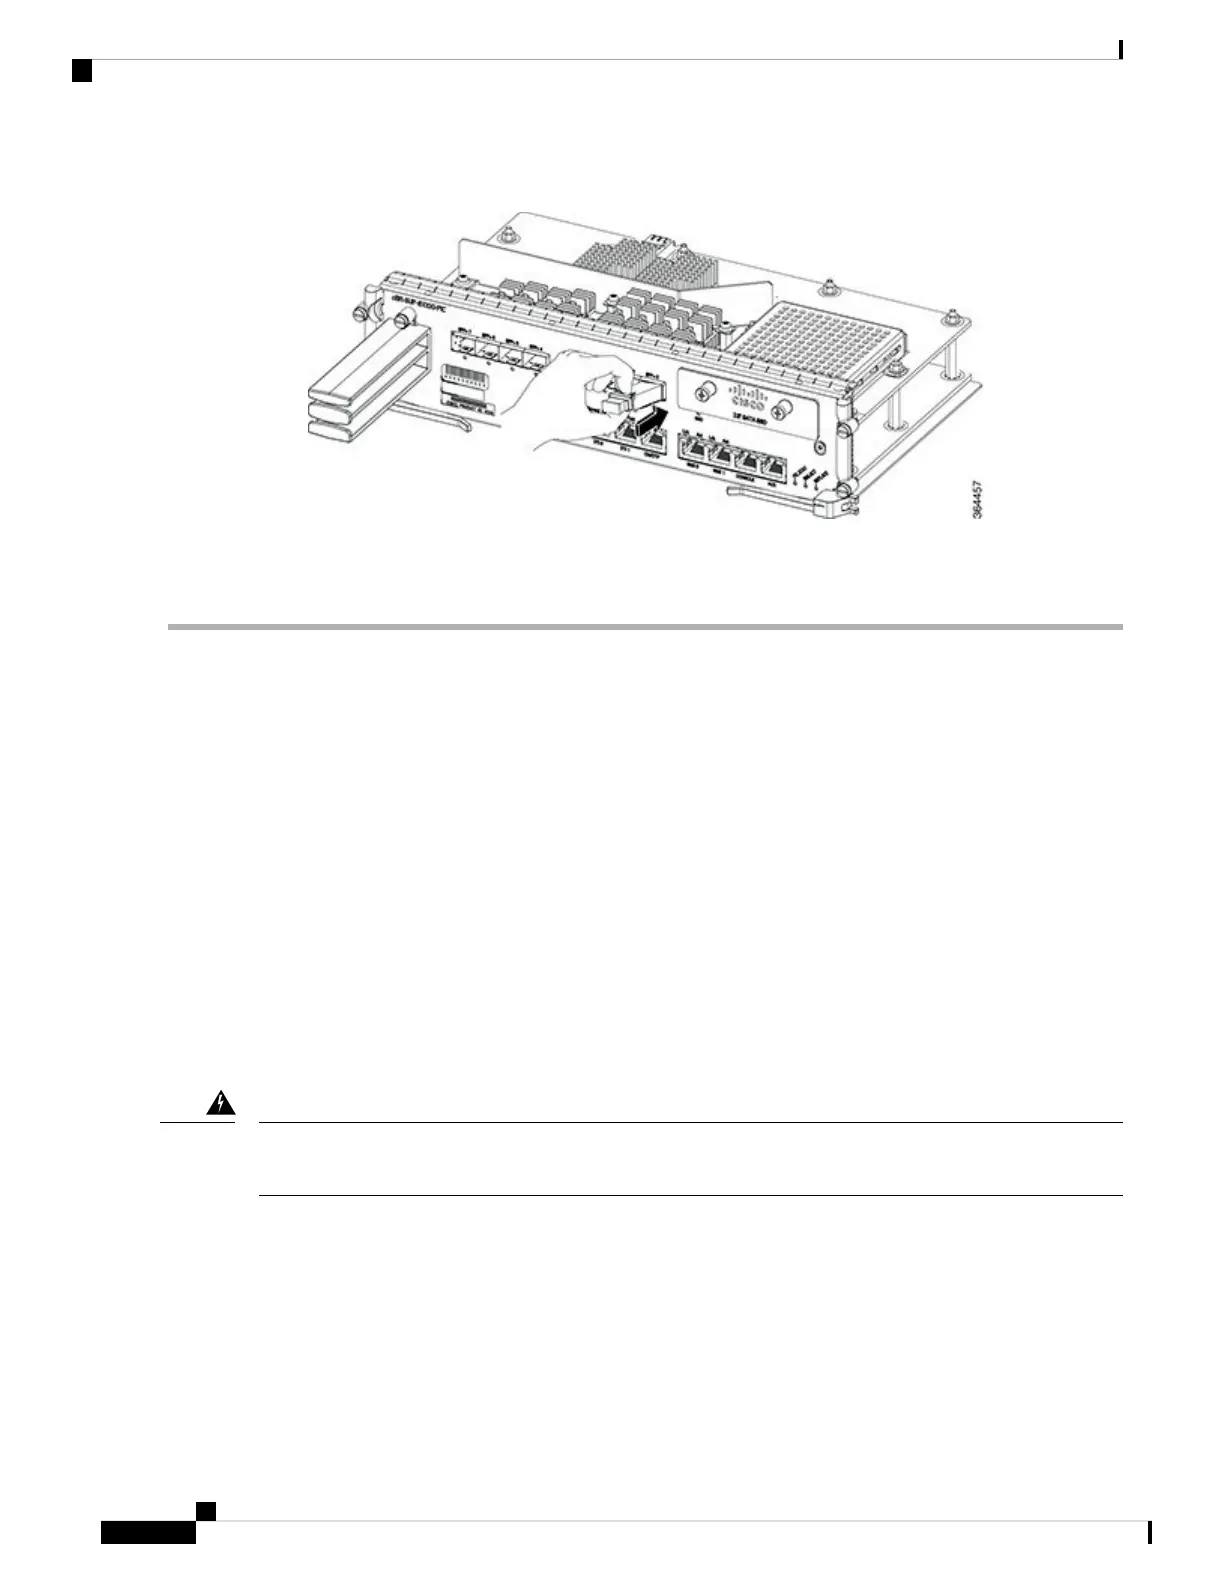
Figure 49: Installing the SFP+ Module in the Supervisor PIC
Step 6 Press the SFP+ module into the slot firmly with your thumb until it is latched securely into the socket.
Step 7 Repeat Step 1, on page 93 to Step 6, on page 94 for each SFP+ module.
What to do next
• Verify if the SFP+ module is seated and latched properly. Grasp the SFP+ module and try to remove it
without releasing the latch. If the SFP+ module cannot be removed, it is installed and seated properly.
If the SFP+ module can be removed, reinstall it.
• Connect fiber-optic cable to the SFP+ port.
Installing the Supervisor Card in the Cisco cBR Chassis
Perform this procedure to install the following cards:
• Supervisor Card
• Blank card for the Supervisor
Before you begin
If you are adding a new Supervisor Card or upgrading the existing Supervisor Cards, ensure that the power
modules installed in the chassis are adequate to support the Supervisor Cards.
Warning
• Attach an ESD-preventive wrist strap to your wrist and connect the other end to the grounding lug
connected to the chassis.
• Install the Supervisor PIC (recommended).
• Be aware of the weight and size of the equipment. Handle it with care.
Restrictions
Cisco Converged Broadband Routers Hardware Installation Guide
94
Installing the Supervisor in the Cisco cBR Chassis
Installing the Supervisor Card in the Cisco cBR Chassis

 Loading...