Step 1 Select System Configuration > Time.
Step 2 In the System Clock Source area, click Network Time Protocol (NTP). By default, the NTP is enabled.
Step 3 Configure the following parameters:
• NTP Server (1 through 4) — Specify the IPv4 address, IPv6 address, or host name of a NTP server. A default NTP
server is listed from 0.ciscosb.pool.ntp.org to 3.ciscosb.pool.ntp.org.
A host name can consist of one or more labels, which are sets of up to 63 alphanumeric characters. If a host name
includes multiple labels, each is separated by a period (.). The entire series of labels and periods can be up to 253
characters long.
• Time Zone — Select the time zone for your location.
• Adjust for Daylight Saving Time — Ensure that you have chosen the appropriate time zone before you select this
option. Check the checkbox to enable and configure the following fields:
• Starts — Select the week, day, month, and time when the Daylight Savings time starts.
• Ends — Select the week, day, month, and time when the Daylight Savings time ends.
• Daylight Saving Offset — Specify the number of minutes to move the clock forward when Daylight Savings
Time begins and backward when it ends.
Step 4 Click Apply. The changes are saved to the Startup Configuration.
Manually Configuring the Time Settings
To manually configure the time settings:
Step 1 Select System Configuration > Time.
Step 2 In the System Clock Source area, choose Manual.
Step 3 Click Sync Time with PC to clone the system time settings from your local PC.
Step 4 You can also configure the following fields:
• System Date — Select the current month, day, and year date from the drop-down lists.
• System Time — Select the current hour and minutes in 24-hour clock format.
• Time Zone — Select the time zone for your location.
• Adjust for Daylight Saving Time — Ensure that you have chosen the appropriate time zone before you select this
option. Check the checkbox to enable and configure the following fields:
• Starts — Select the week, day, month, and time when daylight savings time starts.
• Ends — Select the week, day, month, and time when daylight savings time ends.
• Daylight Saving Offset — Specify the number of minutes to move the clock forward when daylight savings
time begins and backward when it ends.
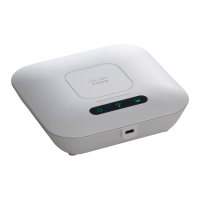
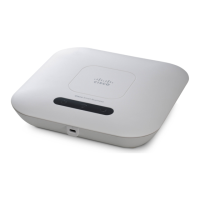
Cisco WAP150 Wireless-AC/N Dual Radio Access Point with PoE / Cisco WAP361 Wireless-AC/N Dual Radio Wall Plate Access Point with PoE
24
System Configuration
Manually Configuring the Time Settings
 Loading...
