MNL-00008 [5] Proprietary and Confidential Page 29 of 55
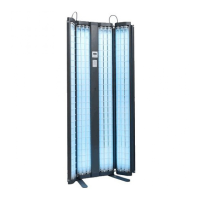
19.4 7 Series Lamp Removal and Replacement
Lamps may need to be replaced due to burnout or because their energy output has decreased to
the point that you may no longer be receiving an effective treatment.
DO NOT REPLACE LAMPS INDIVIDUALLY. ALL LAMPS SHOULD BE REPLACED
AT THE SAME TIME TO AVOID UNEVEN TREATMENTS OR ERYTHEMA.
PLEASE CONTACT THE DAAVLIN SERVICE DEPARTMENT PRIOR TO
REPLACING YOUR LAMPS TO OBTAIN IMPORTANT INFORMATION ON HOW
THE OUTPUT OF YOUR UNIT WILL BE AFFECTED BY THE CHANGE.
Because of differences between brands, replace lamps with the same brand as originally
installed.
1. Unplug the machine. Then, using a ¼” hex driver/socket, remove the screw from the
bottom of the grid that is in front of the lamp(s) you want to remove.
2. Lift the grid out of the holes in the bottom lamp plate, pull the bottom of the grid toward
you, then lower the grid out of the holes in the top of the unit and set it aside.
3. Grasp the lamp to be removed with both hands and press down until it clears the top
socket, then remove the lamp. Reverse the process to install lamps and grid.
Note: Please see the Lamp Inspection section on page 11, for the correct specifications of
replacement lamps and the Recommended Maintenance Schedule section on page 48 for
instructions on how to reset the lamp age monitor.
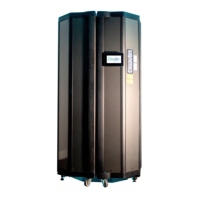
20.0 M Series CX and M Series CT Information
20.1 Electrical Requirements
Daavlin offers the M Series Phototherapy equipment in a variety of combinations. Units contain
10 lamps and can be equipped with various combinations of UVA, Narrowband UVB,
Broadband UVB and visible spectrum.
 Loading...