SR200 & SR300 Card Printers and LM200 & LM300 Laminators User’s Guide 35
Printing Area Settings
OnthePrinttab,clickEnabletheprintingareaandclick
Settingstodefinenon‐printingareasofacarddesign.Also
usewithpeel‐off(YMCK‐PO)ribbon.
YoucanblockYMCKprintingareas,buttheprotectivelayer
fromtheretransfermaterialisstillappliedtothecard.To
maintain
quality,usethepeel‐offfeatureandpeel‐offribbon
toremovetheretransfermaterialinmagneticstripe,smart
cardchip,andhologramareas.
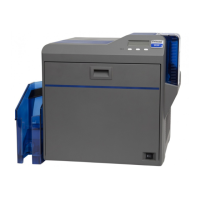
ThePrintingareadialogboxcontainssettingsforx
andystartingcoordinates,heightandwidthofprint
area,inktype,cardside,andenergysettings.
Youcan
adduptothreenon‐printingareasperside.
However,noneofthenon‐printingareascan
overlapeachother.
Todefineanon‐printingarea:
1. Enterthexandycoordinatesofthestartpositionandtheheightandwidthinmillimeters.
2. Select1.Peeloffor2.YMCKfromthe
Inklist.
3. Select1.Frontor2.BackfromtheSidelist.
ForISOmagneticstripes,usethefollowingvalues:
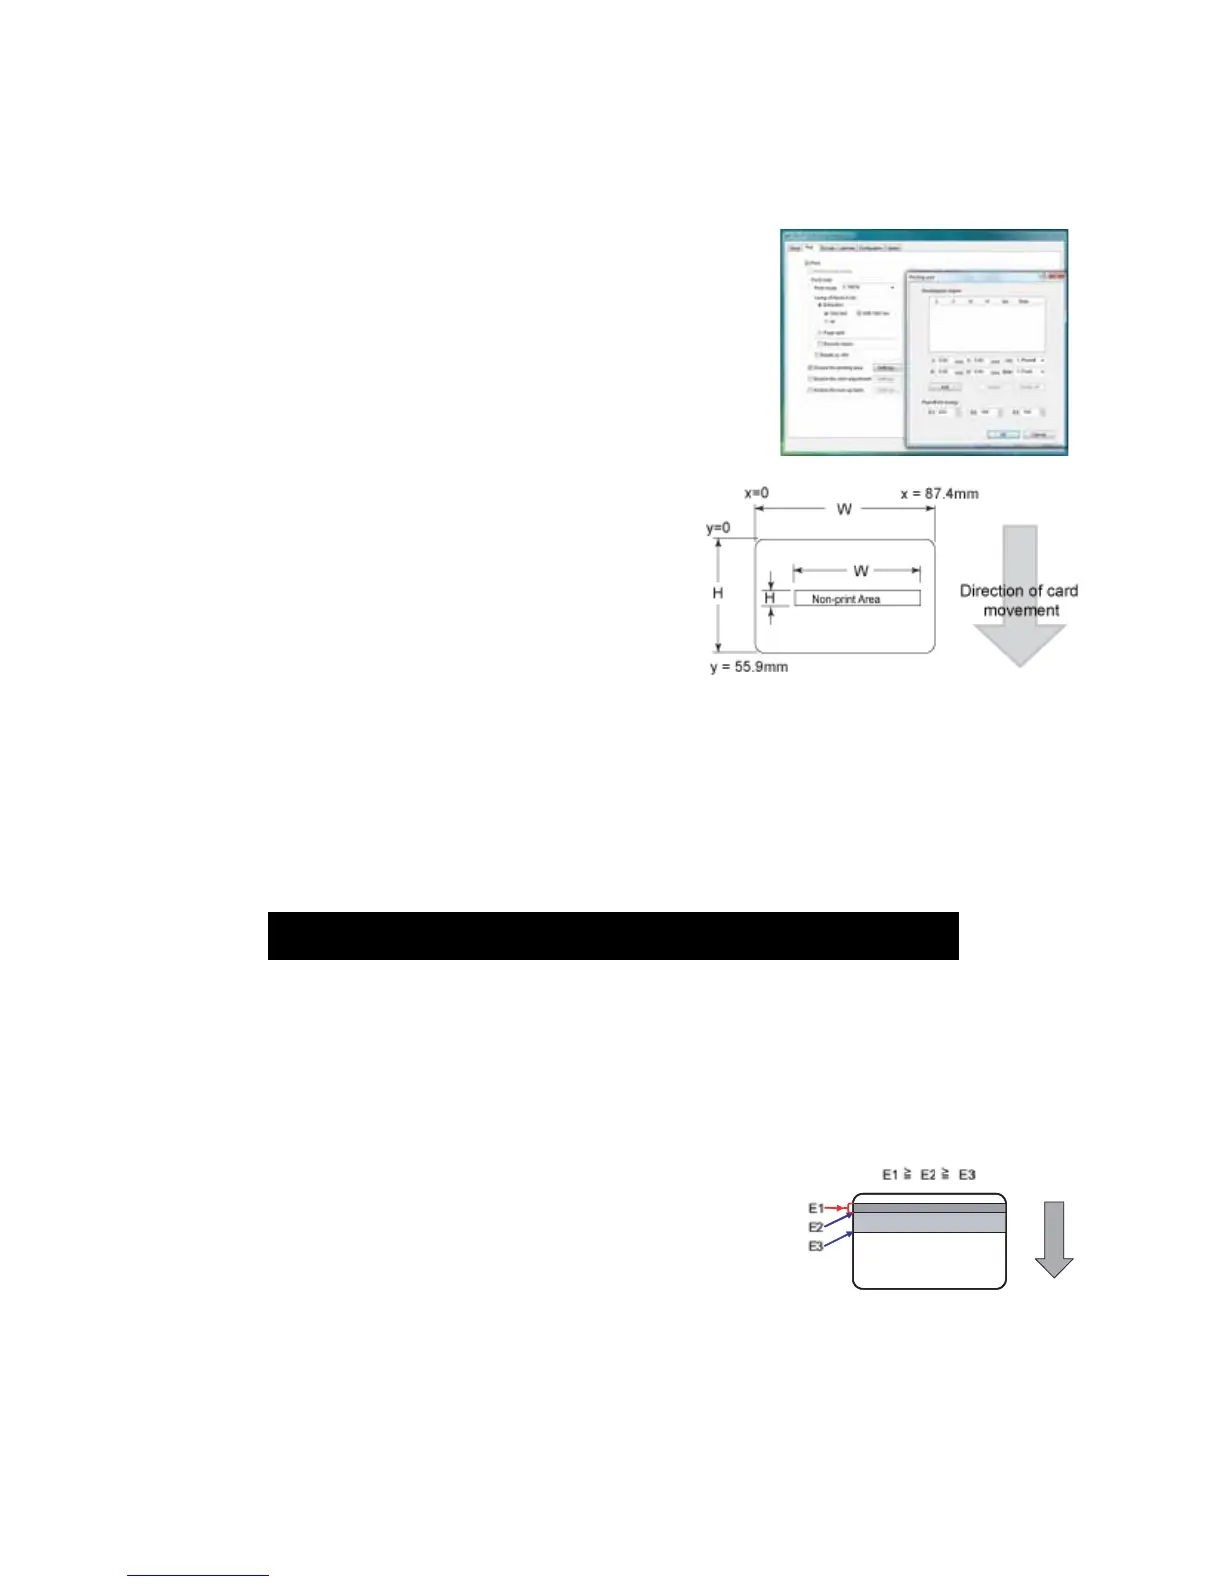
4. MadeadjustmentstothePeeloffinkenergysettings(E1,E2,andE3),asneeded.
ThePeel‐offInkEnergysettingsaffecttheprintdensityorstrengthofpeel‐off.
Forbest
results,usethedefaultsettings.Theprinterdriver
setsthewidthofeacharea.
5. ClickAddtoaddthenon‐printingarea.
X start Y start Width Height Ink Side
0 0 87.46 17.86 1 Peeloff 1. Back
0 0 87.46 21.42 2 YMCK 1. Front
 Loading...