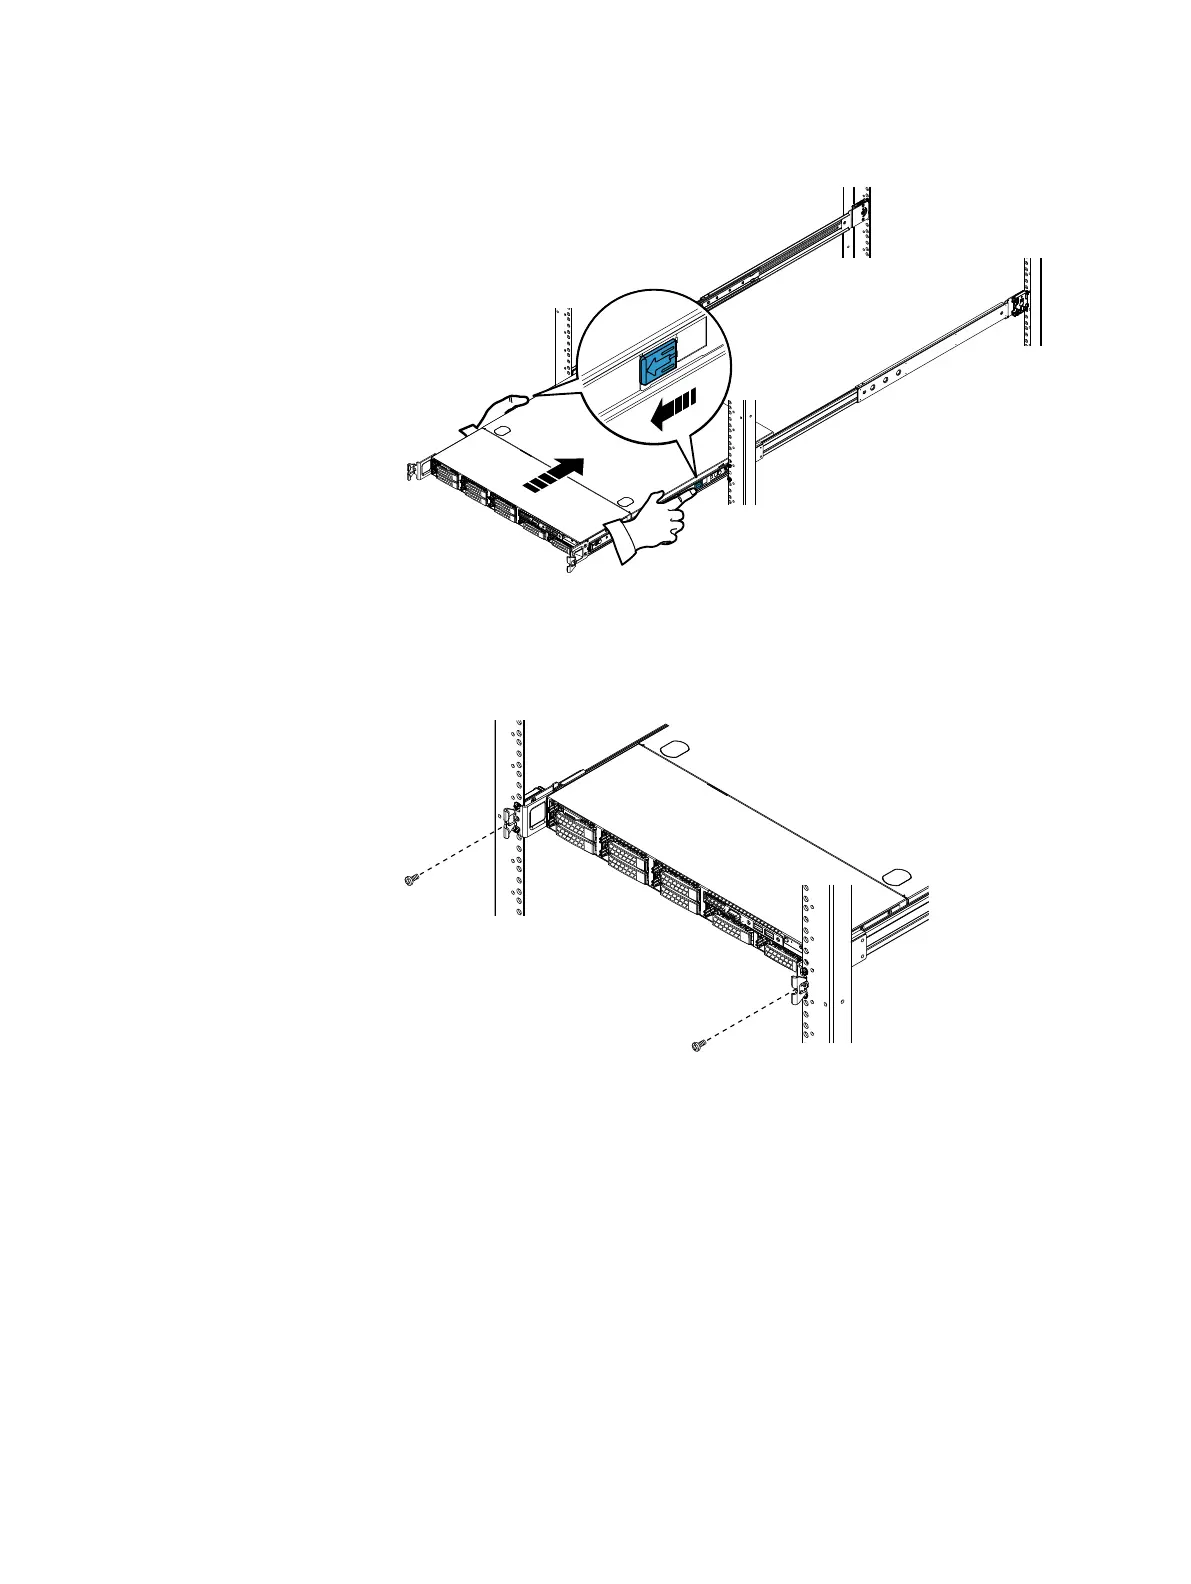
Figure 6 Inserting the server in the cabinet
6. To further secure the rail assembly and server in the cabinet, insert and tighten
a small stabilizer screw directly behind each bezel latch.
Figure 7 Installing the stabilizer screws
7. For management server SW install steps, refer to the latest
VxRack Node
Deployment Guide
.
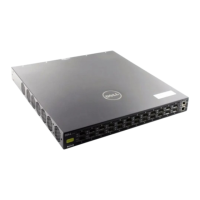
Install the management switch in the cabinet
There are two cabinet rails (left and right). Each cabinet rail consists of the part that
is installed in the cabinet (slide rail) and the part that is mounted on the side of the
management switch (inner rail).
When the management switch is installed in the cabinet, the rear panel will be facing
the front of the cabinet.
Procedure
1. Separate the inner rails from the slide rails.
2. Install the slide rails in the cabinet with the hardware provided.
2U1N Configuration Equipment Installation
26 VxRack Node Hardware Installation Guide
 Loading...