Figure 14 Inner rail over the first part of ball bearing retainer assembly
10. Once the inner rails are properly engaged with the ball bearing retainer
assemblies, push the server into the cabinet until the slide rails are engaged and
locked.
An audible click indicates that the slide rails are engaged and locked.
11. On the outside of each rail assembly, slide the white disconnect tab forward to
unlock the server, and push the server completely into the cabinet so that front
on server is flush with cabinet.
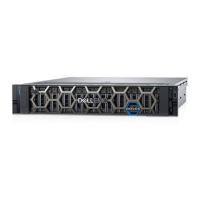
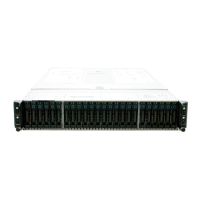
Figure 15
Inserting the server in the cabinet
12. Secure the server to the front of the cabinet with the two screws (one on each
side).
13. Repeat this procedure to install remaining 2U4N servers.
14. If you are installing an AMS supported version (1.33.X), refer to the latest
VxRack Node Deployment Guide
.
15. If you are installing an SW only version (1.32.X), refer to the latest Quick Start
Guide:
l
VxRack Node Quick Start Guide for 2-Layer
(VxRack Nodes with SLES12 and
Storage Clients on ESX).
l
VxRack Node Quick Start Guide for VMware
(VxRack Nodes with ESX and are
also Storage Clients).
2U4N Configuration Equipment Installation
38 VxRack Node Hardware Installation Guide
 Loading...