Owner's Manual
5
3. Live Adapt Mic
This built-in analysis microphone listens to the music being played in the
room and adjusts settings in the Live FX automatically. It is used to adjust
tempo for delay and modulation effects, adjust the key for generated
harmonies and pitch effects, and adjust the noise gate threshold.
NOTE: Whenever the Aux In jack is connected to an audio source, it will
be used for Live Adapt features instead of the internal microphone. See
"Live Adapt™" on page 19
4. Signal LED
This LED lights when the mic input signal is detected. This LED will light
green when a signal is present, yellow when approaching the A/D limiting
point, and red when limiting occurs. Good practice is to set the microphone
Input Gain knob so the Signal LED lights green regularly, lights yellow
occasionally, but never lights red.
NOTE: The Signal LED may also light red if the outputs clip due to
the added gain from multiple enabled effects. If such a condition is
encountered, simply lower the Input Gain knob on the back panel until
the Signal LED no longer indicates clipping.
5. DATA Encoder
This encoder is used to navigate menus and edit certain parameters.
Pressing this encoder selects different pages within the Gold Channel and
System Edit menus.
6. Store Button
When pressed, this button initiates the preset store and copy functions.
When a preset is edited, this button will light, indicating a change has been
made to the currently loaded preset’s stored settings.
7. System Button
This button enters the System Edit menu, where you can edit Live FX global
system parameters for conguring the Live FX for your application.
8. Sound Check Button
This button enables and disables the Sound Check feature. Sound Check
allows you to record a vocal loop which can then be used for auditioning
and editing effect parameters.
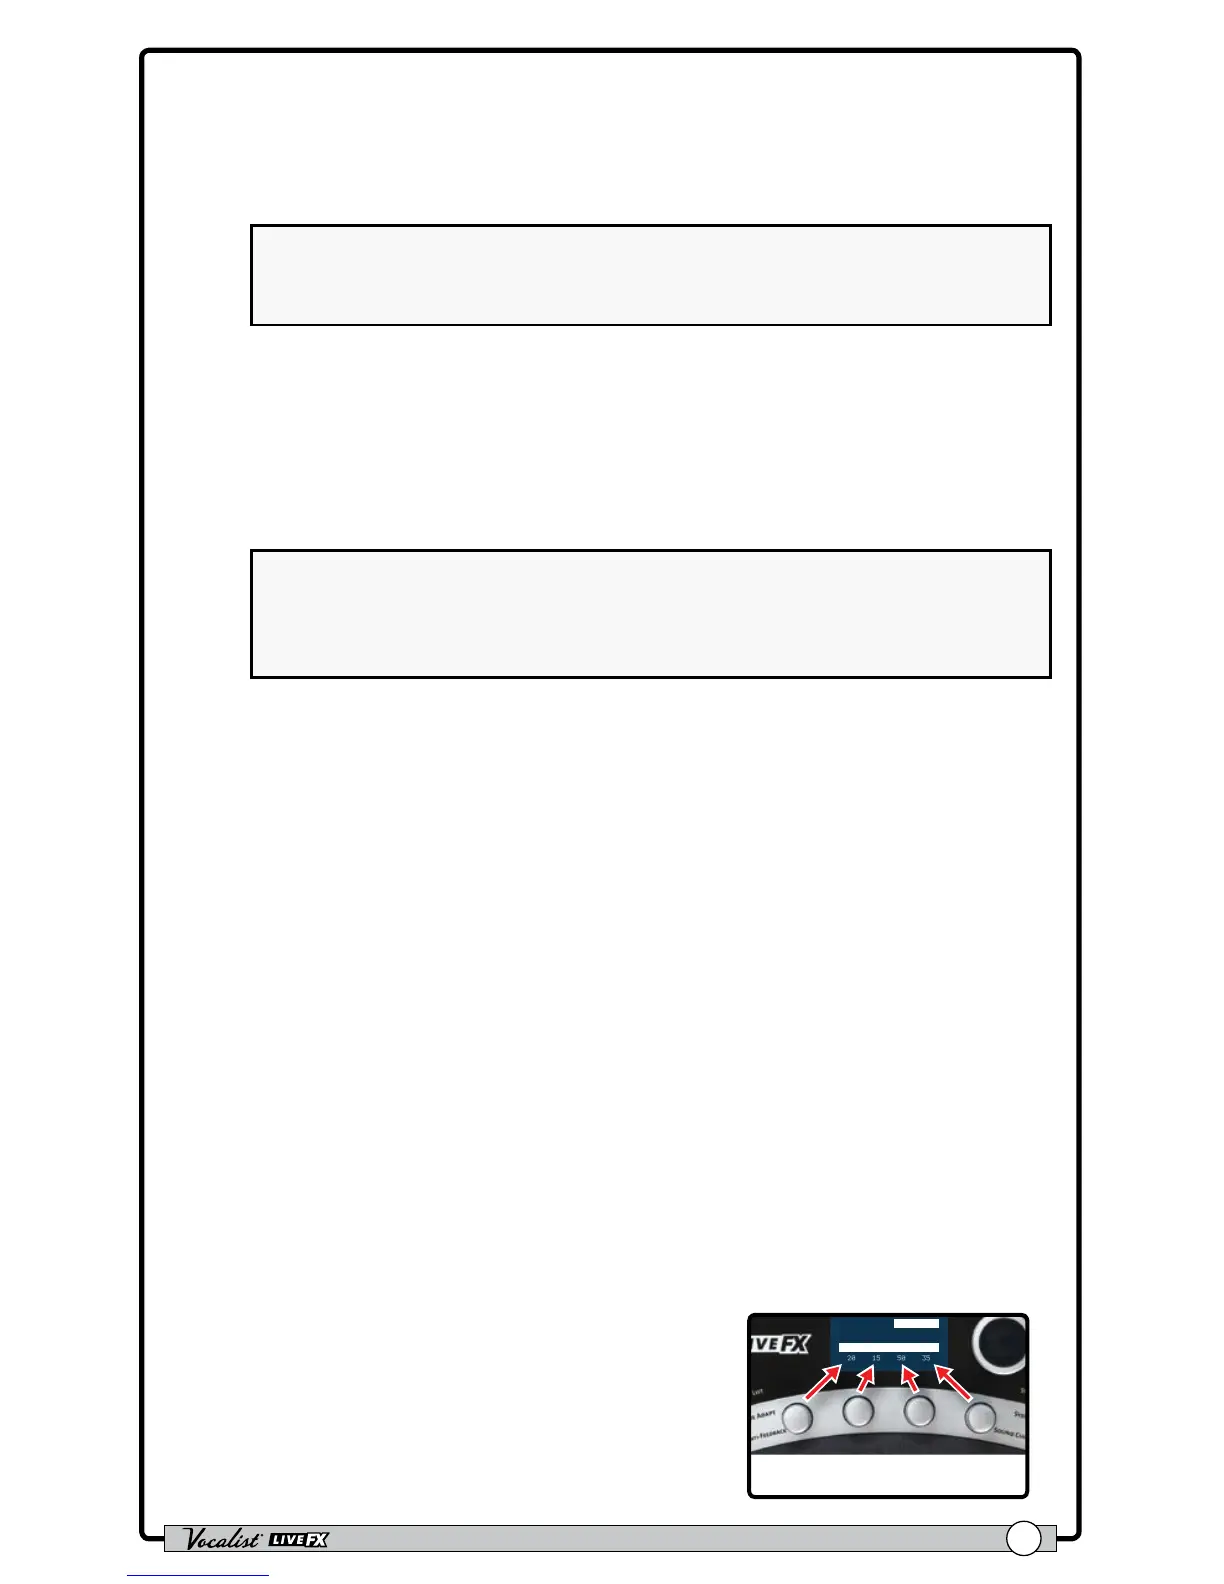
9. Edit Knobs
These four knobs are used to edit the
various effect and system parameters. They
correspond to the available on-screen
parameters as shown in the illustration to
the right.
 Loading...