Owner's Manual
18
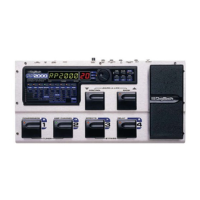
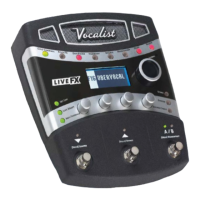
Sound Check
If you've ever tried adjusting vocal effect parameters while singing then you know
that it can be difcult to properly judge the parameter changes due to the fact that
you can hear your own voice inside your head. The Sound Check feature resolves
this issue by allowing you to record a vocal loop (pre-effects) that you can then
playback through the Gold Channel and Vocal effects. This provides an easy way
to audition and ne-tune all effect parameters without having to sing into the
microphone while making adjustments.
To use the Sound Check feature:
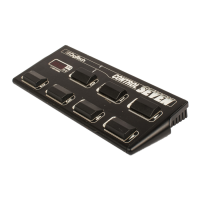
1. Press the <Sound Check> button. The display will read “RECORD PHRASE”
and the <Down> footswitch LED will begin ashing.
2. Press the <Down> footswitch to begin recording. The display will read
“RECORDING”.
3. When nished, press the <Down> footswitch to stop recording and begin
playback of the Sound Check loop.
4. Enable the effect you wish to edit by pressing the corresponding effect's button
(e.g., <Gold Channel>, <Pitch FX>, etc.). The effect button will light when
enabled. Now Press and hold the same effect button for 2 seconds to enter the
effect's Edit mode.
5. Edit the effect parameters using the <DATA> encoder and <Edit> knobs
until you reach the desired sound.
6. Repeat steps 4-5 to edit additional effects.
7. When done, press the <Sound Check> button to exit and disable the Sound
Check feature.
8. Store any Vocal effect changes you wish to retain. See "Presets" on page 24
for further information on storing user presets.
NOTE: A loop recorded using Sound Check will be retained for as long as the
Sound Check feature is enabled. If the feature is disabled or the device is power
cycled, a new loop will need to be recorded before using the Sound Check
feature again.
 Loading...