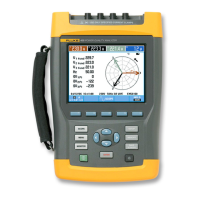
Network Assistant
Monitoring and Troubleshooting a Wired LAN
37
2. Connect to the network (see “Connecting to a Wired
Network “on page 37).
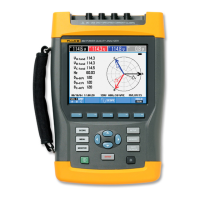
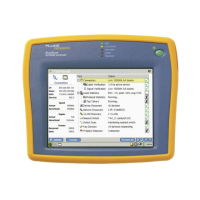
After you turn on and connect the instrument, it
goes through a complete power-up sequence, which
entails initializing the processor and memory,
performing a self-test, and loading the operating
system and application software. When this process
is completed, the autotest results screen (Figure 6) is
displayed.
3. View autotest results for each test. See “Viewing
AutoTest Results” on page 38.
4. Make any needed configuration changes to match
your testing environment. See “Configuring the
Instrument for a Wired LAN” on page 74”.
Connecting to a Wired Network
To connect to the network, plug one end of an Ethernet
cable into the instrument’s RJ-45 LAN connector and the
other end of the cable into the network segment you are
testing.
If you have purchased the optional Fiber SFP adapter for
1000BaseSX, 1000BaseLX, or 1000BaseZX, connect the
fiber cable from the adapter to the network segment
you are testing.
Note
Make sure you are using the correct fiber cable
type for the installed optional fiber adapter
type, or you may experience no link or bad test
results.
 Loading...