Scanning Procedure
49
Basic Operations
3
Scanning Procedure
This section describes the basic scanning procedure. The following shows the reference
section for each procedure.
Step 1 Loading Documents.......................................................................................................................................................... 49
Step 2 Selecting the Features...................................................................................................................................................... 49
Step 3 Starting the Scan Job ....................................................................................................................................................... 51
Step 4 Confirming the Scan Job in Job Status ........................................................................................................................ 52
Step 5 Saving the Scanned Data................................................................................................................................................ 53
Stopping the Scan Job .................................................................................................................................................................. 53
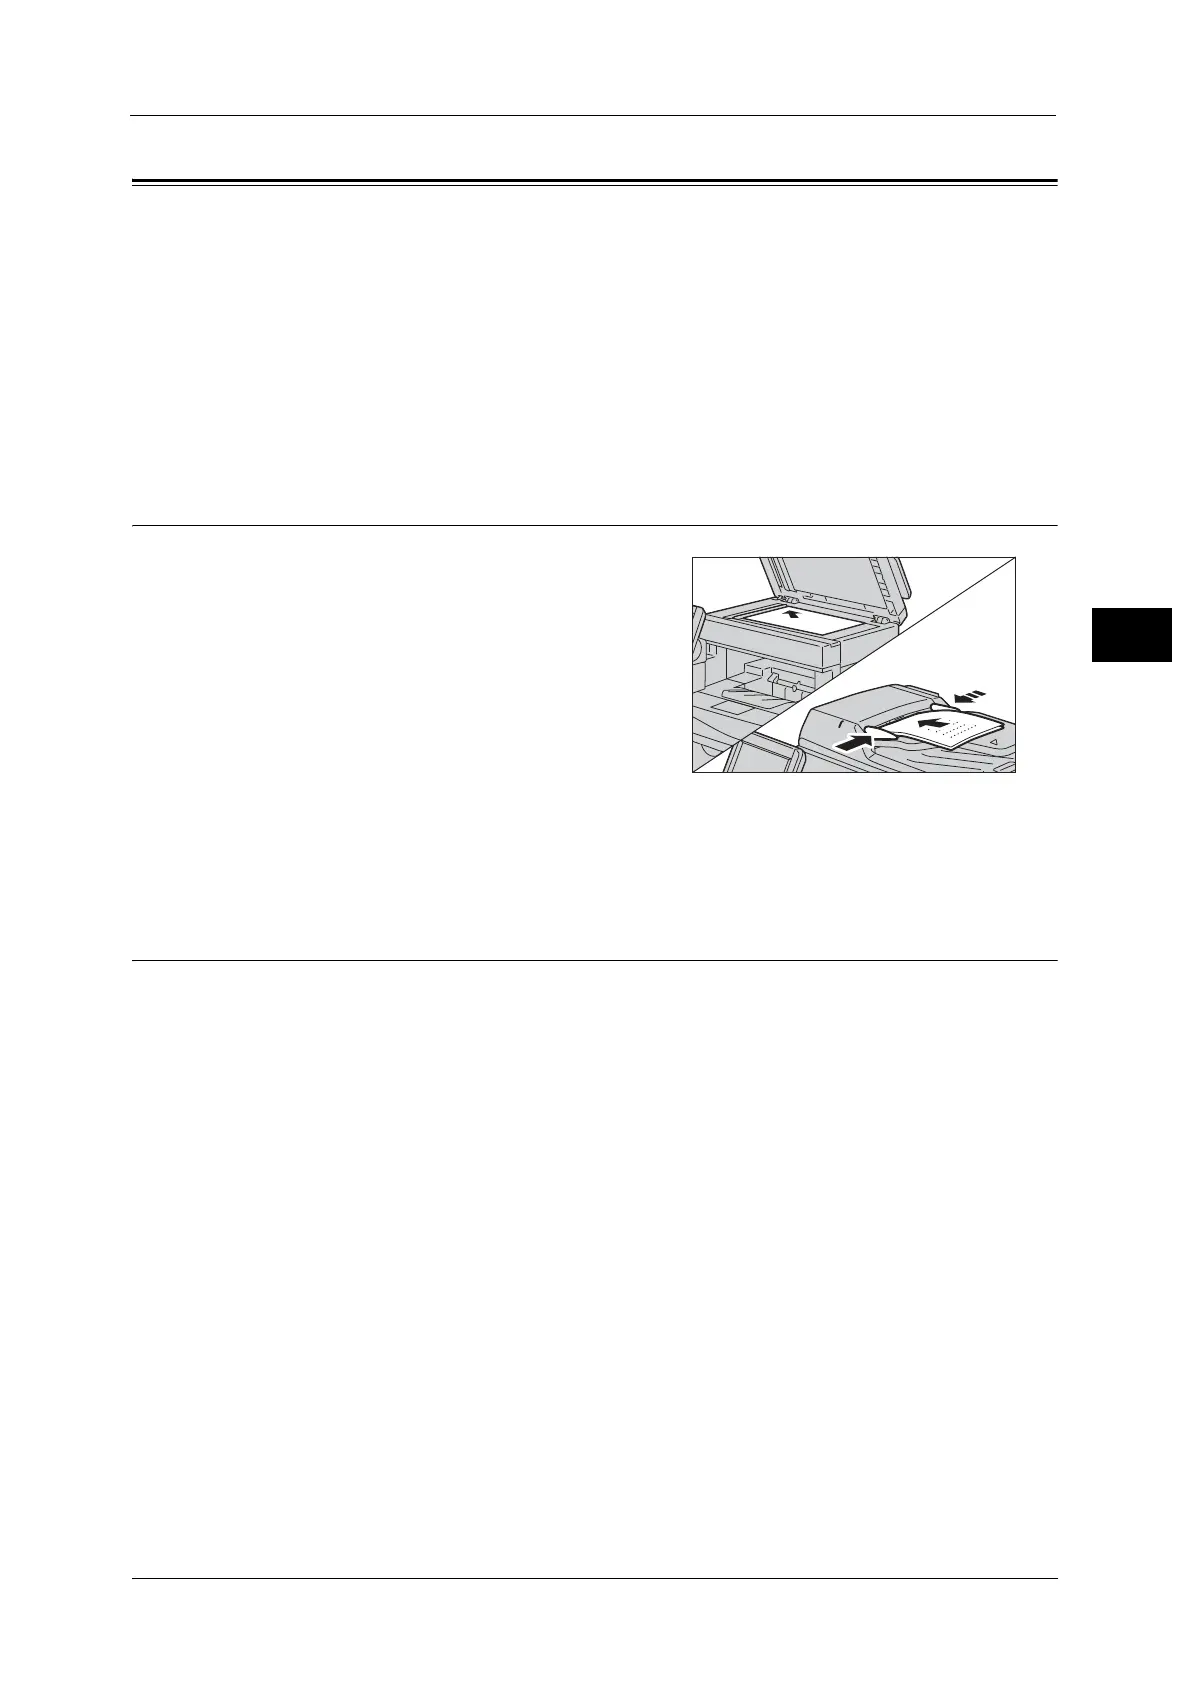
Step 1 Loading Documents
1
Load the document face up (when the
document is 2-sided, load the front side up) in
the center of the document feeder, or load the
document face down and align it against the
top left corner of the document glass.
For more information on how to load the document, refer to
"Step 1 Loading Documents" (P.36).
Important •Precautions for scanning from a computer
When you are away from the machine to
operate a computer with the documents left on the machine, other user may operate the machine
and there is a risk of document loss and information leakage. Use a computer which is as close to the
machine as possible. When the scan process is complete, check that you have all pages of the
documents.
Step 2 Selecting the Features
On the Services Home screen, you can select the following Scan services: [E-mail], [Store to
Folder], [Scan to PC], [Store to USB], [Store & Send Link], and [Store to WSD]. You can select
features for each service.
Note •WSD stands for Web Services on Devices.
• The features to be displayed on the screen depend on the configuration of your machine.
• When the Accounting feature is enabled, a user ID and passcode may be required. Ask your system
administrator for the user ID and passcode.
E-mail
Scans a document and sends the scanned data as an e-mail attachment after converting
the data to TIFF, JPEG, PDF, DocuWorks, or XML Paper Specification (XPS).
Store to Folder
Scans a document and saves the scanned data in a folder on the machine.
You need to create a folder in advance. For information on how to create a folder, refer to "Creating Folders" (P.57).
Scan to PC
Scans a document and sends the scanned data to a network computer via the FTP or SMB
protocol.
When Scan to My Folder is enabled and the Remote Access feature is available, the scanned
data can be transferred to a different destination according to an authenticated user.

 Loading...