Interface Cables
19
Before Using the Machine
1
Interface Cables
When connecting the machine directly to a computer, use the USB interface. When
connecting the machine to a network, use the Ethernet interface.
Using the USB Interface
This section describes the installation procedures for the USB interface.
Note • The USB interface of the machine supports USB 2.0.
1
Press the push-button power switch to switch off the power.
2
Make sure that the touch screen is blank and the <Power Saver> button is not lit.
3
Press the main power switch to the [ ] position to switch off the main power.
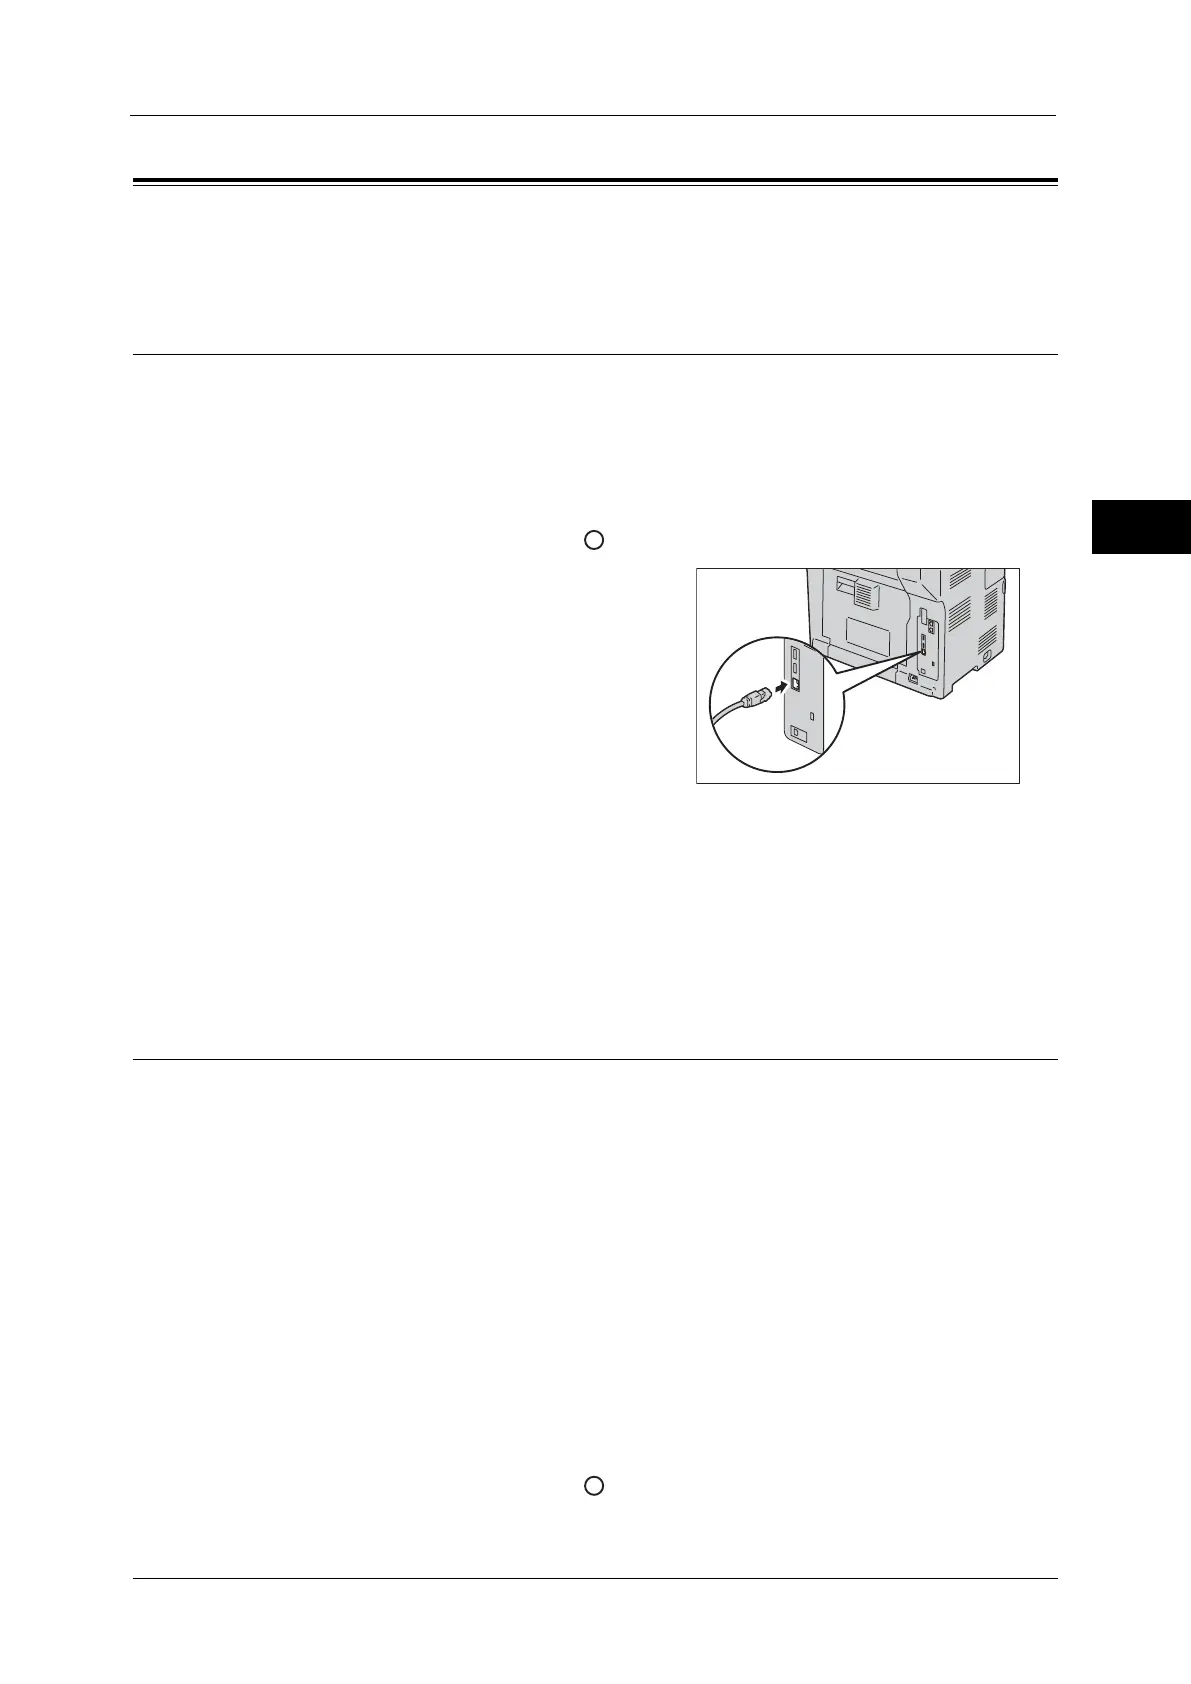
4
Connect the USB cable to the USB 2.0 interface
connector.
5
Connect the other end of the USB cable to the computer.
6
Press the main power switch to the [ | ] position to switch on the main power.
7
Press the push-button power switch to switch on the power.
8
Restart the computer.
For more information on setting items, refer to "Printer Environment Settings" (P.265).
Using the Ethernet Interface
This section describes the installation procedures for the Ethernet interface.
The Ethernet interface of the machine supports the following three types.
z
1000BASE-T (optional)
z
100BASE-TX
z
10BASE-T
Note • Gigabit Ethernet (optional) is required to use 1000BASE-T.
• The machine supports IEEE802.3az (a compliance standard of wired LAN) which reduces the power
consumption of the Ethernet equipments while suspending data transmission. To use this feature,
both of the equipments need to support IEEE802.3az.
This section describes the installation procedures for the Ethernet interface.
1
Press the push-button power switch to switch off the power.
2
Make sure that the touch screen is blank and the <Power Saver> button is not lit.
3
Press the main power switch to the [ ] position to switch off the main power.
 Loading...