G1000 V8.XX S/W Load and Post Install Checkout – Columbia 350/400 Page 3-23
190-00577-04 Revision 1
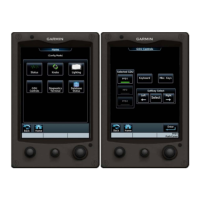
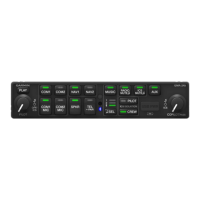
6. Verify that the brightness of the bezel keys on the remote keypad is controlled by the photocell on
the remote keypad by covering the photocell and ensuring that the keys dim.
7. Slowly set the UPPER dimmer switch on the center console to maximum brightness.
8. Verify that the following items illuminate and track the setting of the UPPER dimmer switch:
• standby airspeed indicator
• standby ADI
• standby altimeter
9. Return the UPPER dimmer switch to OFF (minimum brightness).
NOTE
If it is desired to further adjust the G1000 lighting characteristics, refer to section
3.18.
10. Slowly set the LOWER dimmer switch on the center console to maximum brightness.
11. Verify that the following items illuminate and track the setting of the LOWER dimmer switch:
• circuit breaker panel
• alternate air panel
• starter panel
• environmental control system panel
• 1 x 5 switch array on LHS of instrument panel
• flap panel
• standby magnetic compass
• overhead switch panel
12. Return the LOWER dimmer switch to OFF (minimum brightness).
13. Slowly set the MAP dimmer switch on the overhead panel to maximum brightness.
14. Verify that the four map lights (two crew and two passenger map lights) track the setting of the
MAP dimmer switch.
15. Return the MAP dimmer switch to OFF (minimum brightness).
16. Slowly set the FLOOD dimmer switch on the overhead panel to maximum brightness.
17. Verify that the instrument panel floodlights track the setting of the FLOOD dimmer switch.
18. Return the FLOOD dimmer switch to OFF (minimum brightness).
 Loading...


