Page 4-4 G1000 V8.XX S/W Load and Post Install Checkout – Columbia 350/400
Revision 1 190-00577-04
2. Apply force to the control stick to determine if the Autopilot clutches can be overpowered in
pitch and roll. If the Autopilot clutches cannot be overpowered, check the servo clutch torque
settings.
4.4 Autopilot Disengagement Check
1. Ensure the autopilot is disengaged and check for freedom of all flight controls – start in the
neutral position and check one axis at a time. Slowly move the control stick forward and aft and
then move the control stick left and right. Note how controls feel in each axis when doing this.
NOTE
When disengaging the autopilot, ensure that no force is being put on the
controls – keep hands off the control stick.
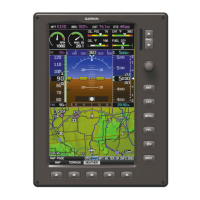
2. With the controls in the neutral position, engage the autopilot by pressing the AP key on the
MFD. Disengage the autopilot by pressing the A/P DISC switch.
3. After the autopilot is disengaged, check for freedom of movement of all flight controls by moving
one axis at a time, very slowly at first, just as done in step 1. The controls should be as free as
they were when this was checked previously. If, while performing this freedom of control
movement check, there is any sudden loosening of the controls (as if the autopilot is disengaging)
the servo actuator from that control axis should be removed and returned to Garmin (the servo
mount does not have to be removed and replaced).
4. Repeat steps 1 – 3 two more times. The controls should be free every time.
4.5 Manual Electric Trim Check
1. Run MET in one direction until it runs against the stop.
2. Using a stop watch or equivalent device, time the trim speed from one end of travel to the
opposite stop. The elapsed time should measure 25 ± 5 seconds for each direction.
3. Verify also that the trim moves smoothly in both directions throughout the entire trim range
during MET operation. If the trim hesitates, this may indicate that the pitch trim is sticking.
Check the aircraft pitch trim system for excessive friction.
4. Set the overhead A/P TRIM master switch to OFF. Verify that the AP/TRIM OFF advisory is
displayed on the PFD after approximately two seconds.
5. Attempt to run the MET in both directions using the MET switch and verify that it does not run.
6. Set the overhead A/P TRIM master switch to ON. Verify that the AP/TRIM OFF advisory clears.
4.6 Autopilot Operation Checks
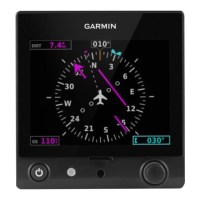
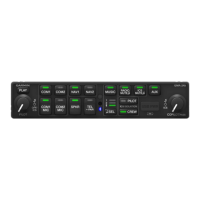
1. Push the HDG knob in to synchronize the heading bug to the present aircraft heading on the HSI.
2. Engage the Autopilot.
3. Select Heading mode by pressing the HDG key on the MFD. The command bars should be level
and the control stick should be stationary (very slow movement acceptable, due to the aircraft not
being perfectly level).
4. Turn the HDG knob to the left and verify that the command bars move to the left and the control
stick moves to the left.
5. Turn the HDG knob to the right and verify that the command bars move to the right and the
control stick moves to the right.
 Loading...


