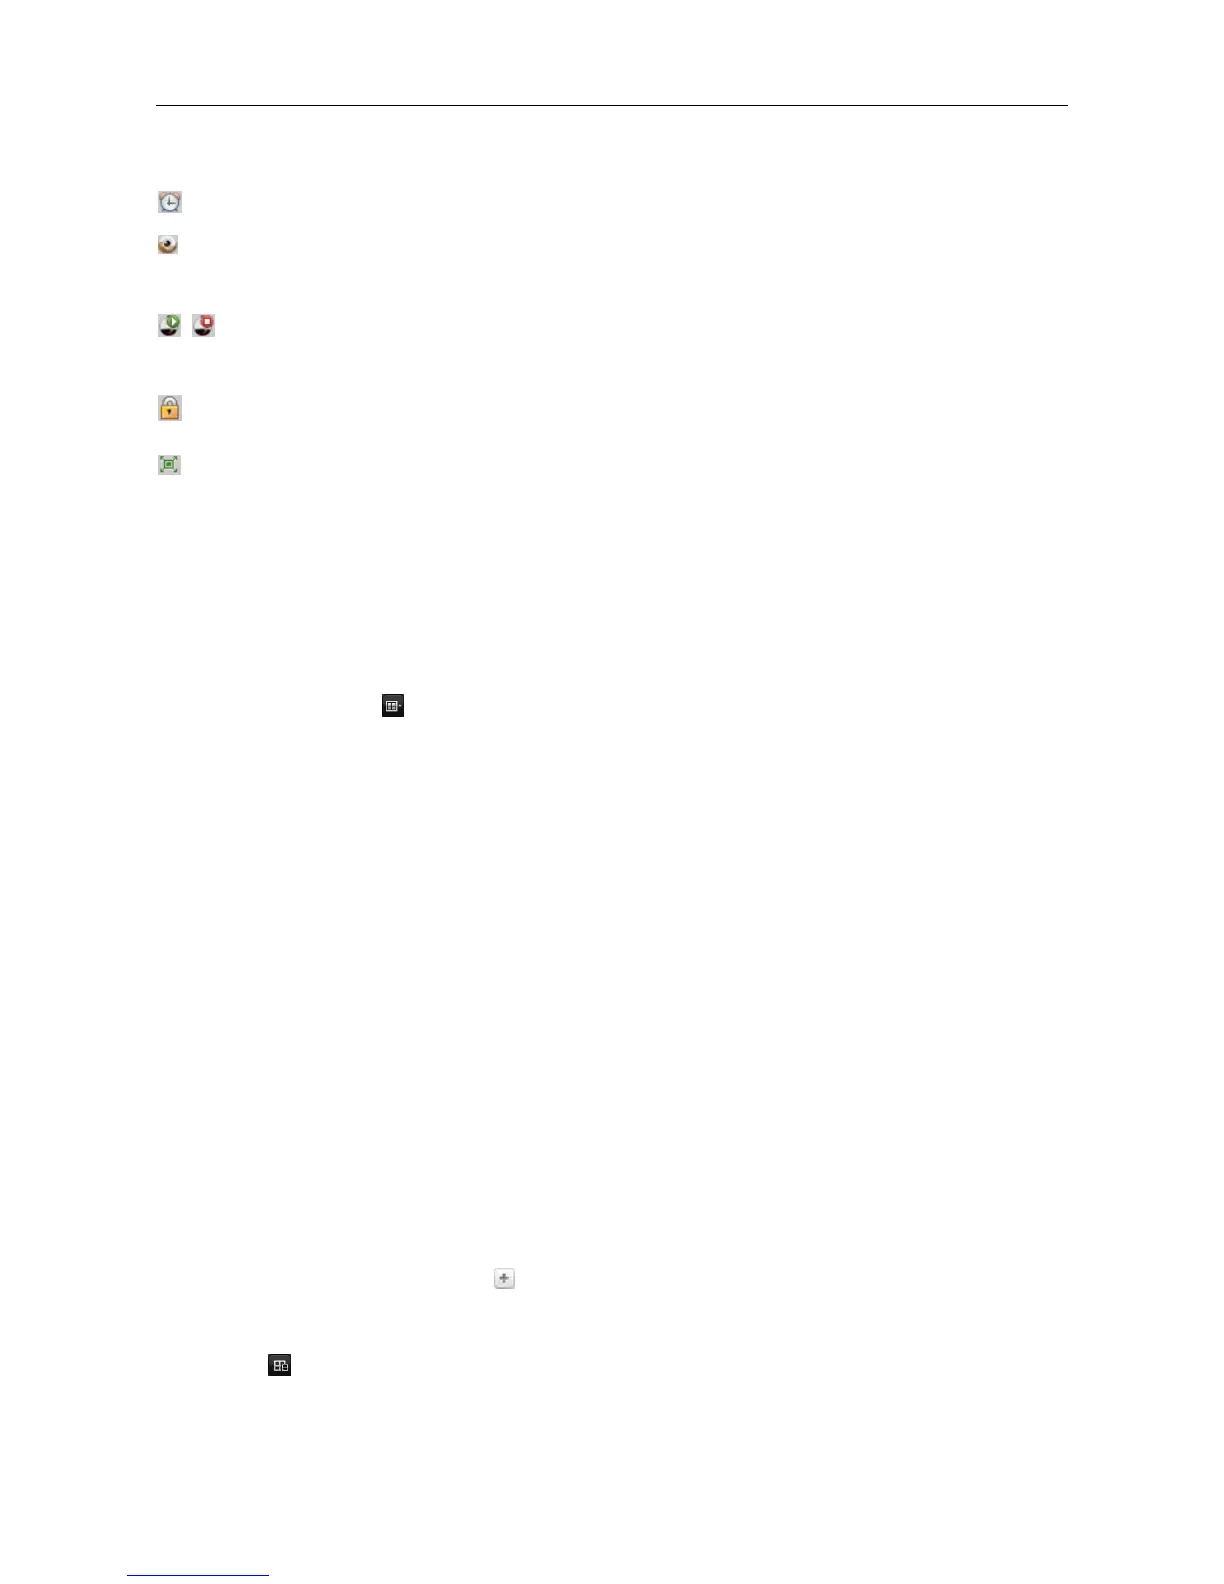
Click to start/stop locating or tracking the target according to
your demand. Only available when the device is fisheye camera.
For details, please refer to Chapter 2.4.8 Starting Speed Dome
Linkage.
7.15.1 Starting and Stopping the Live View
Starting Live View for One Camera
Steps:
1. Open the Main View page.
2. Optionally, click the icon in live view toolbar to select the window division mode for live
view.
3. Click-and-drag the camera to the display window,
or double-click the camera name after selecting the display window to start the live view.
Note: You can click-and-drag the video of the camera in live view to another display window if
needed.
Starting Live View for Camera Group
Steps:
1. Open the Main View page.
2. Click-and-drag the group to the display window,
or double-click the group name to start the live view.
Note: The display window number is self-adaptive to the camera number of the group.
Starting Live View in Default View Mode
Purpose:
The video of the added cameras can be displayed in different view modes. 4 frequently-used
default view modes are selectable: 1-Screen, 4-Screen, 9-Screen and 16-Screen.
Steps:
1. Open the Main View page.
2. In the View panel, click the icon to expand the default view list.
3. Click to select the default view mode and the video of the added cameras will be displayed in a
sequence in the selected view.
Note: Click , and you can save the default view as a custom view.
Move the mouse to the view and the following icons are available:
 Loading...