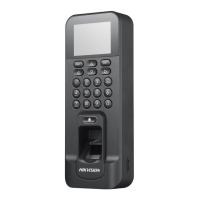
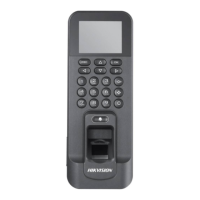
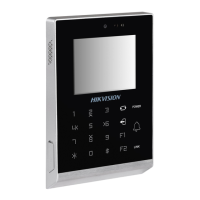
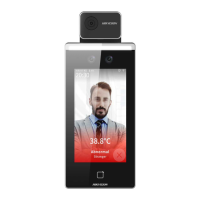
Video Access Control Terminal·User Manual
13
Chapter 3 Installation
Before You Start:
Make sure that the device in the package is in good condition and all the assembly parts are
included.
Make sure that the wall is strong enough to withstand three times the weight of the terminal.
Set the DIP address before installation.
Steps:
1. Connect the cables with the connecter
on the rear panel of the device. Route
the cables through the cable hole of
the mounting plate. The cable holes
are on the right side, left side and
lower side of the rear cover. If the
right/left side cable hole is selected,
remove the plastic sheet of the cable
hole.
2. Secure the mounting plate on the wall
with 4 supplied screws.
5. Tighten the screws on the bottom of
the terminal to fix the terminal on the
mounting plate and complete the
installation.
 Loading...
