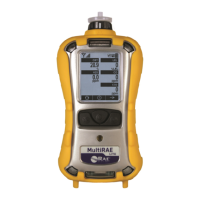
To remove: Unfasten the Velcro strip, tilt the MultiRAE forward, and lift it out
Plug the other end of the charger into a power source. When power is applied and the
MultiRAE’s battery is charging, the LEDs on the left and right sides of the front of the cradle
glow red. The LEDs glow green when the battery is fully charged.
Charging with the AutoRAE 2
A MultiRAE’s battery can be charged by placing the monitor in an AutoRAE 2 Cradle. Details are
covered in the AutoRAE 2 User’s Guide.
Note: If the instrument has a PID lamp, auto-cleaning occurs. Refer to the information on
section 6.4 for further details.
Replacing a Battery
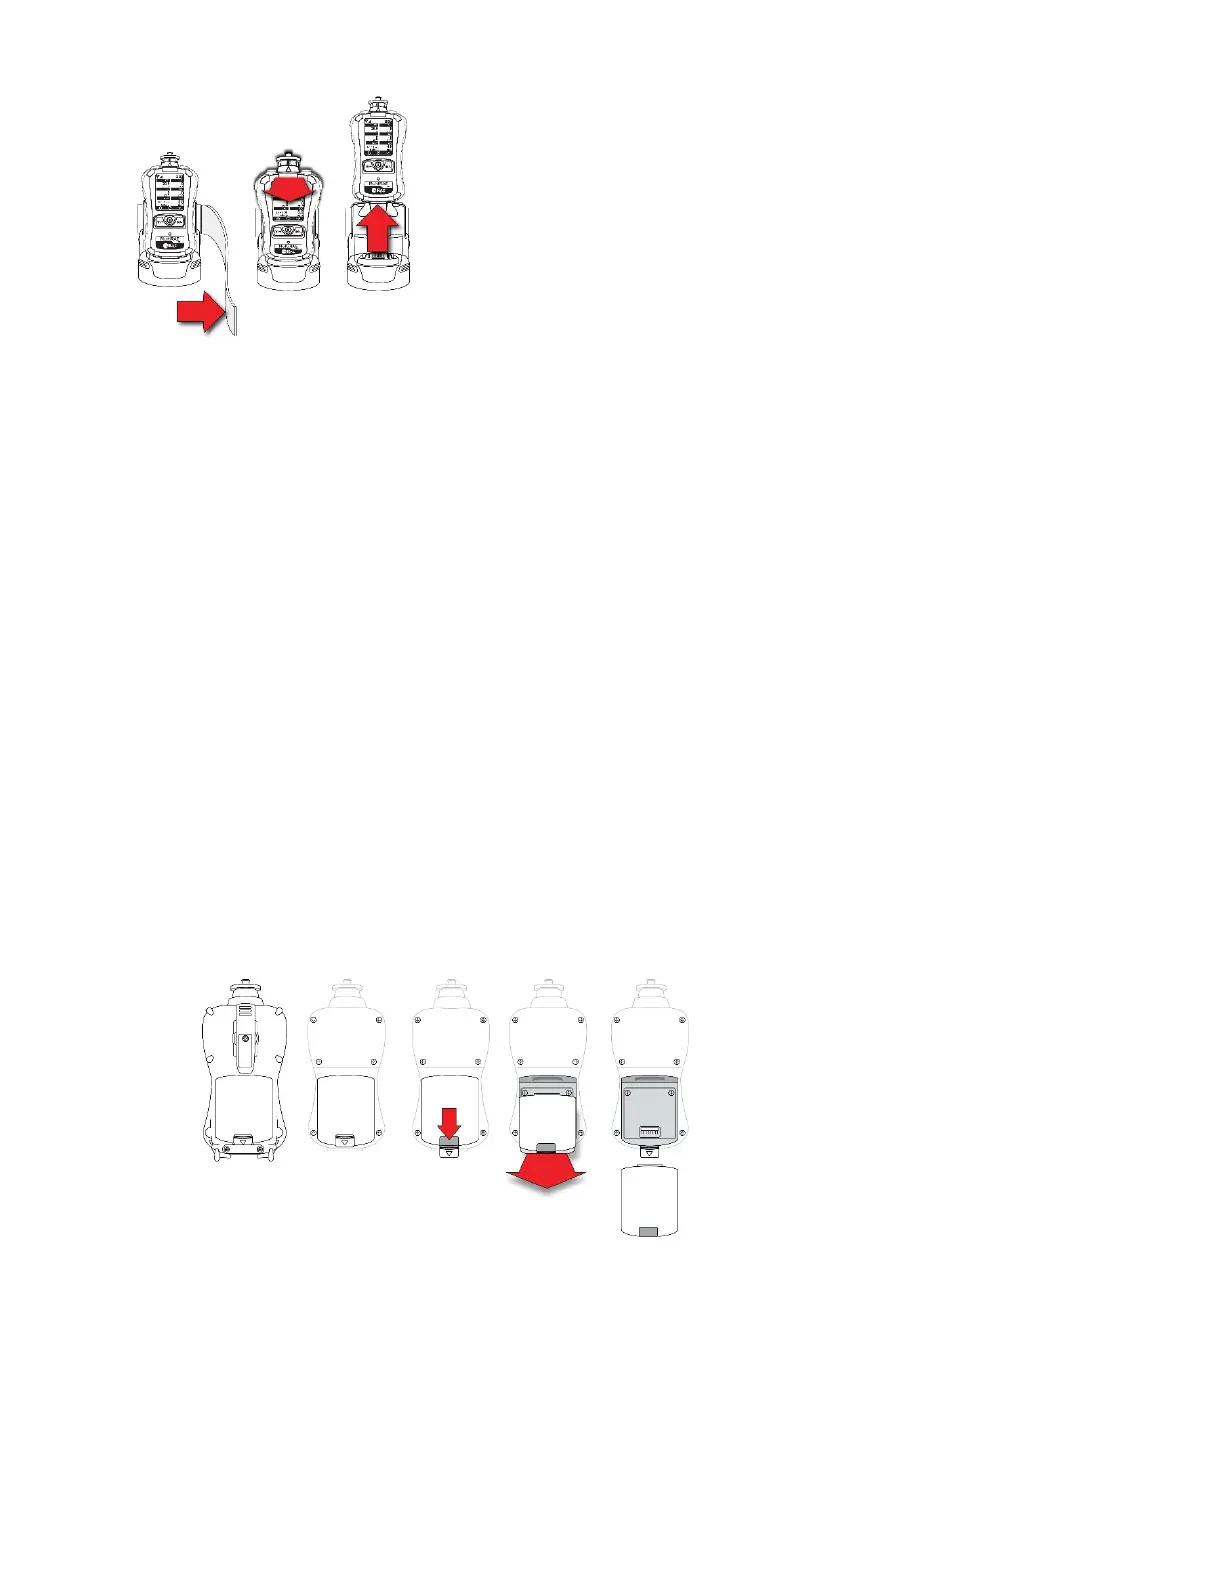
The MultiRAE battery packs are plug-and-play and can be replaced on the go without tools. To
replace the MultiRAE battery:
1. Remove the battery from the instrument by sliding the tab and tilting out the adapter.
Note: The belt clip and rubber boot are removed in the illustration for clarity. They can be
left on while replacing a battery.
2. Tilt a fully charged battery (or alkaline battery adapter) into the battery compartment
and place it in the instrument.
3. Slide the tab back into place to secure the battery.
Honeywell MultiRAE Series™ 46 User Manual
 Loading...