Removal and Replacement Procedures
User Interface Board
To remove the user interface board:
1. Power down the server. See “Powering Down the Server” in this chapter.
2. Remove the access panel. See “Access Panel” in this chapter.
3. Remove the shipping/ejector key. See “Shipping/Ejector Key” in this chapter.
4. Remove the optical device/diskette drive assembly or bezel blank. See
“Optical Device/Diskette Drive Assembly” or “Bezel Blank” in this chapter.
5. Remove the optical device/diskette drive assembly backplane. See “Optical
Device/Diskette Drive Assembly Backplane” in this chapter.
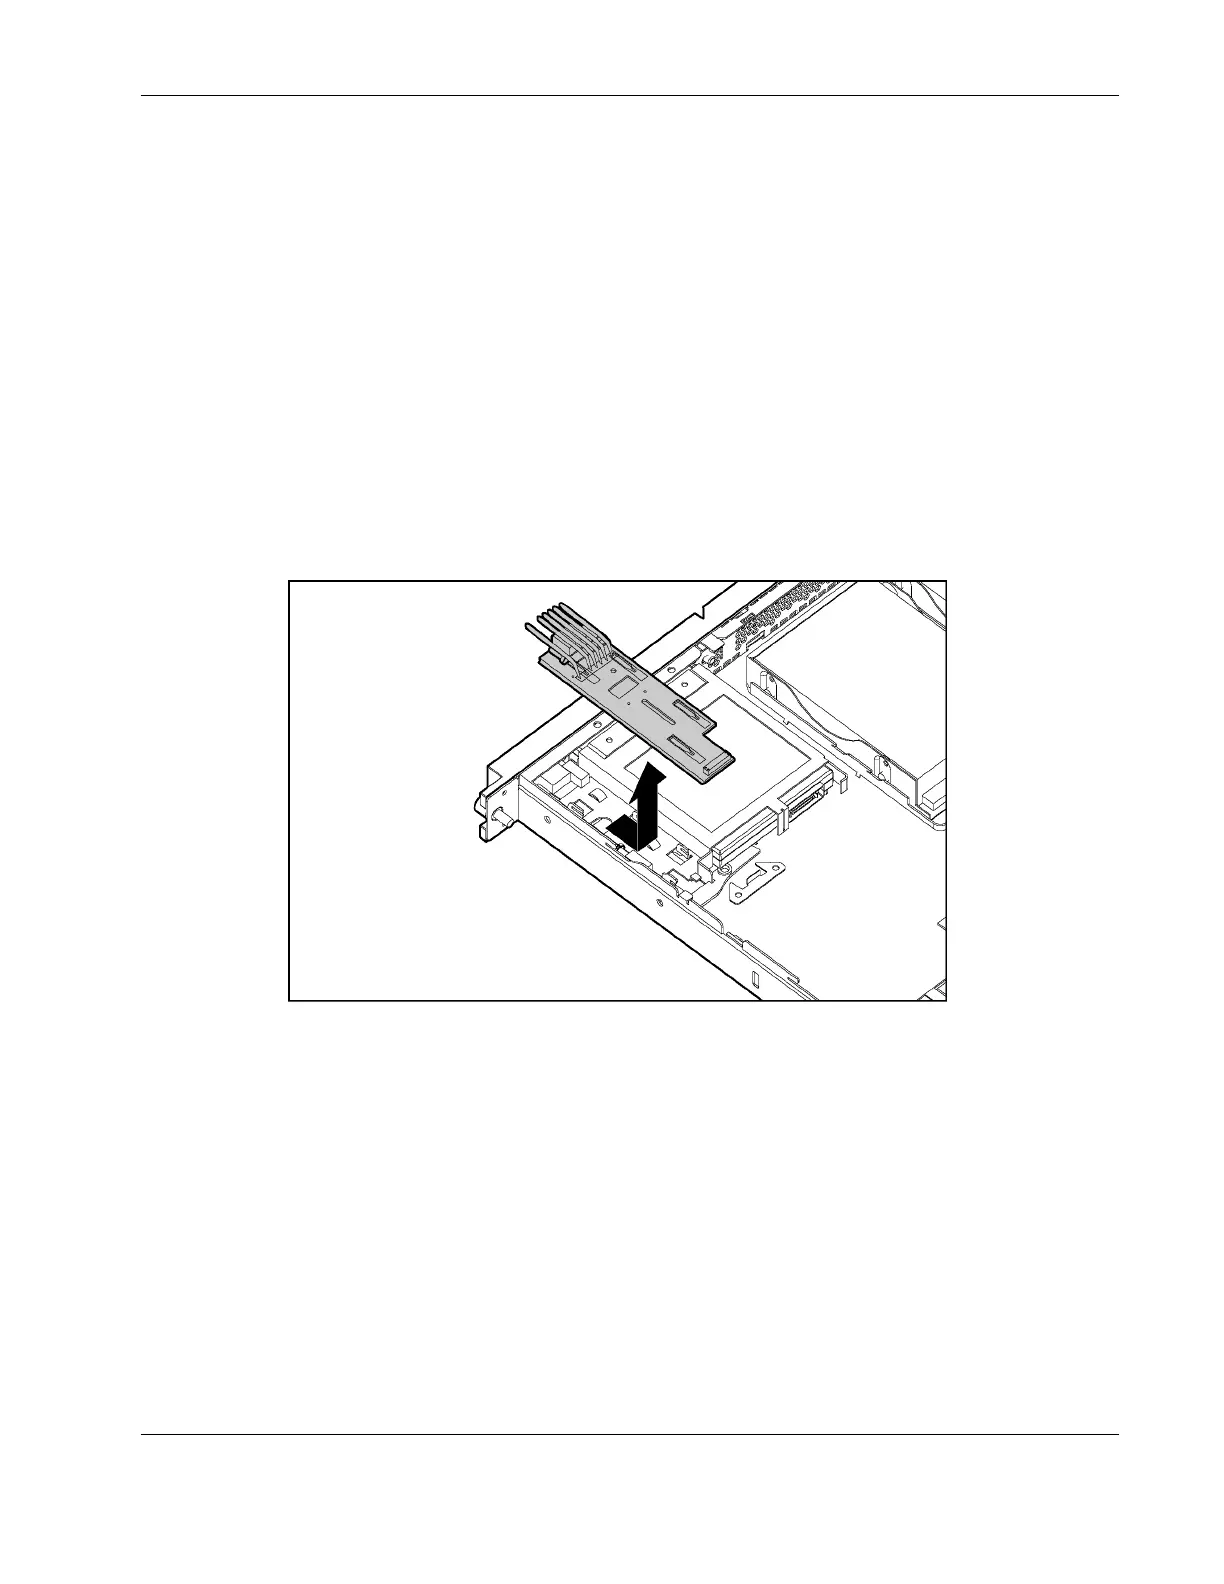
6. Slide the user interface board toward the rear of the server and lift to remove the board.
IMPORTANT: Remove the user interface board carefully to avoid damaging the light pipes.
Figure 2-15: Removing the user interface board
Reverse steps 1 through 6 to replace the user interface board.
HP ProLiant DL320 Generation 2 Server Maintenance and Service Guide 2-21
 Loading...